Candied Orange Peels (Revisited)

Been sick as a dog for about one week… thought this might be a good time to look back at some favorite recipes like the time I made candied orange and lemon peels. I think I may do this for a baby shower favor next month – a cellophane bag, scrapbook paper in the party colors, some twine or raffia. Perfect.

(First posted March 26, 2009)

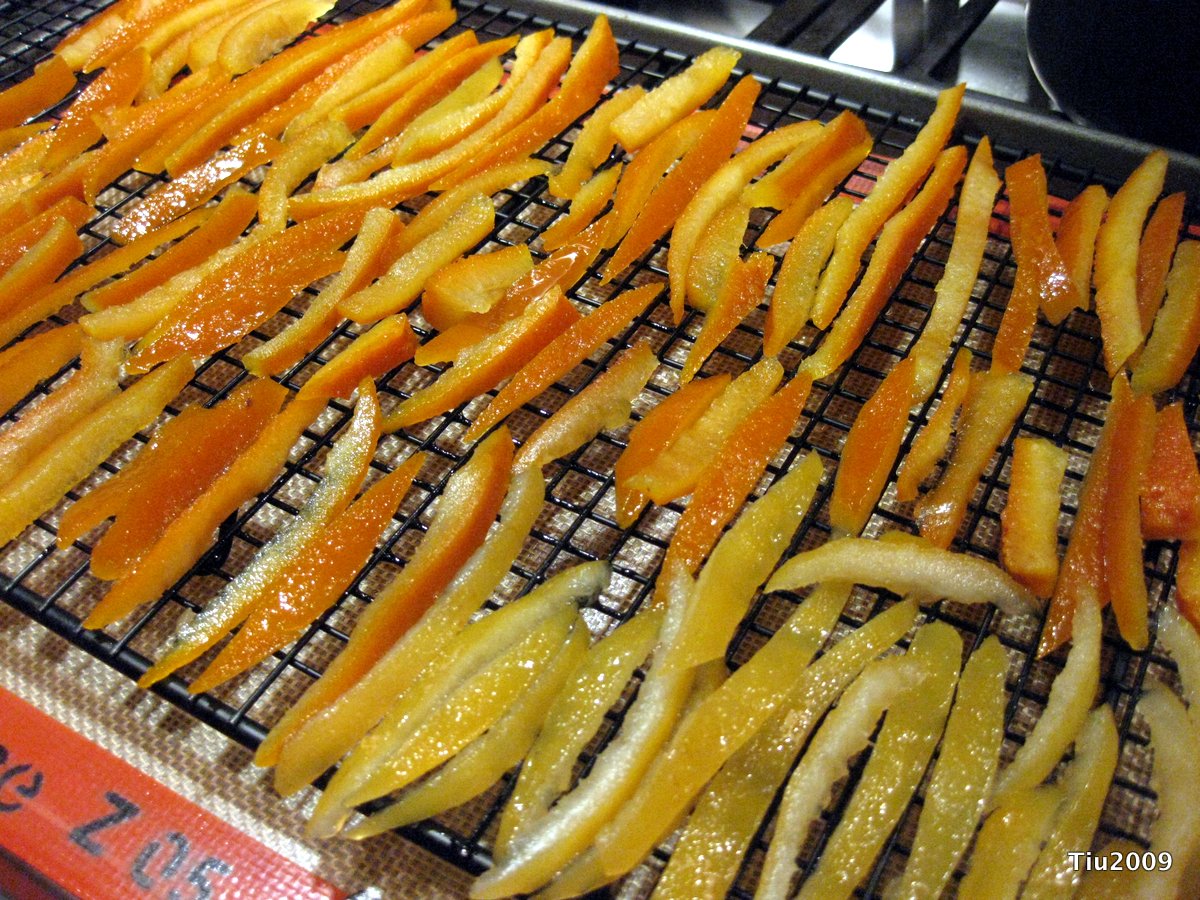
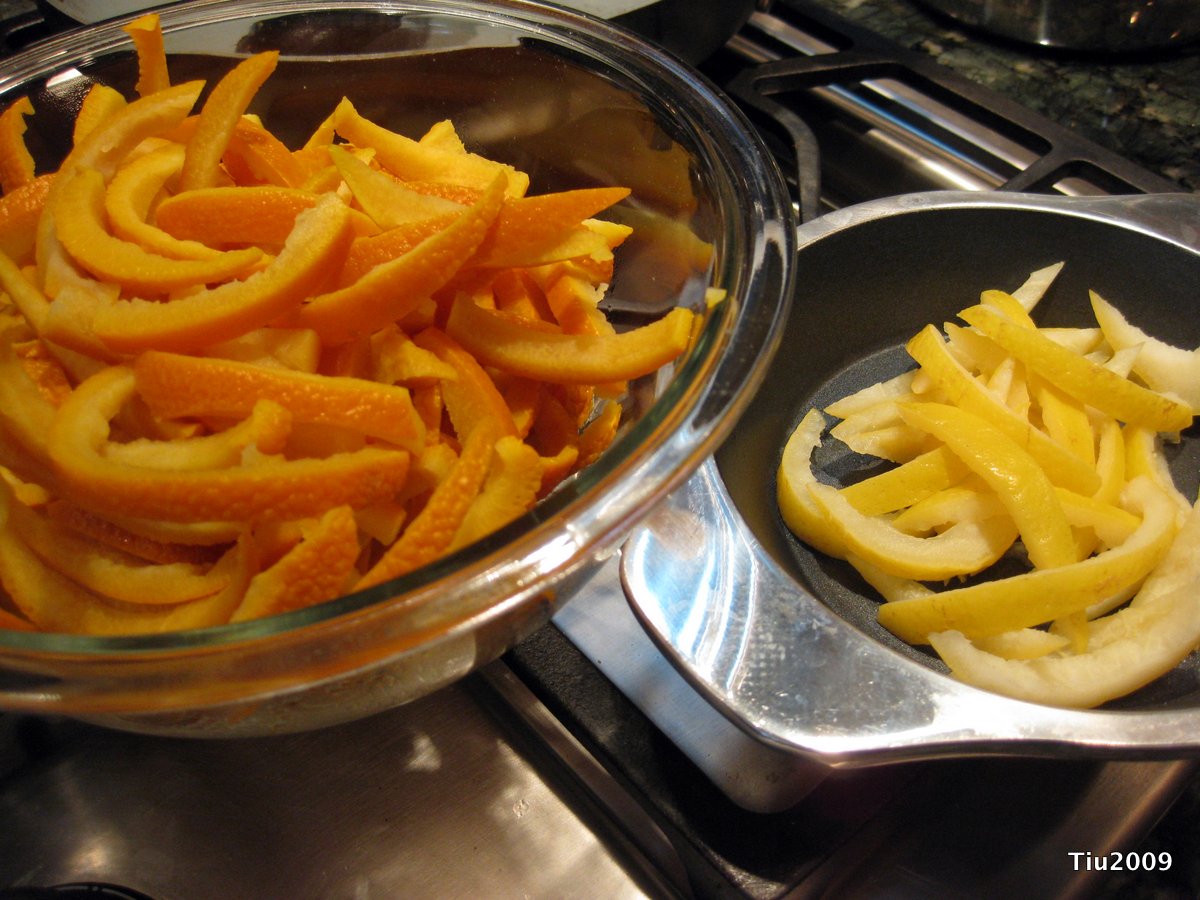
Lemon and Orange Peels Drying

Over the weekend, a friend brought over the most beautiful lemons from her parents’ lemon tree. Note, we’re in Illinois. Her parents’ tree is in Arizona. She was sharing because her folks had a bumper crop this spring. My friend was greeted by 3 dozen lemons… what to do, but share! She mentioned juicing the lemons and freezing the juice in ice cube trays. Then she mentioned saving the peels to candy them. Aha! Lemon, citrus, orange, citrus… helloooo?! I thought it’d be delicious, AND I was planning on making some candied orange peel this week. I’m experimenting with frozen peels; thawing them first and then continuing with the typical recipe.

Just type “candied orange peel” in your favorite search engine and there are tons! They’re all basically the same. Mine isn’t that different.

  • Peels from 4 – 6 oranges (this time around, I also had 2 lemons): The peels were in sliced sections and the pith (white) was already trimmed. You want very little pith, but I still leave a bit. I sliced these into 1/4″ strips. The lemon peels were smaller.

After 1st blanch

Using a 3-1/2 qt. pot, I filled it with about 4 cups of water. This should be enough to cover the peels. Heat until boiling, then add the peels. Blanch the peels for about 3-4 minutes. Turn off heat, drain/remove the peels (I just used a slotted spoon not a colander), discard water and repeat. You will blanch the peels 3 or 4 times. This is to soften the peels, but more importantly, to remove the bitterness. It sort of cooks out, cooks down any pith, too.

  • 4 cups water
  • 3 cups granulated sugar
  • Extra granulated sugar in a separate container for dipping

In your clean, empty pot, combine the water and sugar. Heat until you get a rolling boil. You can use a candy thermometer, and heat until 210 degrees. Add peels, boil for a couple minutes, and then lower heat to a simmer. Continue to simmer peels for 45-60 minutes, or until peels are translucent. (I’ve read recipes where they only simmer for 30 min.)

Newly candied, before sugared

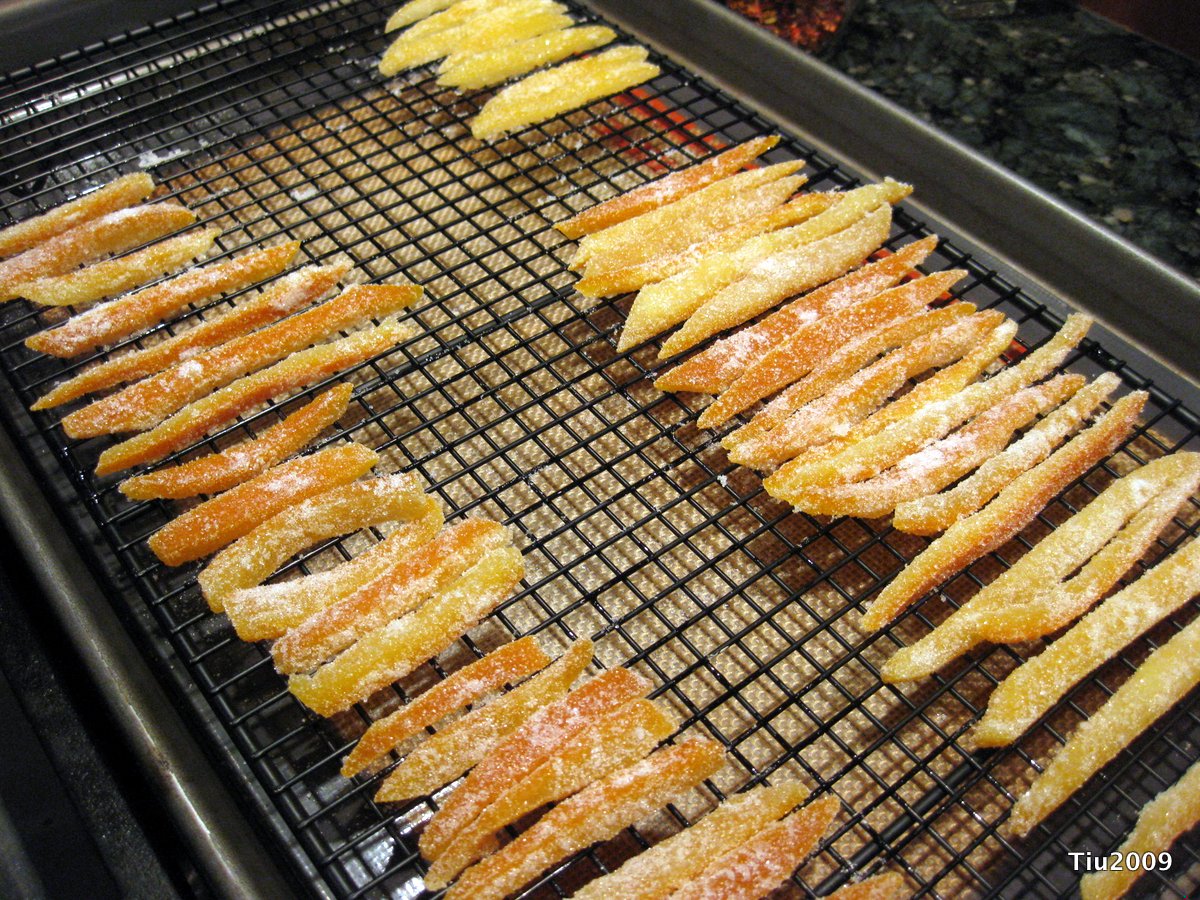
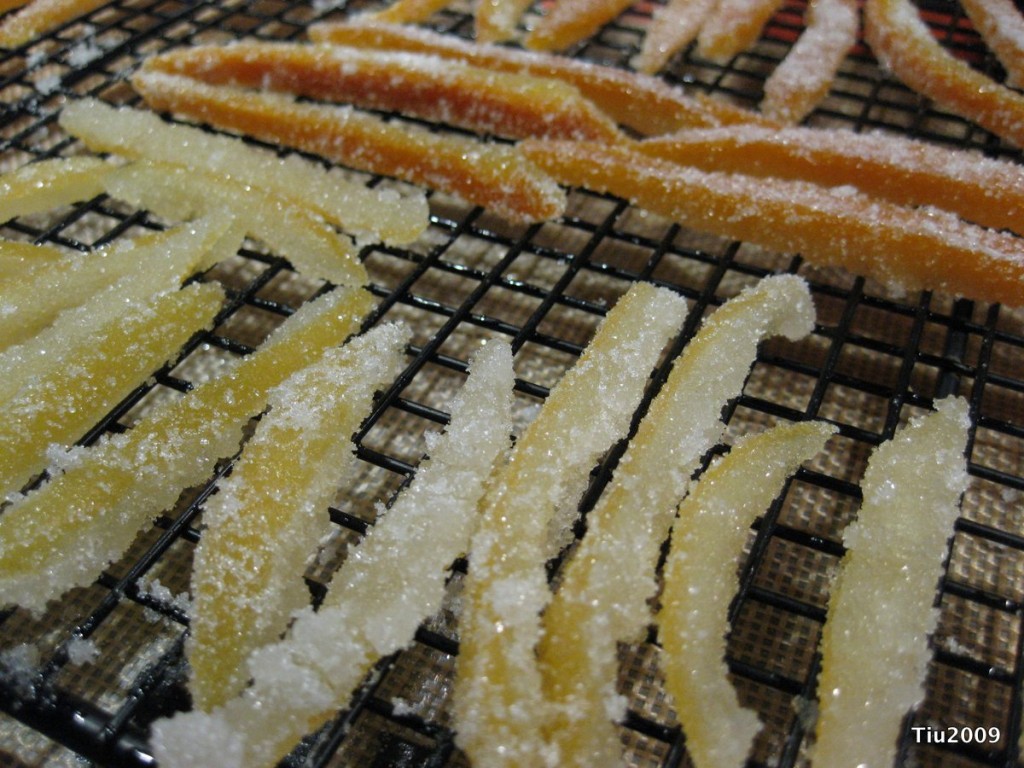
Remove peels after they are to your liking and dry on a cooling rack. While still warm, dip the peels in sugar and lay out on the racks to dry. I like to leave them out overnight. The next day you can take the dry candied peels and dip or drizzle with chocolate!

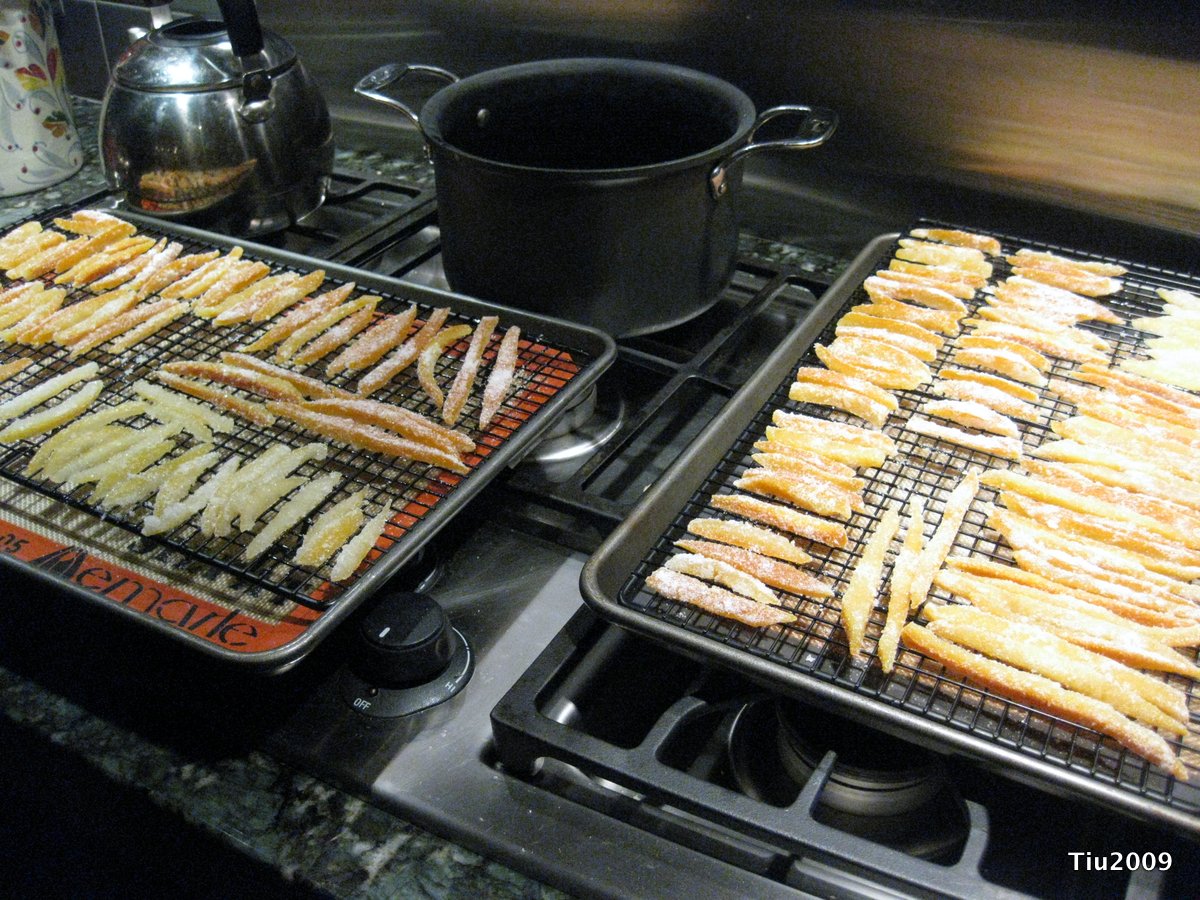
The workbench

After sugar dip

I love the blast of citrus flavor (not to mention the sugar), and it doesn’t take but just a couple pieces to satisfy your taste buds. This sweet treat is also gluten free, a big plus for friends with allergies!
Daylight Savings Time is Over – Fun Clock Roundup

Hello sunlight! No more waking up in darkness. Daylight savings time ended this morning at 2 am. Did you remember to turn your clocks back? It’s so easy now that we all have computers and cell phones, but how would you like to turn back time on these wall clocks?

DIY Wall Clock Kit from Radius Design

Talin Wall Clock from Crate and Barrel

Cool Kids Contemporary Clock from Tik Tak Things

Adobo Cook-Off, Fire Pit and a Long Bike Ride


What a fun-filled weekend!

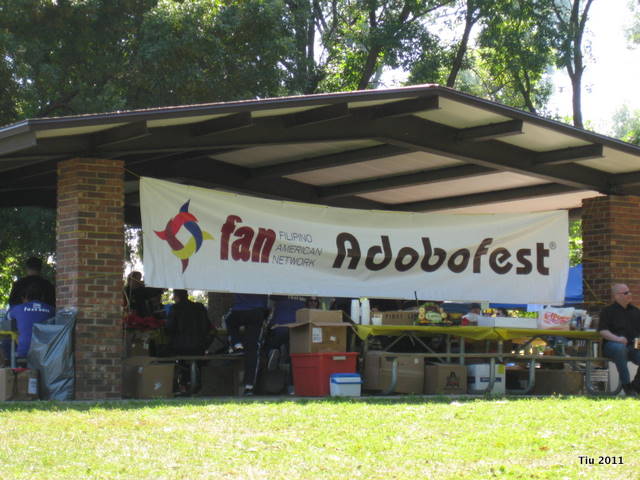
  • Attended a Filipino food cook-off, Adobofest 2011, in one of the many forest preserves around Chicago. It seemed pretty well attended, but I heard there were four times as many entries as there were this year. More on this event tomorrow.

    Filipino Cook-Off Event: Adobofest 2011

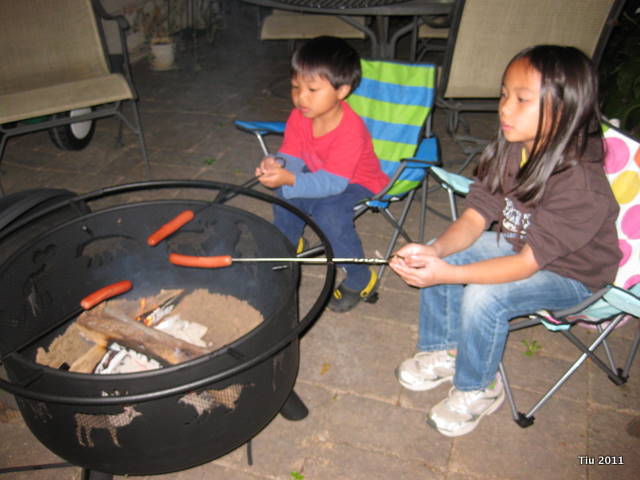
  • Used our fire pit for the first time. Told the kids this was a close to camping as we’ll ever get! I’ve never been camping. Ever. But I am open to the idea of putting up a tent in the backyard one nice summer night. Maybe next year?

    Roasting dinner over the fire in the backyard with the kids

  • Abby’s soccer team won their game after a harsh season opener (they lost 8-2)!
  • And I rode 50 miles in the North Shore Century Ride! Started with a lovely sunrise over Lake Michigan – but quickly turned into a rainy mess of a day. I was drenched by the end. Took me 4 hours and 25 minutes, and on somewhat spongy tires for the middle leg of 20 miles (Oops.). It was really fun, but I won’t lie – it was a lot of work in some spots. And, I’m not very athletic at all. This may be my one big athletic accomplishment to date.

    Sunrise at Lake Michigan - Dawes Park - Evanston, IL

    The eager cyclist - I'm so excited

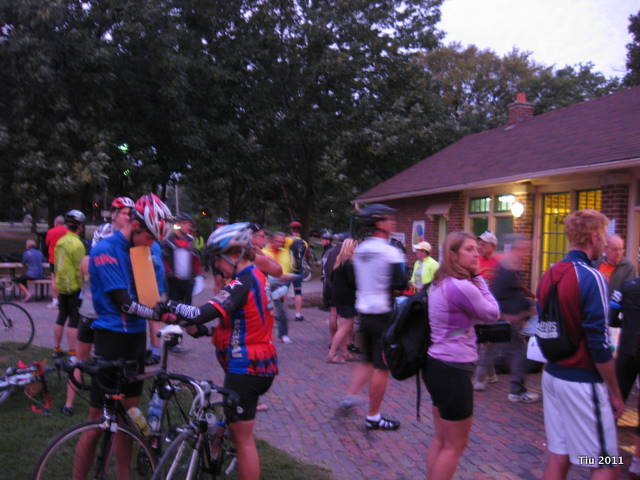
    Morning registration

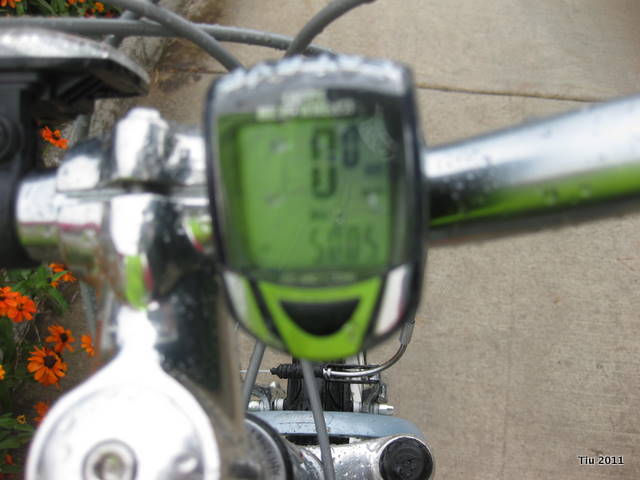
    Bike odometer reached 50 miles at Bahai Temple of Worship, Wilmette, IL

I’m ready for a relaxing week. Too bad it won’t be… always something happening around our here! *grin*

Have a great week everyone!

Thursday Tip: Lunchtime Jello

How is everyone doing? This school year took off with so much energy, and I feel like I’m just now coming up for some air… getting ready to go back down into the river of household-heading, room parenting, writing, blogging, crafting, etc. Like so many, I have a problem saying NO, and I have a penchant for starting projects every time I see something cool. But, after realizing I have way too many daydreams and not enough finished products, I thought I better try to tidy up my projects-in-progress before I start something new.

In the meantime, there’s been plenty of activity around here… hope to share soon. And now, for a Thursday Tip.

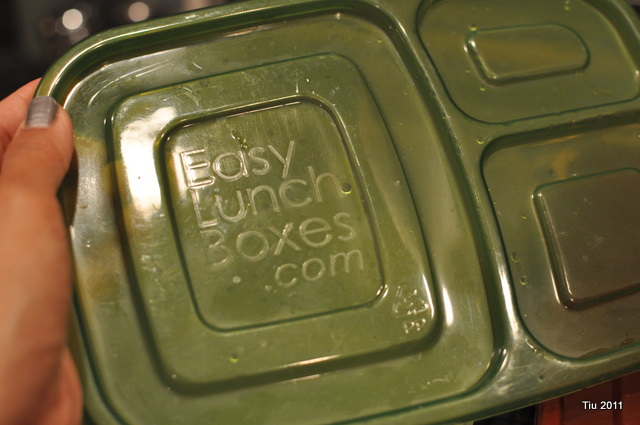
Reusable lunch containers are great

More often than not, I’m using reusable lunch containers for my daughter. The ones we have actually fit her cooler lunchbox from L.L. Bean.

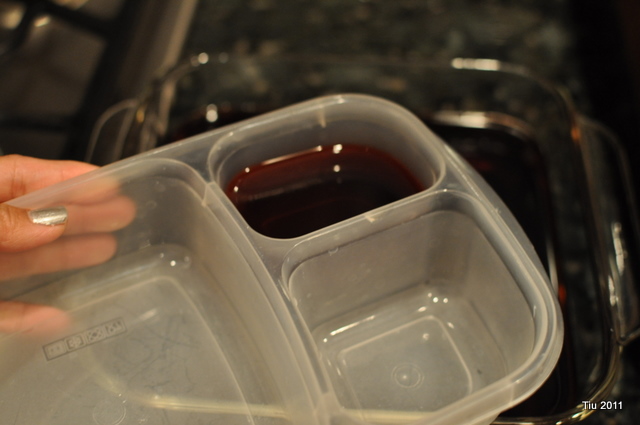
Jello right in container

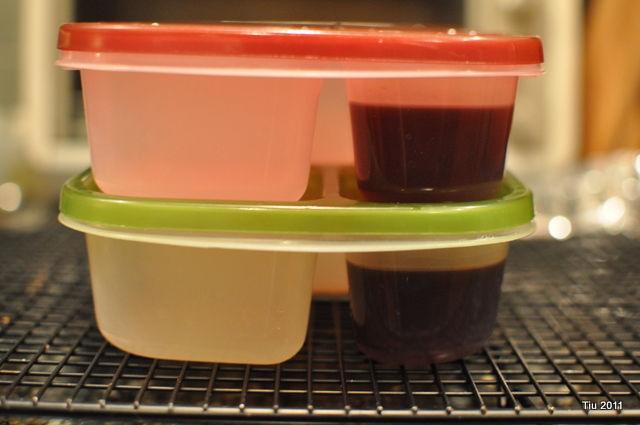
My husband saw that I was making some Jello, and suggested I pour some right into the lunch containers. Totally worked – no staining, either! (He’s so smart.) There was enough Jello for four containers, and the rest was put into an 8×8 glass pan.

Lunch boxes ready for the week

I’d love to hear your lunchtime tips… what are some favorite lunchtime meals?

Back to School Teacher Gift Idea

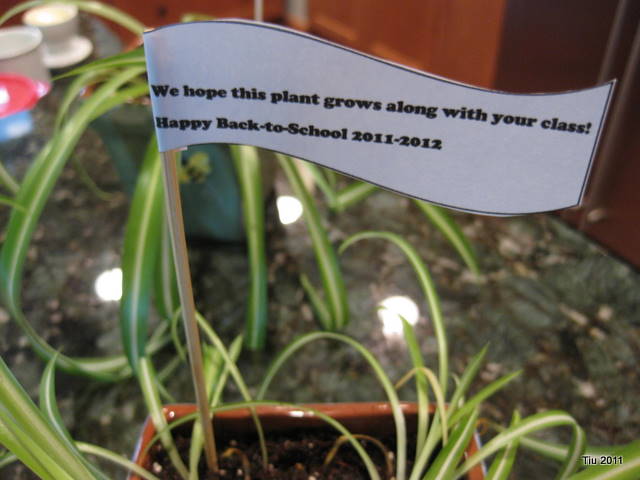
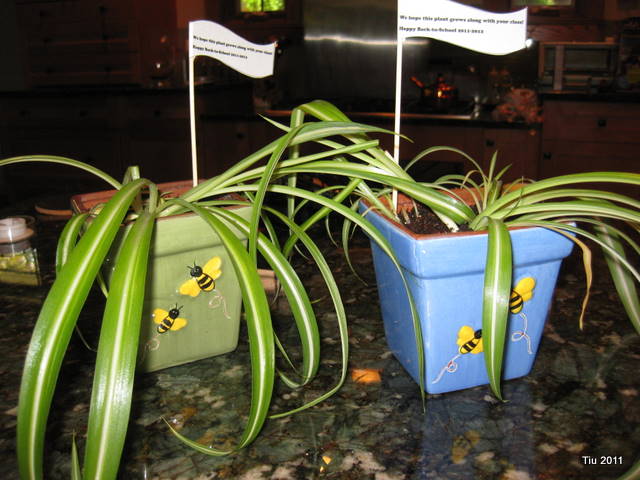
I thought it might be fun to give an apple to my kids’ teachers like Kendra did (guest blogger on Tatertots and Jello), but last year we gave spider plants and they grew with the class (cute play on words that wasn’t intentional). This Fall I added a little flag to usher in the school year. A little card would suffice for your teacher… or even a handmade picture by your student!

Spider plants are so easy to care for. They don’t need much light, and if you forget to water them, they’ll wilt, but won’t die that easily. These were just replanted, so they look a little droopy. But I’m sure in a few days, they’ll start to perk up.