Installing the Pencil Sharpener…Ugh

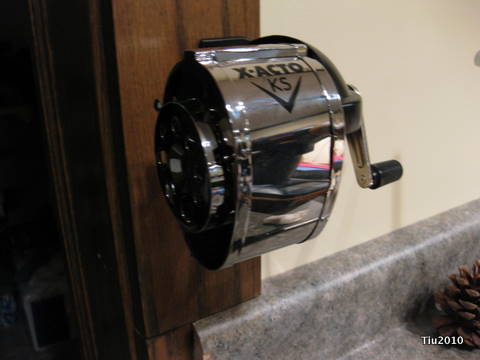
Everyone likes a nice sharpened pencil, right? We used to have an electric pencil sharpener, but either that was a victim of moving four years ago or it’s at my in-laws home somewhere. Then we have all these little pencil sharpeners that come in art kits, school supply kits and the like. Some of them are decent, but most don’t cut it for me. They make for weird sharpening angles and lead (graphite) pieces falling out. Time for a good old-fashioned pencil sharpener. I bought this a while ago, and finally figured out a good location for it.

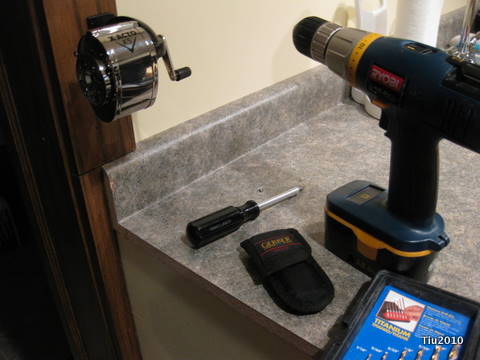
So here I go again with another DIY installation. Unlike the glass shelves in the kids’ bathroom (thought I wrote about that), this was a little challenging. You wouldn’t think a little ol’ sharpener would bring me a little grief… it looks like it was successful, but I’m lucky that 1) no one was here to witness my running up and down stairs to gather equipment, 2) no one was here to listen to my “potty-mouth” and 3) my 3 year old doesn’t understand when I swear when I get really frustrated.

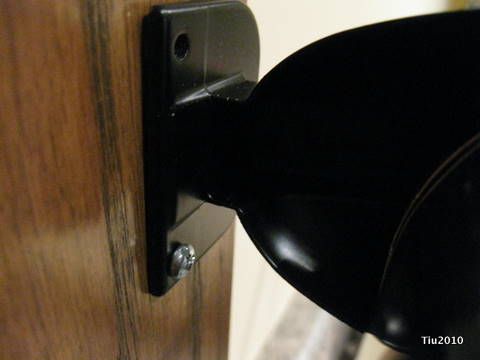
This looks like it was properly installed, right? The sharpener is anchored into the oak door jamb where I predrilled holes, matching the position on the anchor. Solid oak is TOUGH, or maybe my drill bits are crappy. After checking the anchor position, I saw that one of the holes was drilled slightly off. Like enough that I had to drill again. So, that wasn’t too bad. Now for the actual attaching…

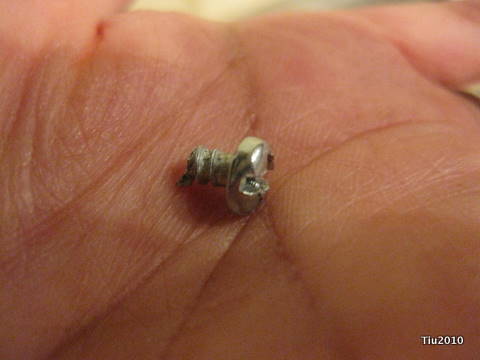
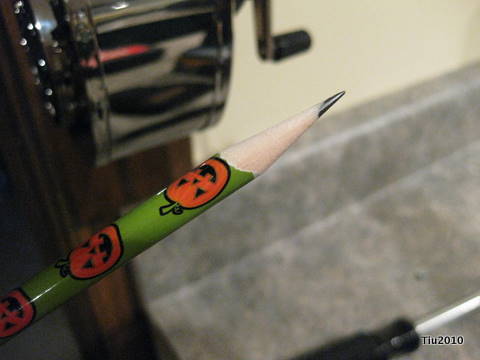
I took apart the sharpening mechanism, so I could get a better angle to put in the screws. At this point, I realized the predrilled holes were too small. It was so hard to manually drive in those screws, so I put down the anchor and screws, took out a larger drill bit and drilled holes again. Grr. I placed the anchor back, put the screws in place, then used the drill to start screwing them in… thinking I would use the manual screwdriver at the end. I didn’t want to break any plastic or crack the oak (which now I realize could be impossible for me). I nearly stripped the heads off two of the screws. Grrr, again. Took out the manual screwdriver, started turning that top screw… it seemed to turn so easily. Too easily. See that hole in the picture? The top part of the screw BROKE off.

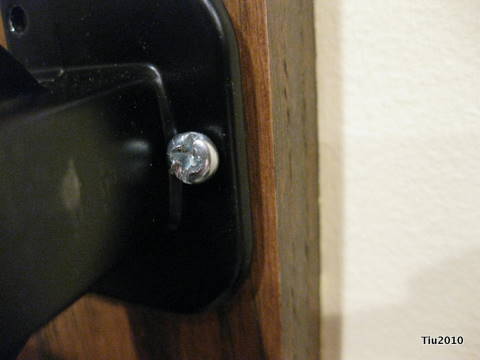
And, here’s the other almost-mangled screwhead.

At least it works, and the sharpener doesn’t seem like it’s going anywhere – for now. The husband just shook his head after I told him…
What I’ve Learned Having Houseguests

Now that the holidays are over and I’ve recovered somewhat, I tend to review our hosting strategies, successes and misses. Every year we have at least 1-3 guests stay with us for any given length of time. It could be an overnight stay or a couple of weeks. Don’t know about other people, but I get worked up. I just want to make sure that our guests feel welcome and comfortable, that they enjoy their stay and would want to come back.

We have a slight challenge of not having a dedicated guest room, but here’s how we get around that: the basement. It becomes a semi-private suite. In the case of my awesome brother-in-law, he’ll room in my kid’s room, or with my kids. No problem. However, I can’t necessarily assume that everyone will be as accommodating.

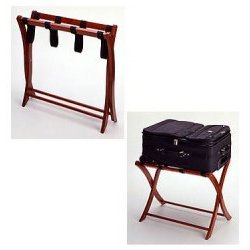
My must haves: No matter what the state my house is in, I will prep good pillows, a good air mattress (we have two), towels, sheets, clock, storage cubes doubled as nightstand, hangers, and coat rack. Don’t have yet but would like: luggage rack.

Entertaining: Here, I luck out again with pretty easy going relatives. My in-laws did most of the shuttling around last Fall with our guests. But, it’s helpful to have schedules and sight-tour brochures handy. Seriously, I even picked up at our library a few copies of “family-friendly” publications that have local things-to-do and set that on the bedside table for our guests.

Meal times: I’ll ask about favorite snacks and more importantly, kids favorites, if I’m not exactly sure what my guests are into. Putting together a dinner/meal schedule was also a super timesaver. It was more like a guideline, if anything, but sure helped with grocery lists. We had plenty of drinks on hand too.

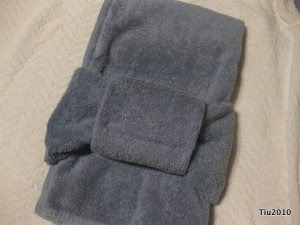
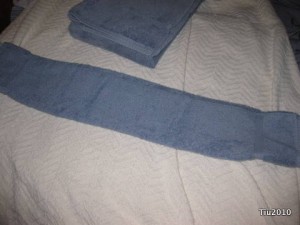
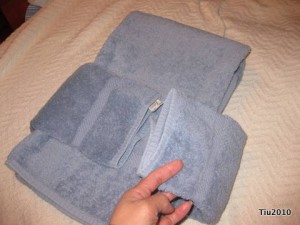
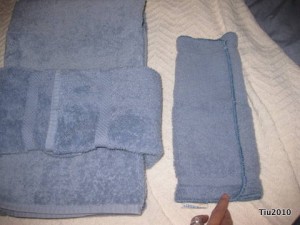
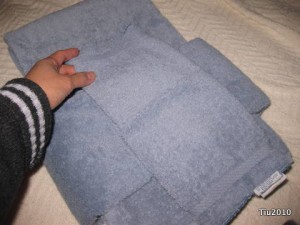
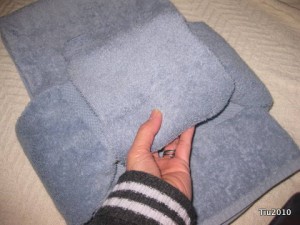
Here’s my favorite way of setting up my towels on the bed for a cute “welcome”. One of my best friends taught me this a long time ago when I stayed at her home for a few days. Sorry, you might only get this the first time you come over, after that, you’re like family and I don’t sweat it out so much.

Abby took video footage of me putting it together (our first video tutorial), but the file was too big to upload! This will have to do.

**Update** I figured out how to add video:

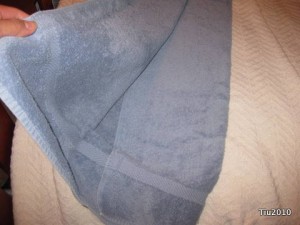
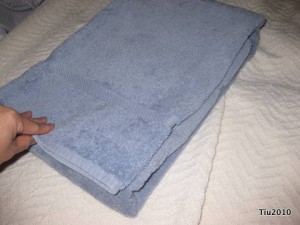
1) Take the bath towel and fold into thirds along the long direction.

2) Fold into thirds the other way (short direction).

3) Take the hand towel and fold into thirds along the long direction.

4) Now wrap the hand towel around the bath towel.

5) Take the wash cloth, fold into thirds, then wrap around the hand towel to hide the ends and create a “bow” appearance.

Voila! Hotel-ish towels for your guests… enjoy!

Hanging Frames Somewhere

Pressed Leaves in Frames

This may be one of my more visibly Martha Stewart-esque home decor crafts. I collected a few leaves around our neighborhood and pressed them in between the pages of a heavy phone book (Yeah, that’s what they’ve been reduced to. Never mind actually looking up phone numbers in them.) You’ve got to love autumn leaves. The colors are outstanding. Ginkgo leaves might be my favorite next to maple leaves. I forgot about my ginkgo leaves drying- for a year! But I re-found them, and added them to the maple leaves and red oak leaves from the backyard. The question is, where do I hang these up?

I was originally going to hang them in our guest bathroom in the basement. But they’re so pretty, they could go in our dining room or maybe our bedroom? You see the struggle I have with hanging pictures and frames? I probably would have more things up on the wall if it wasn’t for my complete lack of faith that I’m placing them in “just the right spot”. This is also just one reason why I’m not an interior designer or decorator.

New mahjong player in town

(My 50th post… should I celebrate?)

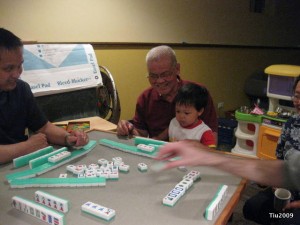
The kids really enjoy when we’re all together and the mahjong tiles come out. The little one is getting into it. I’m sure generations of my husband’s family have played and handed down the rules, etc. I never quite understood the game as played by Filipinos, but when I watched and learned from my husband, it became much simpler. The Chinese (family) rules are much more complex than the Filipino version. Don’t ask about Hong Kong style. I hear it’s a whole other level.

Personally, I haven’t played in a while, and I still can’t score my own points. I’m usually the one at the table saying, “Just tell me how many points I have… I trust you.” Basically, I’m intimidated to play with my in-laws and I was never really up on strategy games either. I get stressed out especially when someone’s standing behind you saying, “Oh, why did you pick that tile?” or “Oh, don’t give up that tile…” Worse than backseat drivers.

Learning mahjong from the best

They play on a homemade, custom table top that goes over a regular card table: Plywood, 1x material, felt and window screening. Tiles move around like butter. My family borrowed it and really liked it. So, Husband got material from a friend, who in turn pre-cut and routed all the material for us. Husband took friend out for breakfast.

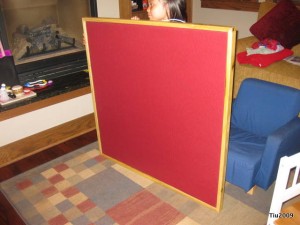
Here’s the new table top for my aunt and uncle. I think the red felt behind the screen material is great!

Mahjong table top

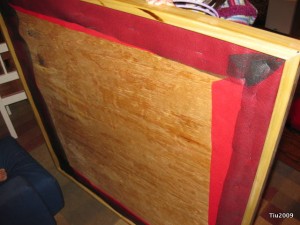
The backside of the table top is much neater than ours, of course, this is the 3rd one my husband has made with our soon-to-be brother-in-law. Lightweight staple gun with staples less than 1/2″ does the trick.

Underside mahjong table top

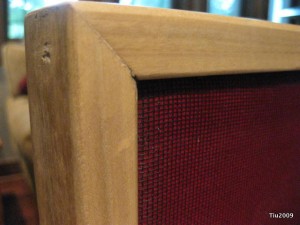
Close up of fine “Chinese craftsmanship”… tiles don’t fall off the table because of the frame.

Detail of mahjong table top

Could this be a “cottage industry” sort of product? How much would mahjong players be willing to pay for this?

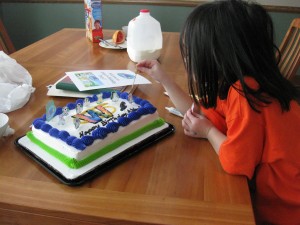
Another candle on her cake (Webkinz birthday theme)

If I think about too much, it’s almost a heartache how fast Abby has grown. I’m so proud of her.

img_1523img_1524

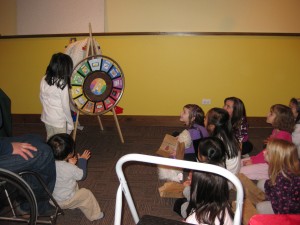
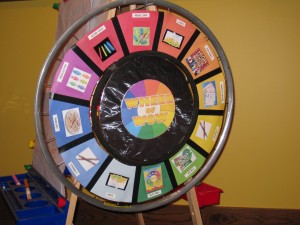
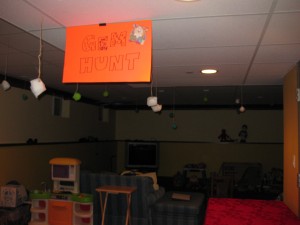
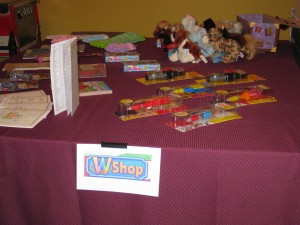
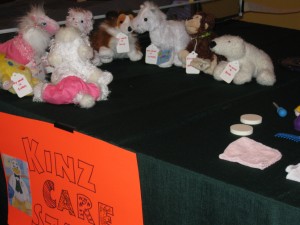
She’s putting last touches on her Webkinz themed cake for her Webkinz themed birthday party. It was a blast crafting ponchos for all the pets, decorating bags for game prizes, our own homemade Wheel of Wow, Gem Mining and W Shop.

img_1514img_1535

img_1519img_1521

img_1518img_15271

The pets… I mean, kids, had an awesome time.

img_1554

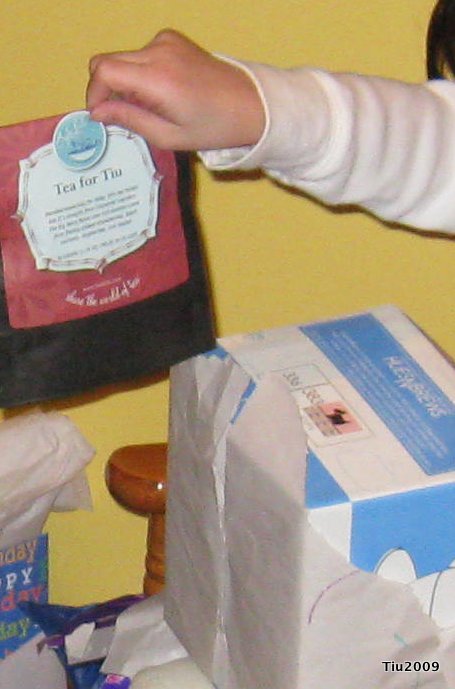
Friends gave her a special tea blend named for her: Tea for Tiu. Strawberry tea goodness.

img_1571

Happy seven candles, my first little one. How big you are now.

Looky what we found here

Oh my goodness, someone (other than my husband) please tell me about this game. Does this look crazy, circa 1970-forgotten? Maybe 1980-something. I thought this might make a funny White Elephant gift. Don’t you love how her cups are running over, and she’s holding a gun? And the look-at-my-pecs-hero-guy, and crazy pirate-muscle-man at the bottom?

img_1355

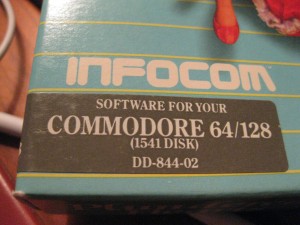
Commodore64! I had to chuckle out loud. There’s a whole generation out there who don’t know what this is anymore, right? I opened the box, and Abby sees the 5-1/4″ floppy disk. Again, “Mom, what’s this?” “It’s a video game.” “Can we play it?” “No, it’s too old for our computers.” Sigh. We’re getting old.

img_1356

Eastman tells me that this belonged to his buddy. Did his buddy forget all about this game, and would he take it back? Why was it hidden in storage for so long?

Related Posts with Thumbnails