Acorns and Projects

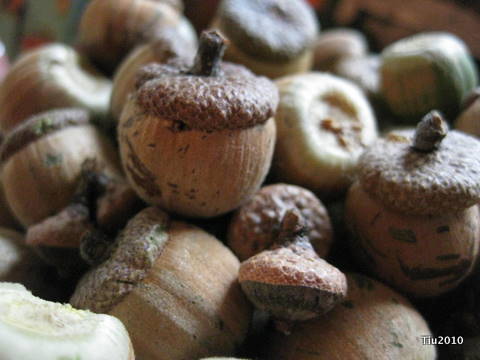
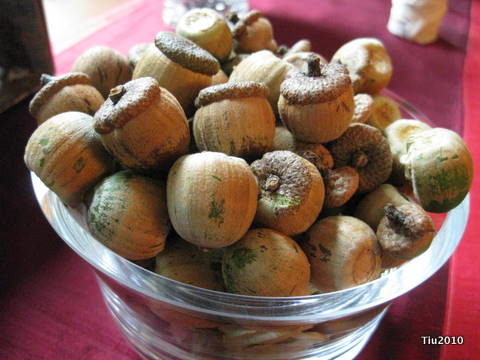
We’ve lived in our home for four years this summer and never have we seen or heard so many acorns falling from the red oak that lives just off our patio. I have no idea why it’s happening this summer, maybe because we had it pruned last winter? Maybe it’s the weather? Our daughter’s room is also on that side of the house, and she woke up this morning startled from the knocking sounds. The patio has shards of split acorns, fragments of acorn tops and toppled potted plants from the squirrels. I bet it’s one reason our little woodland friends have left our vegetable garden alone this late in the season, too.

Almost every morning, I’ve gone outside to assess the garden, the lawn and landscaping and after walking around bits of acorn shells get embedded in my flip flops. But, now and again, I find whole acorns and of course, I pocket them. It reminds me of picking and collecting pine cones everywhere I went. (Heck, I do that now with the kids when we’re at the park.) I’m fascinated with the little acorn shapes, and more curious about what I might do with them. Right now, they’re sitting on our dining room buffet. But maybe…

…maybe I’ll turn them into something later this Fall.

Nature Craft – Acorn Fairies at Blissfully Domestic

Harvest Napkin Ties at Martha Stewart

Something similar to this Acorn Necklace at Heather Donohue Crafts

Pillowcases – Another Project to Check Off

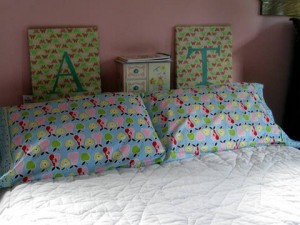
I finally finished these pillowcases, and taught myself how to do French seams from the Pretty quick pillowcase tutorial (& bonus french seam instructions) at Film in the Fridge. Think of the possibilities for the holidays?! I may be busy sewing for the next few months.

Notice anything? The design is upside down on the left hand pillow. Yes, lesson learned. Now I know what one of the tutorials meant by “good with non-directional prints”. I didn’t really stop to see how it was going to look. Abby didn’t seem to mind. She said, “That’s okay, Mom.” What a relief. Besides that, I turned the main fabric (apple print) 90 degrees contrary to what most of the tutorials showed. I don’t know if it matters. It’s just that if I didn’t, the apples would be sideways, and that’s not really what my daughter wanted.

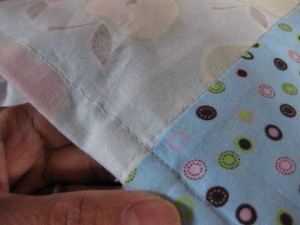
Here’s a detail of the cuff from the inside. Nice and clean.

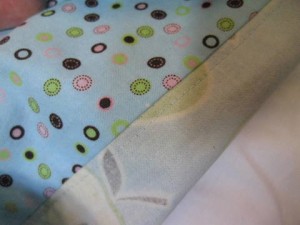
Basically, what you see right-side out is normal. What you see when the pillowcase is turned inside-out is this: the French seam. No raw edges.

Looking to add something to your list of projects? Here are some more sites that I scouted:

Tutorial: Newspaper Seedling Pots and Cardboard Garden Tray

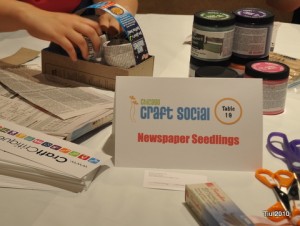
It was another awesome time at the Chicago Craft Social last Friday night! I’m writing about the event on Craft Critique, so here we’ll just focus on this cool, recycle/upcycle project.

(Update: The event review is posted on Craft Critique now.)

Leading this table was a lot of fun, and I promised some new crafty friends that I would have instructions posted on this very simple eco-friendly outdoorsy project. Though it may be a little late in the season, I might start some vegetable seedlings for late summer/early fall planting. What I love about the pots is that there’s no adhesive, and you can plant the whole thing in the ground once your seedlings are established.
The newspaper seedling pots: newspaper and scissors

I didn’t use any forms or jars to form my pots, but there are certainly products out there that are sold at your local garden shop for not a lot of money. I took full sheets of newspaper and cut them in half, then half again (quarter-pages). Using two quarter sheets, roll them up like toilet paper roll size.
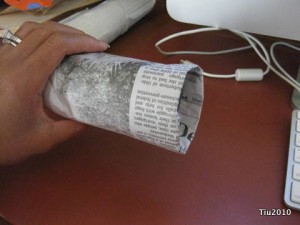
Fold one end of the tub into itself (about 1/4″ to 1/2″) and press. Repeat. Folding over a few times will give the pot some structure, a little collar of sorts.
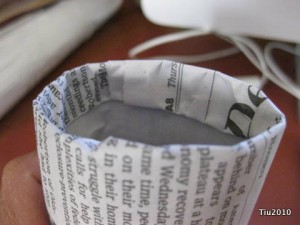
Now the tricky party: the bottom. I place the tube over my fingers like a puppet and just start folding the bottom into itself, as if I’m wrapping a cylindrical gift.
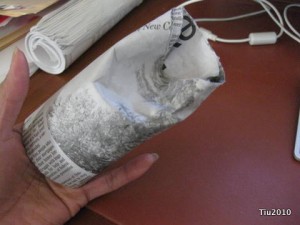
Eventually, you end up with a triangular little piece of paper, and that can get tucked in. Actually, I smash it onto the table to help get the folds to stay. No adhesives.
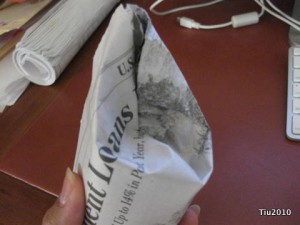
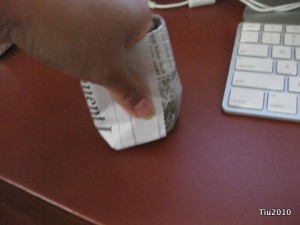
This isn’t going to look super neat, but I figure, after you’ve filled the pot with soil, and you’ve started watering your seedling, the paper is going to stick to itself after getting wet.
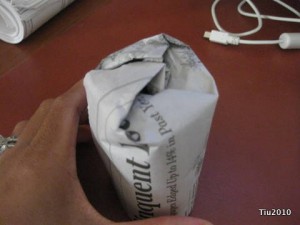
Now the tray: cardboard, cereal boxes, snack boxes, ruler, cutting mat, rotary cutter or utility knife, bone folder (optional)
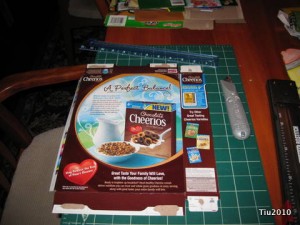
The tray was just something simple for crafters to carry their pots home, but think of the possibilities with kids and a little paint or stickers! You can use any cardboard box, like cereal and snack boxes. One box will make two trays. So, cut apart your box: front, back, two sides.

Take your large rectangular piece and measure 1-1/2″ to 2″ from each side – the width is up to you. Then using a straight edge, make a line from outside corner to “inside” corner. Score (not cut) on these lines.
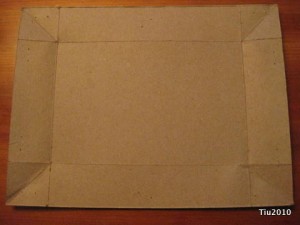
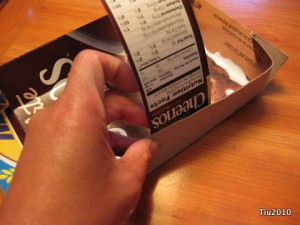
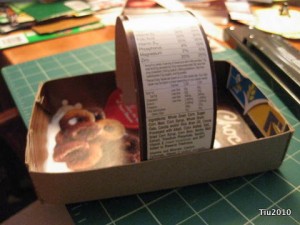
At this point, you should be able to fold the cardboard and start forming the tray. The diagonal lines can be “pushed” into the tray. This then gets stapled to the tray side (doesn’t matter which side).
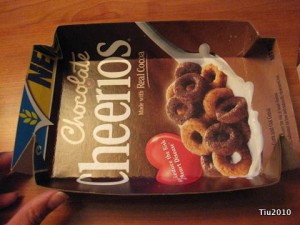
Use a box edge to create the handle… just staple onto the tray.
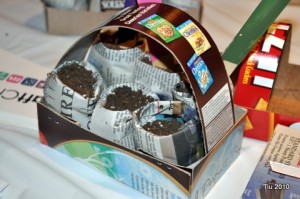
The tray below has a 1-1/2″ edge. The 2″ tray looks is shown at the beginning of this post and here at my friend’s blog, “Our Tiny Oak Park Bungalow“.
***

Looking for more crafting, my review on Xyron’s Creatopia machine is posted at Craft Critique (disclaimer). This machine is amazing! Check out all six articles, and there’s a great giveaway that ends on Saturday, June 26! Good luck!
Some Festive Cards for anytime

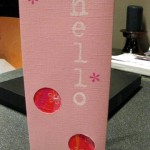
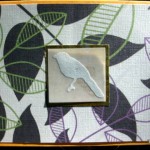
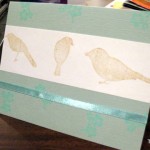
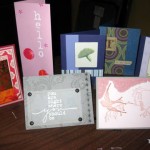
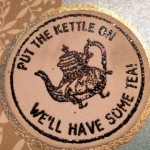
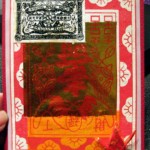
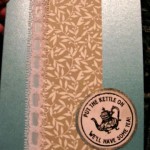
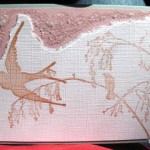
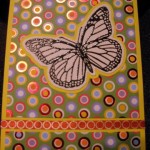
I was busy last week getting a pack of cards ready for a silent auction. I hope the winner enjoys these and actually uses them. (Click on the picture for a better look.) Now I need to get crackin’ on a few mother’s day cards and one birthday card for a friend’s daughter who turns one this weekend!

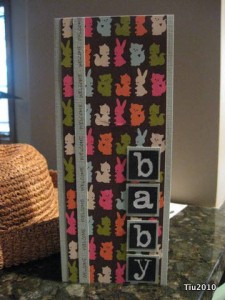
Baby Shower Card

It’s taken me this long to recover from Easter weekend. I ate too much. I exercised too little. The kids were delirious at the dinner table last Saturday night when we celebrated my uncle’s birthday at an Italian restaurant known for their incredibly generous portions. Then we had brunch Sunday morning after Easter mass. Glorious, isn’t it, especially when it’s good food? I felt okay up until Sunday night… when I put on my pj’s to sleep and felt like a blown-up beach ball about to burst at the seams. Sunday morning should’ve clued me in when I woke up and wasn’t hungry until 11:00 AM.

But, besides birthdays and Easter, it’s baby shower season! We have 11 pregnant friends, and they’re all delivering between May and August of this year. Quite the “Year of the Tiger“! And this card, no stamping needed!

  • 8-1/2″ x 11″ cardstock (Bazzill Basics: Hazel)
  • Four cardstock squares in a contrasting color 3/4″ x 3/4″ (I used black. Brown would have been nice.)
  • 3″ x 11″ piece of coordinating patterned paper (blue skies/so happy together by American Crafts)
  • Rub-on letters (close to 3/4″ tall)
  • Equipment: paper cutter, adhesive

1. Take your solid color cardstock, lay landscape and cut off about 1 centimeter. Save the strip. (Yes, I switched to metric.) Making the paper 27 cm wide makes it easier to measure evenly. Now cut 9 centimeters off. Save that scrap. With the remaining 18 cm, fold in half. The card should be 9 cm x 11″. This fits into a regular business size envelope.

2. From the large scrap, cut four 1″ x 1″ squares (a.k.a. inchies).

3. Use rub-on letters to spell “baby” on contrasting 3/4″ squares. Adhere to the 1″ squares.

4. Cut a 3″ x 11″ piece from the patterned paper. Center and adhere onto card front.

5. Place and adhere “baby” onto the cardfront.

6. Take the tiny strip of cardstock saved from Step 1 and glue that to the cardfront, also. In your own penmanship write the word “Welcome”. I repeated the word, separating it with a dot. (kind of like: welcome • welcome • welcome)

I’m thinking of featuring some bread recipes next week, but I might be a bit busy with Communion activities… only 10 more days!

Craft Product Review: Liquitex Ultra Matte Gel

Been looking at my craft stash lately. Been buying more stamping supplies, too. What fun! Here’s a look at what I’ll be doing for Craft Critique in the next few months.

Update: This article is posting on April 5, 2010 at www.craftcritique.com

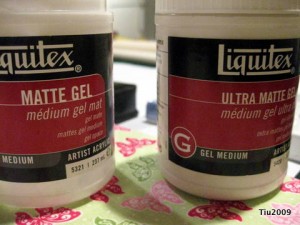
Liquitex Ultra Matte Gel (gel medium)

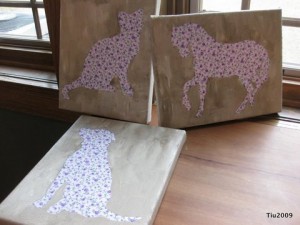
Gel medium is one of the most versatile products you can have in your arsenal of craft tools. It can turn any piece of fabric into a primed canvas for painting. It can also be a great glue for collages or protect pictures and paintings. Mix it with your acrylic paint and you’ve extended its life. I’m sure there are more uses, but being an intermediate non-professional crafter, I like to use it for my painted fabric silhouettes.

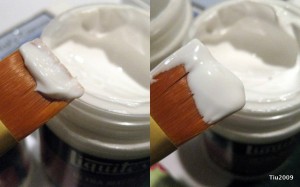
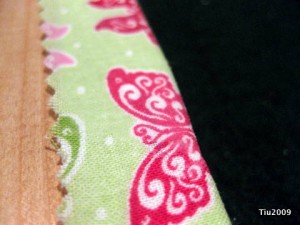
I’m comparing the Liquitex Ultra Matte Gel to the Matte Gel, which has been my preferred substrate. Both have the consistency of a smooth, non-sticky, lightweight batter, but Matte Gel (on left) is translucent while the Ultra Matte (on right) is semi-opaque. For my purposes, I needed to thin the Ultra Matte Gel so my printed fabric would show through. However, when the gel medium was fully dry, you could tell that the original color was slightly altered (see fuschia butterfly wing). If keeping the original vibrancy is an issue, I would stick with translucent or transparent gel medium.

For lengthening the life of a mixed color, Ultra Matte Gel is fantastic. Just don’t use too much, otherwise your color will lighten. Remember to do a test spot in any application.

Retails anywhere between $10-$12. Store coupons are useful since these products hardly ever seem to go on sale. I was fortunate to find this in the clearance rack for under $4.00.

Pros:
A little goes a long way
Slow drying and does not yellow
Nice matte finish
Can be thinned with a little water
Easy clean up

Cons:
May be cost prohibitive
Slow drying
May dull or lighten colors

Update: This article will also be posting on the Craft Critique site in the near future.

Disclaimer: I was not paid by Liquitex or Craft Critique for my opinion.

Related Posts with Thumbnails