Project Progress: The T-shirt Quilt

tee shirt quilt

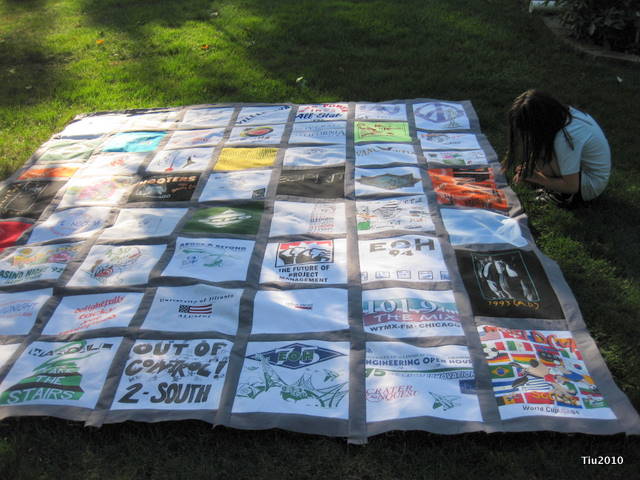
Remember this?

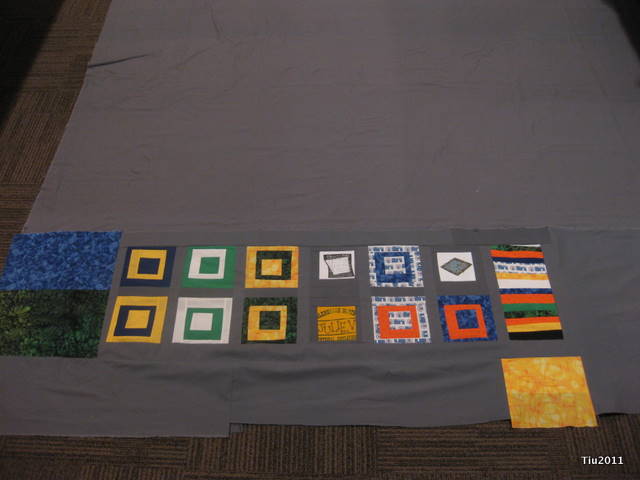
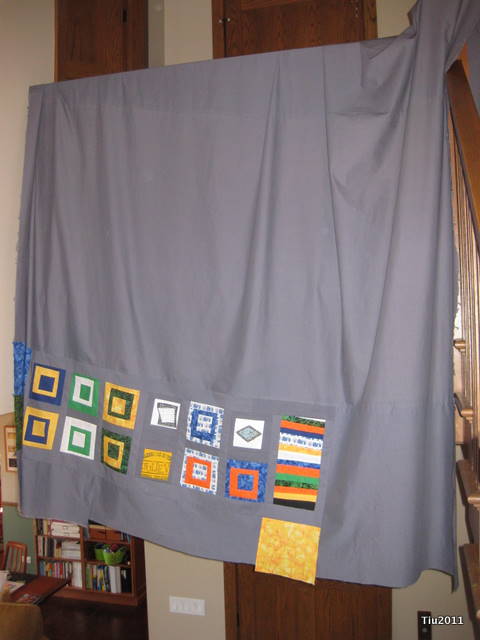
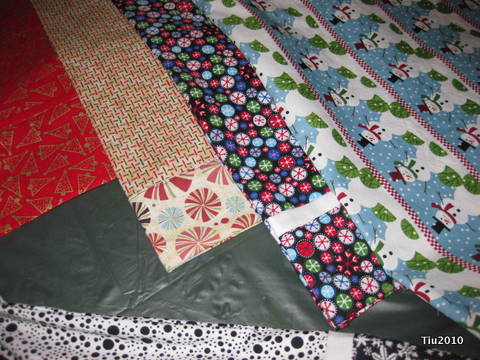
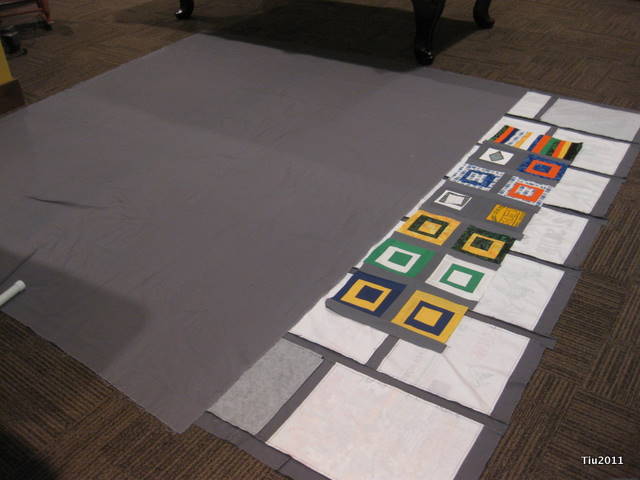
Now it has a backside.

It would’ve been finished a long time ago except for three things.

One – I miscalculated the amount of solid color fabric (Kona Coal) needed and bought too little.

Two – I usually wait until the sales to buy fabric, but Kona Coal is one of the most popular color at our local store which means it’s almost always out. I didn’t attempt to “special order” it, or comb the online stores either. So I waited. And then waited some more. Finally got the end of a bolt last week.

Three – I could’ve just made the quilt back all easy-peasy, but no. I had to get all fancy and try my hand at some wonky squares, and it was difficult just figuring out the final layout. Oh, the amount of sketches I did, and piecing things together on the floor. I told myself, “Sheesh, it’s just a blanket… just finish it already.”

quilt back

And now, it’s done!

quilt back

Going BIG with my first quilt.

Now it’s time to make the quilt sandwich… I have the batting, and a ton of safety pins to put it all together. As much as machine-quilting looks fun, my machine would probably explode if I even attempted to freestyle quilt. So, I think this one will be hand-tied the good old-fashioned way. My daughter really wanted to help out, and I think it’s something we can do together. Any tips on what sort of thread to use? Next time I go to our fabric store, I’ll be asking the ladies at the counter… they’re just as excited that my project is moving along, too.
Peace Day Tote Tutorial

My daughter loves the peace sign, ☮. So when I found this fabric at the local JoAnn Fabric store, I knew she’d like it. She asked if I could make it into a tote bag…uh, earlier this winter. *sigh* Fortunately, I made some time over the New Year weekend and was able to finish it.

What you need

1/2 yd cotton or canvas fabric – print
1/2 yd cotton fabric for lining
1/3 yd cotton fabric for handles
Tools: iron, ironing board, sewing machine (unless you’d like to sew by hand *grin*), large safety pin

What to cut

  1. Cut two rectangles, 12″ x 15″, out of the printed fabric
  2. Cut two rectangles, 12″ x 15″, out of the fabric for the lining.
  3. You’ll need (4) straps cut out of the handle fabric, cut 3″ x 34″.

Sew it up

  1. Put your printed fabric right sides together, pin, and sew up the sides at 1/2″ seam allowance. Press.
  2. Pin the bottom edge (12″ side), and sew 1/2″ seam along the pinned edge. Trim your corners at 45 degrees.
  3. Your tote should be looking tote-ish now, except inside out and the top edge is raw. At your ironing board, fold/flip back the top edge by one inch or so, so that the printed side is showing, press. Then tuck the raw edge in toward the fold. Press. You don’t have to edgestitch now.
  4. Repeat steps 1-3 with the fabric for the lining.
  5. For the straps: Pin two handle pieces, right sides together, and sew 1/2″ seam along the long sides. Press seams open and flat on both sides. Turn the straps right side out with the help of a large safety pin, or if you have a loop turner, that works well, too. Finish the other strap the same way. Press both pieces.

Put it together

  1. I attached the handles inside the bag. Take your printed bag, and turn it right side out. Press. Play around with the straps… Once you figure out where you want the handles, pin the bottom raw edge of your handle about 1-1/2″ below the top edge of the printed bag. Stitch in two locations to make sure the straps stay in place (see pictures?). Do this at each of the four ends.
  2. Now take your lining, turned inside out, and drop into the printed bag, so that the wrong sides of each bag are together. Your tote should look just about finished.
  3. Pin the bags together, lined up at the side seams. Be careful with the straps. If you have a free arm on your machine, this would be a good time to use it. Topstitch the bag 1/4″ from the top edge. This will attach the lining, secure the straps and finish the tote. Don’t forget to press to finish.

Winter Pillowcases

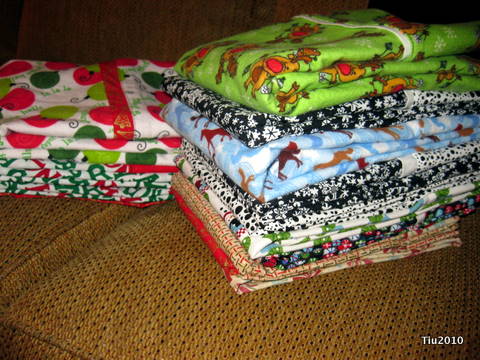
Ever take on a project that you think will be a piece of cake, but then it takes longer than you initially estimated? Happens to almost everyone I know. Happens to me all the time, but it’s always worth it. I’ve been busy crafting for a cause…

I delivered sixteen pillowcases tonight to children at a hospital in Chicago. I met all but three of the patients… a few were very young, others very much teenagers, some needed more help than others. In every patient, I saw a child who didn’t or would not be going home for the holidays. I met parents who spend countless hours by their child’s side.

Not knowing what to expect from my visit, I was overwhelmed exiting the building and a little teary-eyed.  I was happy to have been able to spread a little Christmas cheer, but it was just so humbling.

What’s your small gesture this season, your little random act of kindness?

Crafting or Cooking for a Cause

I read this article in the paper the other day about volunteer opportunities. This immediately caught my eye:

The Northern Illinois Food Bank needs 260 handmade holiday cards to include in boxes of food sent to senior citizens in December. Contact Tia Milne at 630-443-6910, ext. 130.

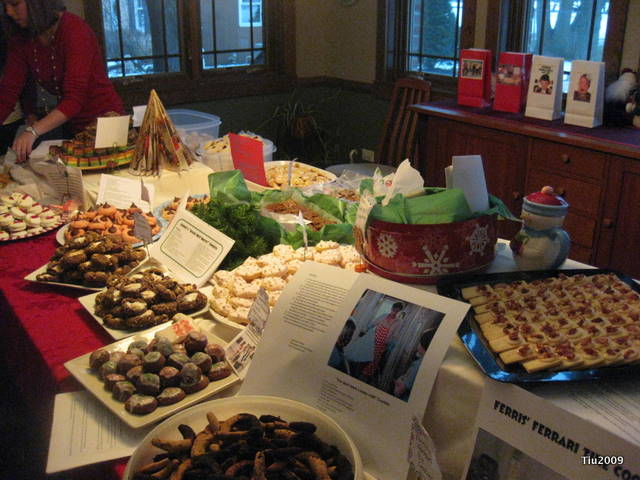
And, because my cookie exchange party is just around the corner, I thought this was timely, too. Eight dozen cookies in the house… it’s easy to share.

Advocate Hospice needs holiday decorations for its centers and homemade cookies to give patients and their families.

How many of you sew? There’s a need for you, and not just around the holidays!

Assist in making bed jackets, lap blankets and other items for patients – be a L.O.V.E. volunteer.

I’d love to hear about your favorite organizations or maybe you craft or cook for a cause… more to come.

Catching up on Crafty Inspirations

I love these artists, bloggers and their creations… they just make me drool. Check them out if you dare.

Donna Downey

Image from http://donnadowney.typepad.com/

Of course, this is just a handful of things to check out. I’m completely backlogged with articles to read and projects to finish.

Other random Friday thoughts…

  • I’m excited about working with new reporters at Craft Critique.
  • Still working on the t-shirt quilt, but finished a couple of baby blankets.
  • After hosting a party, I usually have two to three (relatively) unproductive days. I need to clean up.
  • I can’t believe Thanksgiving is nineteen days away.
  • Most of my family will be in the Philippines for Christmas = early Christmas shopping and gifts.

A Really Good Weekend

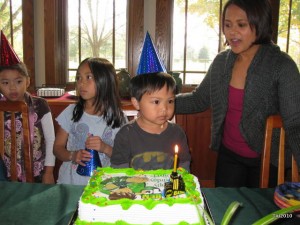
I spent lots of time preparing for last week and weekend… not only was it Halloween, but our little man turned 4.

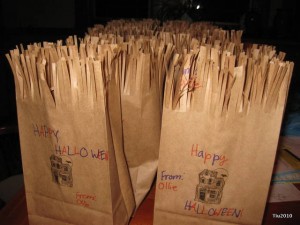
And, as usual, the Halloween crafts didn’t get done, but I did get goody bags finished the night before the school party.

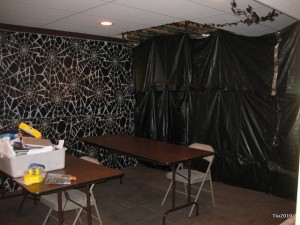
I always intended on posting a tutorial for a last-minute batcave made from store-bought wall decorations, dollar store garbage bags and duct tape… but unfortunately it was far too last-minute. I was busy writing a food article for Halloween.

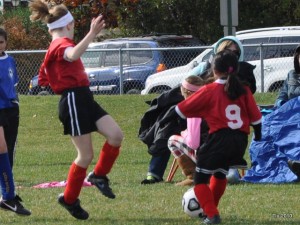
On Halloween, Abby played her last soccer game (the team’s record 6-1-1)…

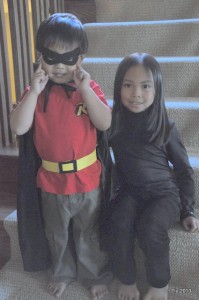
… then we headed out for some trick-or-treating with friends.

Like I said, a really good weekend. I hope all of you out there had one too.

Related Posts with Thumbnails