Craft Book Review: Desire to Inspire

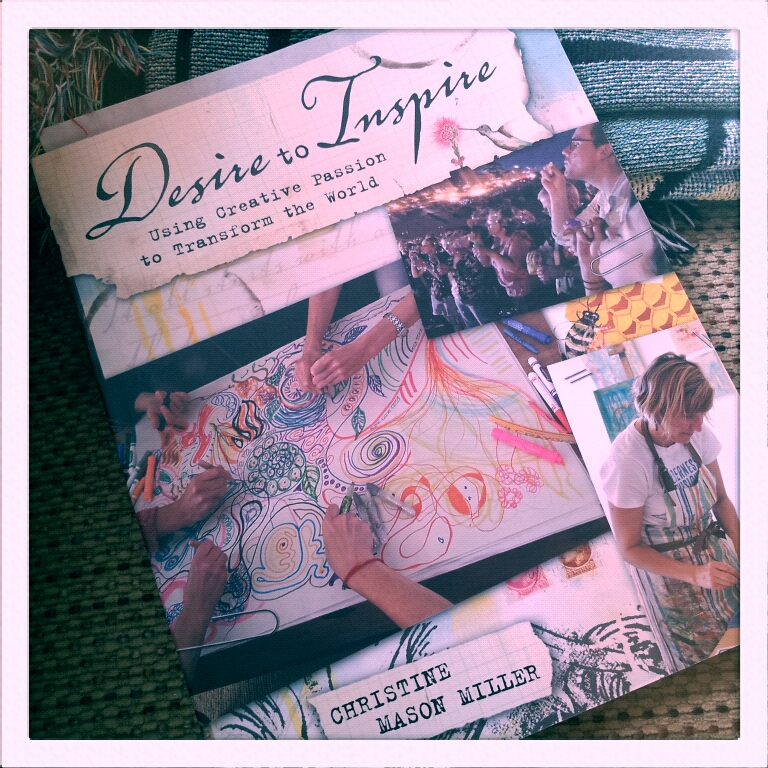
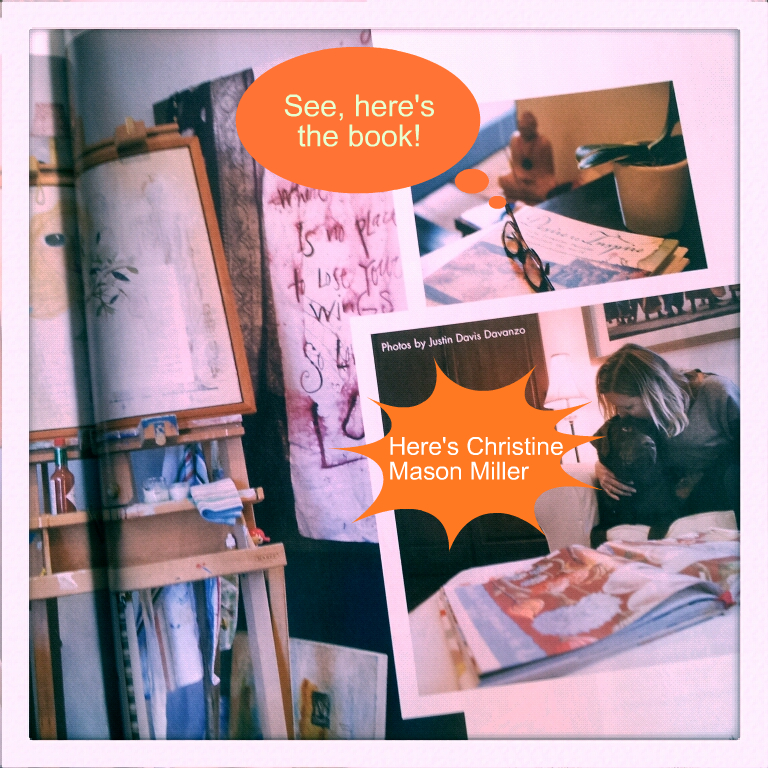
I picked up “Desire to Inspire: Using Creative Passion to Transform the World” by Christine Mason Miller (2011, published by North Light Books) this summer after spying it in a picture… in a magazine. (Keen eyes, eh?) I thought, “That looks interesting.” Actually, the magazine article was about Miller’s creative space – I wish I had that creative space. Rephrase: I’m wishing and hoping that I get my act together to make a creative space.

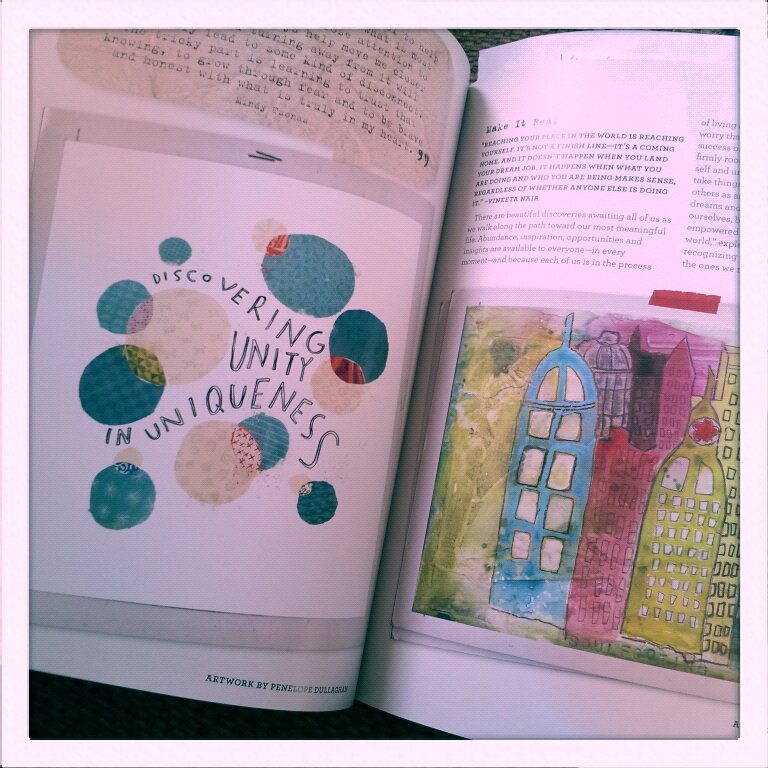
Miller brings together a body of artists, creative writers, entrepreneurs to showcase the ways we can impact the world through sharing and making art – nineteen contributors plus the author, in all. The book intertwines stories, exercises for the reader, and includes pull-out inspirational quotes.

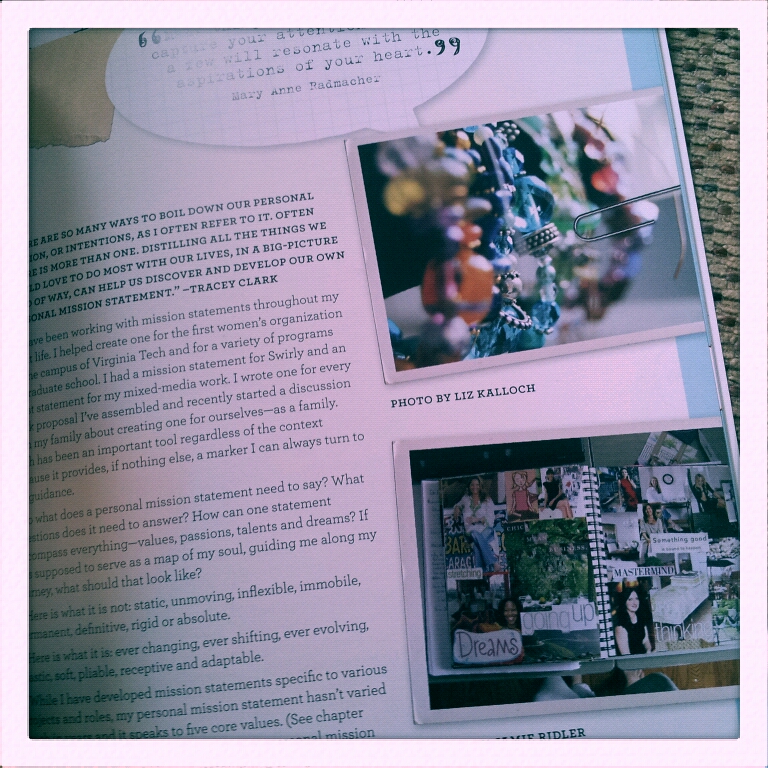
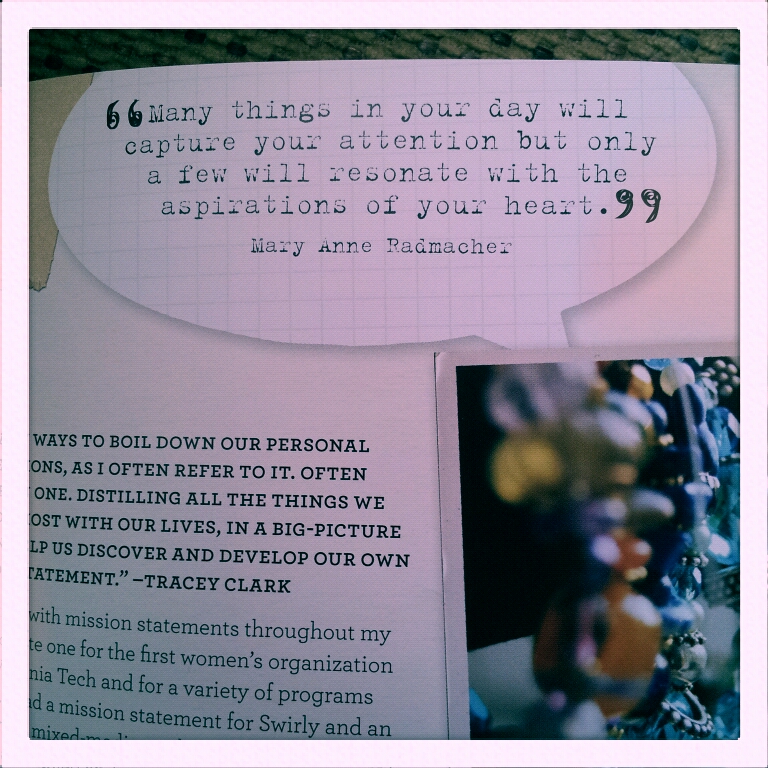
The personal quotes, photos, original artwork… beautiful and nicely organized. Sometimes I found the book theraputic, sometimes as an art journaling manual, helping corral your thoughts on paper, artistically. Sometimes, I just found myself drooling at the pictures. I used to journal like the one in the picture below.

You might think it’s a “new age” book… not spiritual, but it kind of is. All the contributors speak of their creative passions… sharing them to inspire others.

This book would be great, not just for all you creative types, but for those of you who want to be creative but don’t think you are… does that make sense? Everyone’s creative – just different levels. It doesn’t have to be all paint, drawings, sewing, paper and scrapbooking. The book helped me take time to rediscover, review qualities that I sort of know are there, but just haven’t thought about in a while… I found the book at a good time when I was talking to my husband about using my talents to help others, to do good.

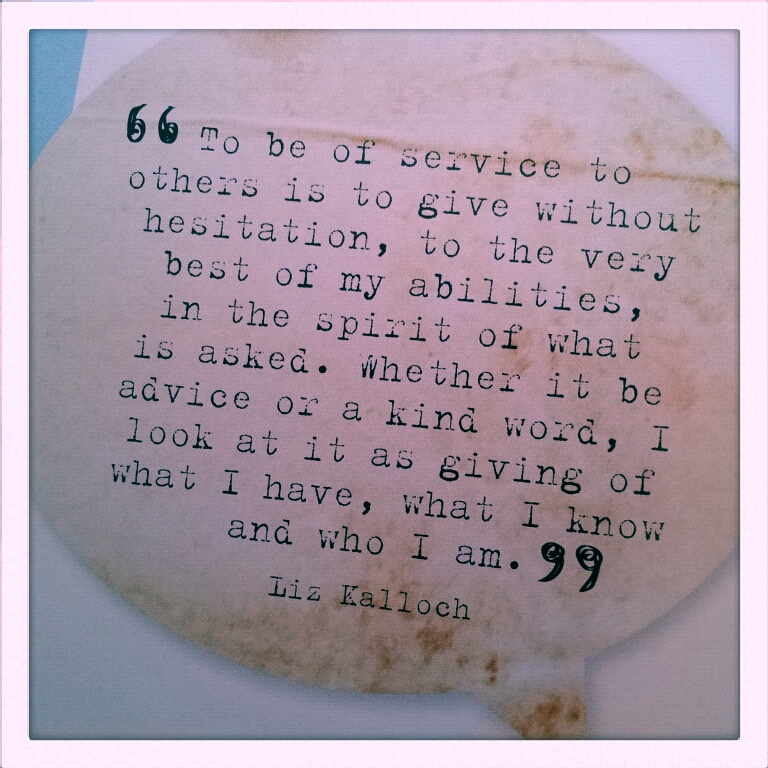
“Being of service to others starts with being exactly who you are. The world needs your gifts.” – Jamie Ridler

Craft Book Review: The Star Wars Craft Book

The Star Wars Craft Book | project-in-progress

“Dedicated to Geeky Craftsters everywhere. May the glue gun be with you!”

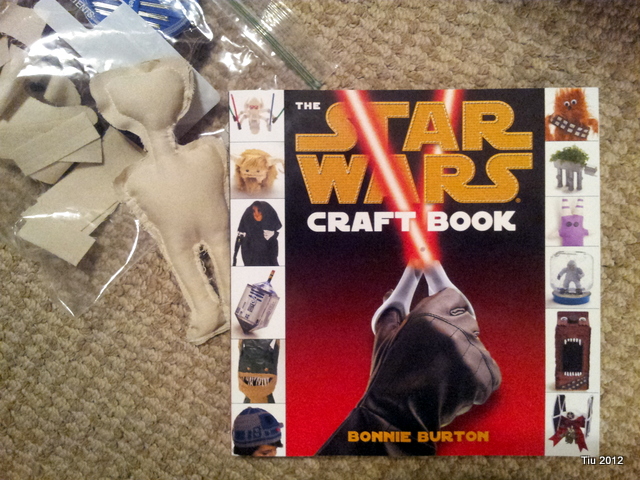
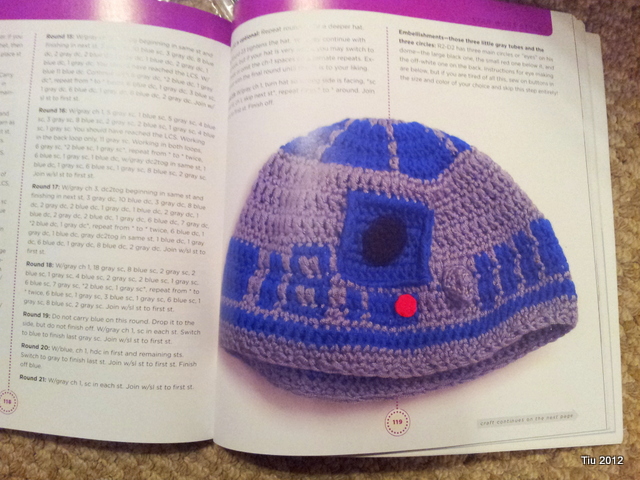
I received The Star Wars Craft Book by Bonnie Burton (Del Rey, 2011, 156 pgs.) as a Christmas gift last year. Galactic ideas here. Clever projects use material you can probably find around your house, and if not, they aren’t too pricey. Like usual, I devoured the book and earmarked some projects, (like this R2-D2 beanie!), but only recently started my first project.

If only I knew how to crochet…

I found the book tone very casual unlike a Martha Stewart craft book – very precise. That’s not a bad or good thing… just an observation. The patterns for all the projects are located at the back of the book and online (if you don’t want to cut up your book, or need to copy and enlarge the patterns).

Jar Jar in-progress

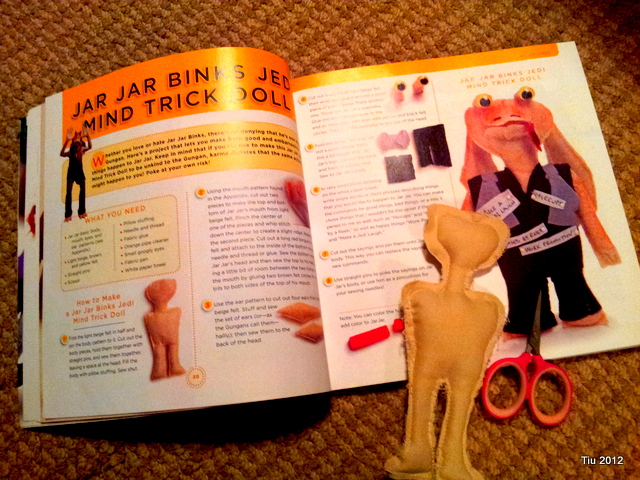
My son asked me for Jar Jar Binks Jedi Mind Trick Doll. Not my first choice. My husband asked him if he might like some other project: the Bith Band puppets, a Bantha… maybe Han Solo in Soaponite. Nope.

“Jar Jar. Because he’s cute.”

One issue with the Jar Jar project material list: red felt is missing. You need it for Jar Jar’s tongue. The directions are easy to follow, but the directions fail to include a step for the arms. They are included in the pattern.

So as of this post, the project is in-progress. Since I didn’t have any felt on hand, I decided to use what I had: cotton and some flannel. I always seem to drift away from patterns (craft apron), directions (t-shirt quilt) and recommended materials. They’re just suggestions, right?

I’ll post the finished project as an update… and, would this book be a welcome addition to the Geek Crafter in your life? Yes, yes it would. It’s fun for the whole family, it’s fun if you’re a Star Wars fan… just plain fun!

Teacher Appreciation Gift Idea: Daily Dose of Kindness and Free Printable Template

Thoughtful teacher gift idea

Don’t know about you, but once Spring Break ends, school days go by like an out-of-control snowball on a sledding hill. And the parties, picnics and project lists grow and grow. So I like gift ideas that are pretty easy to put together, both in time and materials.

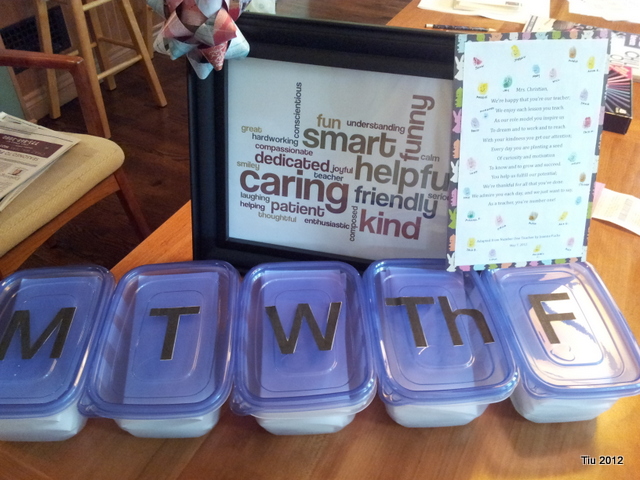
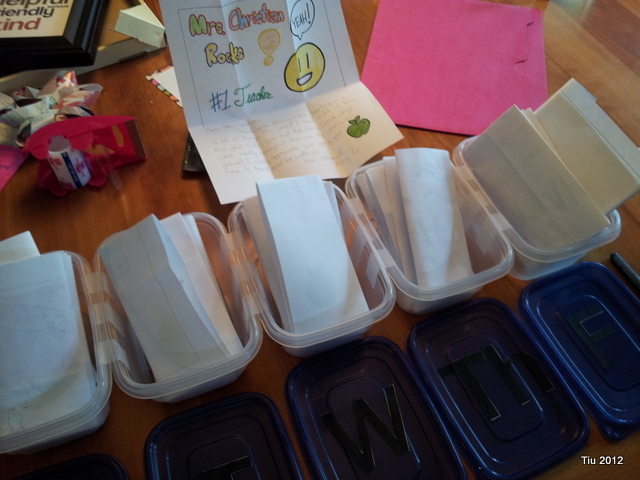
A few weeks ago we celebrated National Teachers Appreciation Week, and I had a nice time putting this together for my daughter’s homeroom teacher: a giant “pill box” with letters of appreciation from her students. It’s thoughtful and heartfelt; an option to candy, flowers or a gift card – which we all know we all do.

Along with the letters, I put together a “word cloud” using wordle.net, printed it out and framed it. All the students listed two or three words that they felt described their teacher.

Materials needed for a giant letter-pill box:

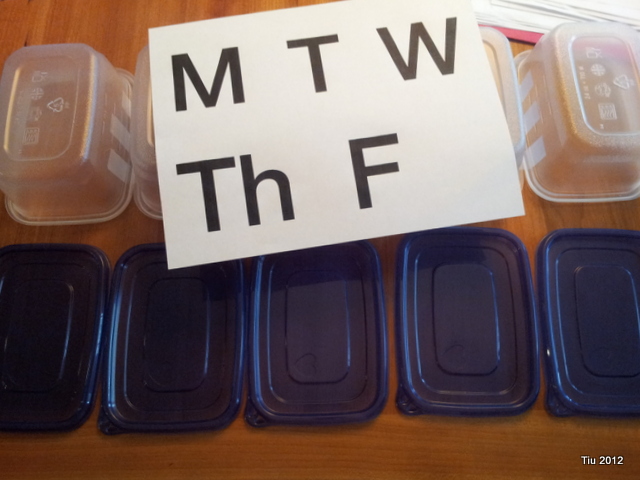
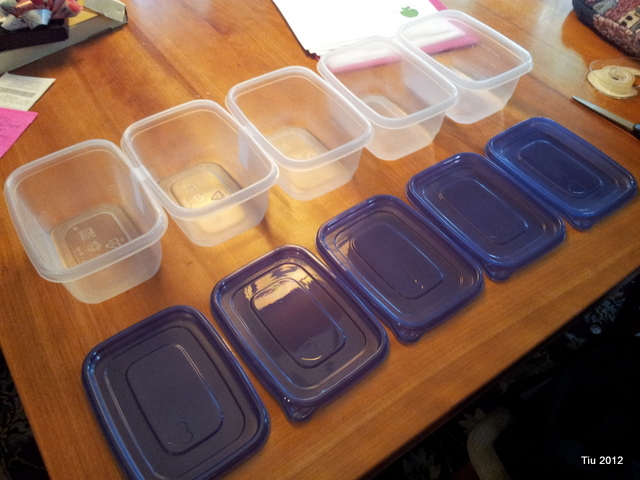
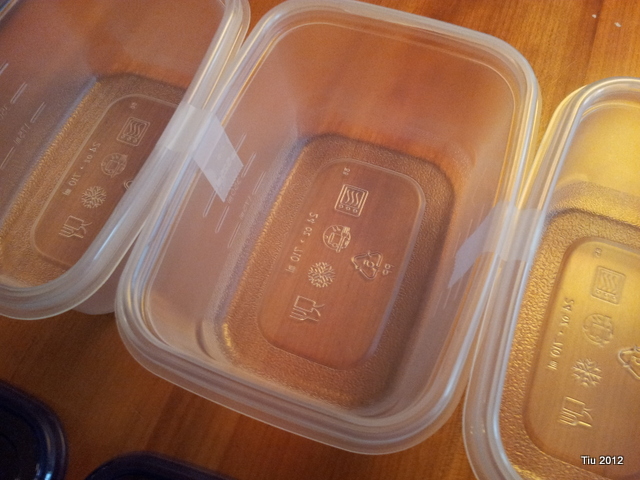
  • (5) plastic containers (2-3 cup capacity)
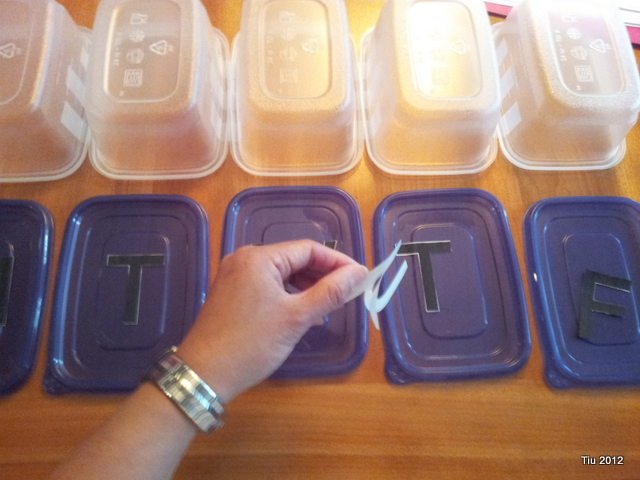
  • Stencils or vinyl stickers for the days of the week. I was able to print out letters and use my Xyron Creatopia machine to make stickers.
  • Scotch tape or clear packing tape

Giant "pill box" for teacher letters

Adhere days of the week stickers on teacher gift

teacher gift in progress - tape boxes together

Teacher gift in progress - days of the week stickers

Teacher gift: place letters in the boxes

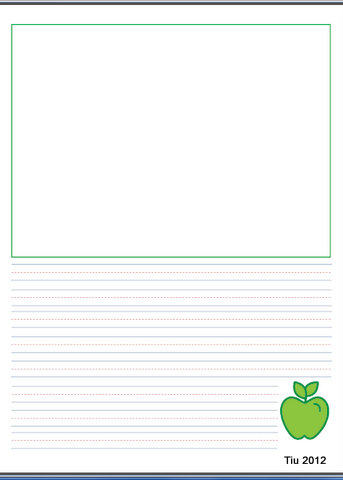
Here’s a Cute template for student letters that I made using Microsoft Publisher. Totally optional, but it’s something easy to print out and have all the students do. They can draw a picture and write their letter… so cute. (If you click on the picture below, you will also be redirected to the printable document.)

Teacher letter template - drawing and writing space

Hope this inspires you to shower your favorite teachers with a dose of kindness!

Halfway through May: Super Moon, Crafting, Teacher Appreciation

May started with a great Super Moon

Hello, friends. I know I say this all the time – where do the days go?! Seriously, here we are in the middle of May, and it’s been forever since I’ve blogged. Thanks for staying connected with me on Facebook and Twitter. It’s truly appreciated. Those outlets have helped me stay in touch when I’ve come up for air.

Soccer and t-ball practices, class projects, teacher appreciation week, baptism, communions, weddings… Spring is in full swing.

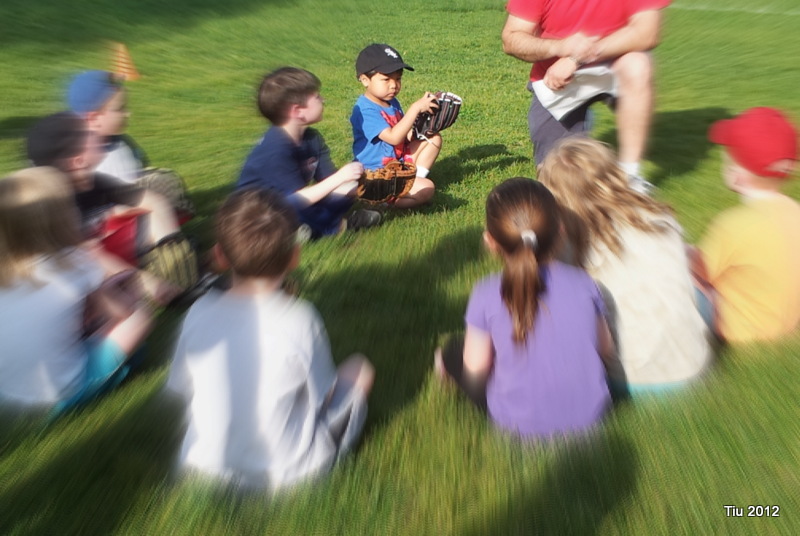
First T-ball practice: my son and his friends from preschool

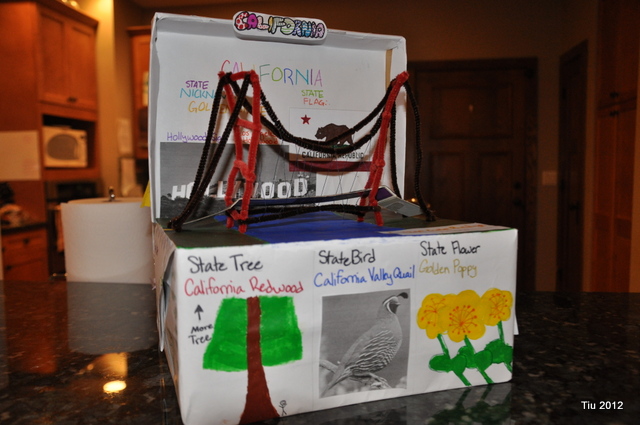
My daughter's class project - California on a shoebox float

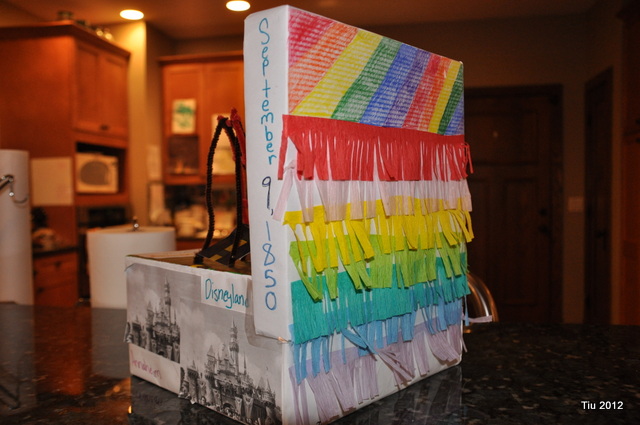
A shoebox float with fringed party streamer

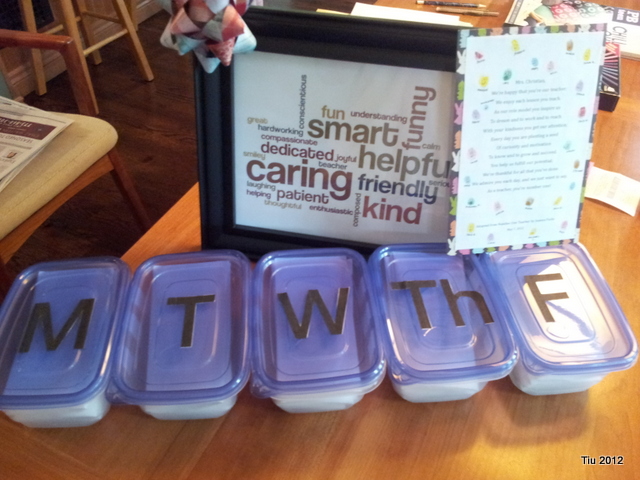
Teacher Appreciation Gift idea: notes in a giant "pill box"

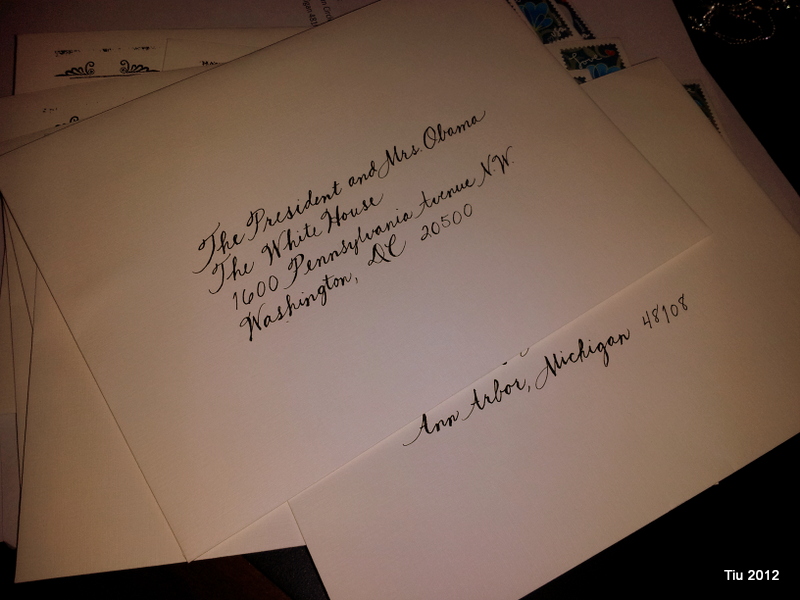
Been busy with envelope calligraphy

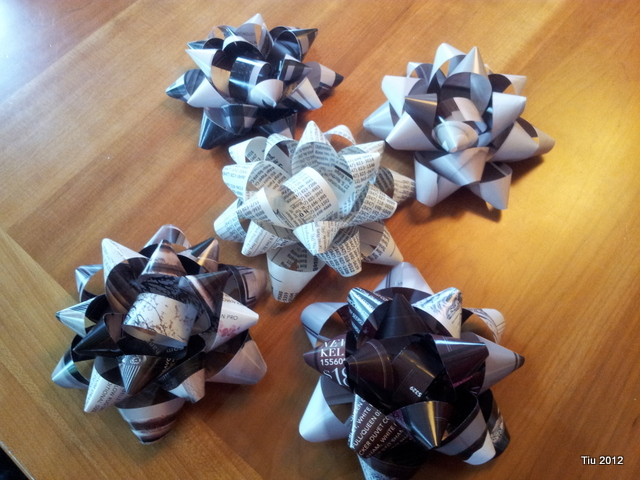
Daughter and I are addicted to making bows

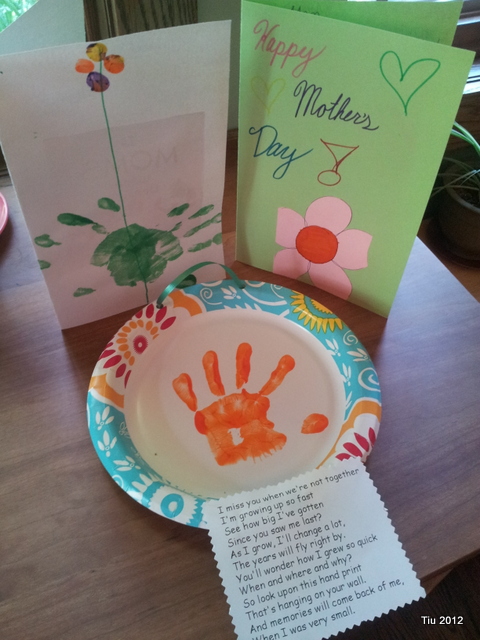
The perfect gifts on Mother's Day: handmade with love

More Resources

Super Moon news article

Shoebox Floats

More Teacher Appreciation ideas

Paper Bows, and more Paper Bows

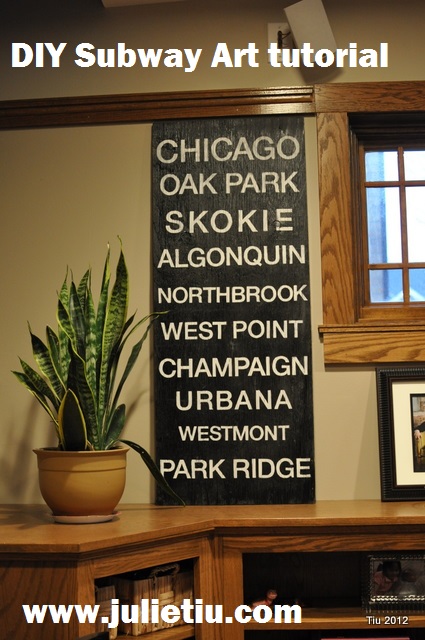
DIY Subway Art Tutorial

Text as art – I love the simplicity. About six months ago, I noticed it was popping up all over the place. Maybe you’ve seen this type of art in home décor stores, or posted on Pinterest. You can find even find pillows. (What kills me is that I used to do all sorts of text/graphic art in college, mid-90s – like using it for wrapping paper and stationary. I must have been ahead of my time. Hehe.)

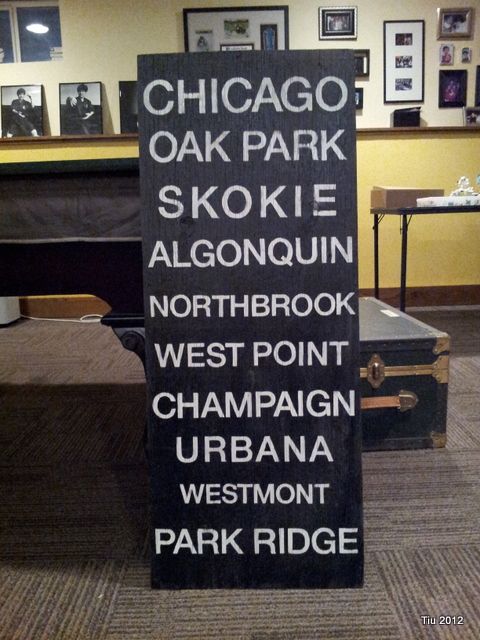
I like subway art for its historic and vintage feel. What I’d give for some vintage signs… but, I thought, heck, how hard could this be to make my own sign?! I was so looking forward to making this for my husband. and cannot tell you how excited I was when it was finished.

Here’s how I made our own subway art using cities that my husband and I have called home.

Before you start, please note:

  • I stenciled and spray painted. This isn’t the decoupage-type poster.
  • This project also took more time than I thought.
  • This project was AWESOME and I’d do it again. Okay? Still with me? Thanks.

What you need: measuring tape, plywood, pencil, sand paper (optional), spray paint: white primer, white (semi-gloss) and black (semi-gloss), computer, printer, Contact paper or Xyron Creatopia with repositionable adhesive (optional), scissors and/or X-acto knife.

You will need to go to a copy/print center like FedEx Kinko’s, or an office supply store to enlarge your printout.

Let’s start
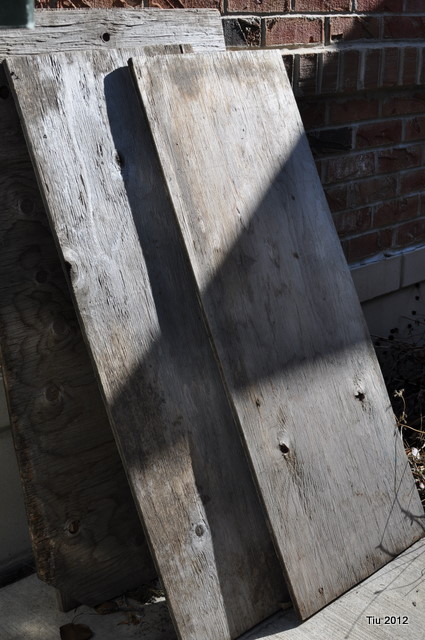
I was fortunate to have plywood lying around. It had been sitting outside for so long that it’s weathered. I like that organic, rustic look – so, I did not sand the boards, not one bit.

1) Measure your plywood. I used a 16” wide x 40” high board. It’s a reasonable size, I think.

2) Spray it with white primer using the manufacturer’s directions. Let dry. When dry, spray with white paint. I did not coat the board until it was completely opaque, just enough to coat. I still like the weathered look. Let it dry overnight, or if you’re in a hurry, follow the manufacturer’s directions. It should be dry to touch in an hour.

Time to prep your text

1) Using your desktop publishing program, you’ll make your text box the same proportions as your board. You’ll want your text box to print out on an 8-1/2″ x 11″ paper. This entails a little math – think lowest common denominator. Since my board is 16” x 40”, I made a text box 4” x 10”. This will allow you to print a good copy from home. (2” x 5” is too small.)

2) In your text box, play with the font (I like Helvetica) and placement of your text. I centered each city. Maybe you want yours centered, justified… wide fonts, tall fonts, etc. My one recommendation is to make most of your text as wide as the text box.

3) When you are pleased with your layout, print a copy. (See my original printout below.)
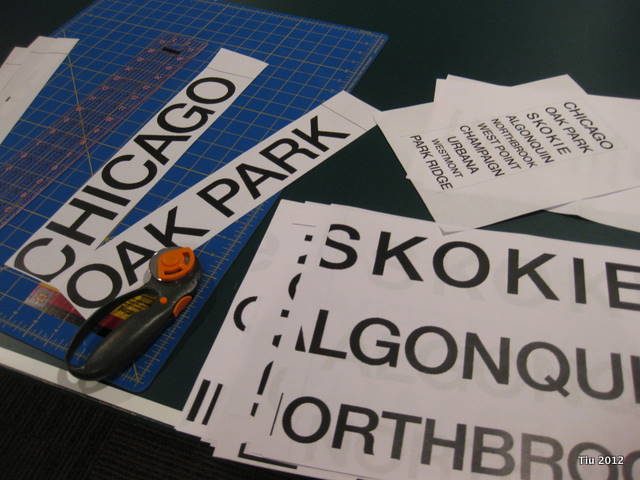
4) Since your copy is proportional to your board, it will be easy to enlarge to size. SO, with that, take your printout to the copy center, and ask to have it blown up 400%. If you’re tech-savvy, you can try this on your own. I spent $4.00, and about 45 minutes doing it myself.

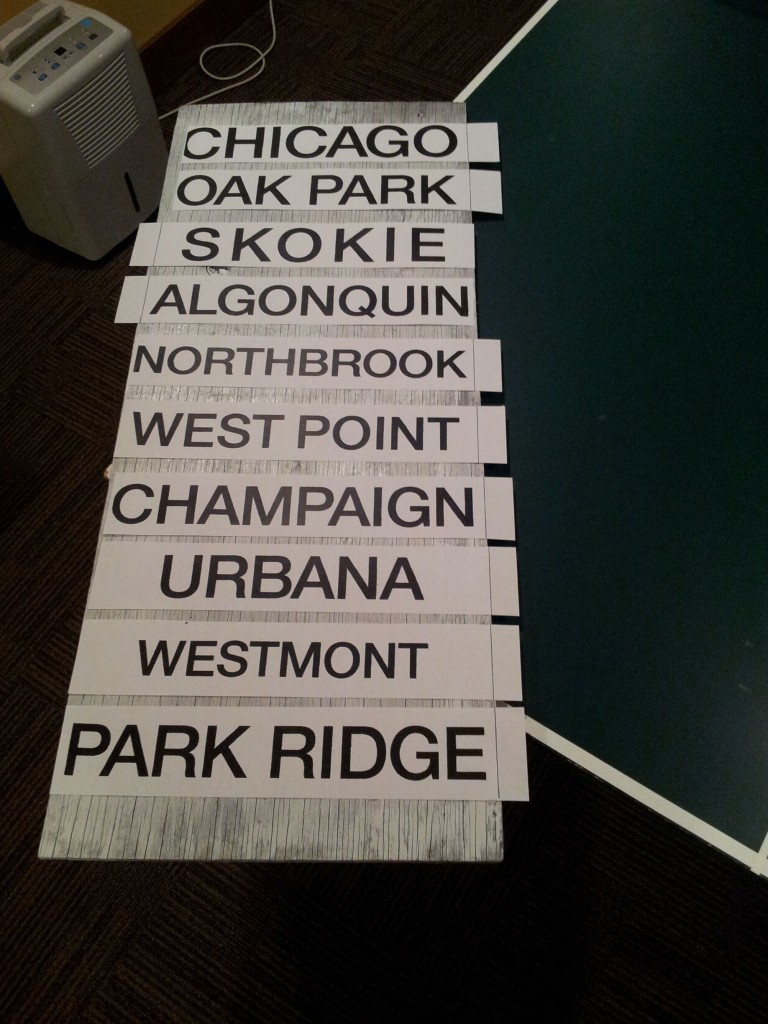
5) Go home and cut apart your text, and play around with the placement. Mark in pencil the approximate locations of each city by marking the top and bottom of each line.
Making your stencils
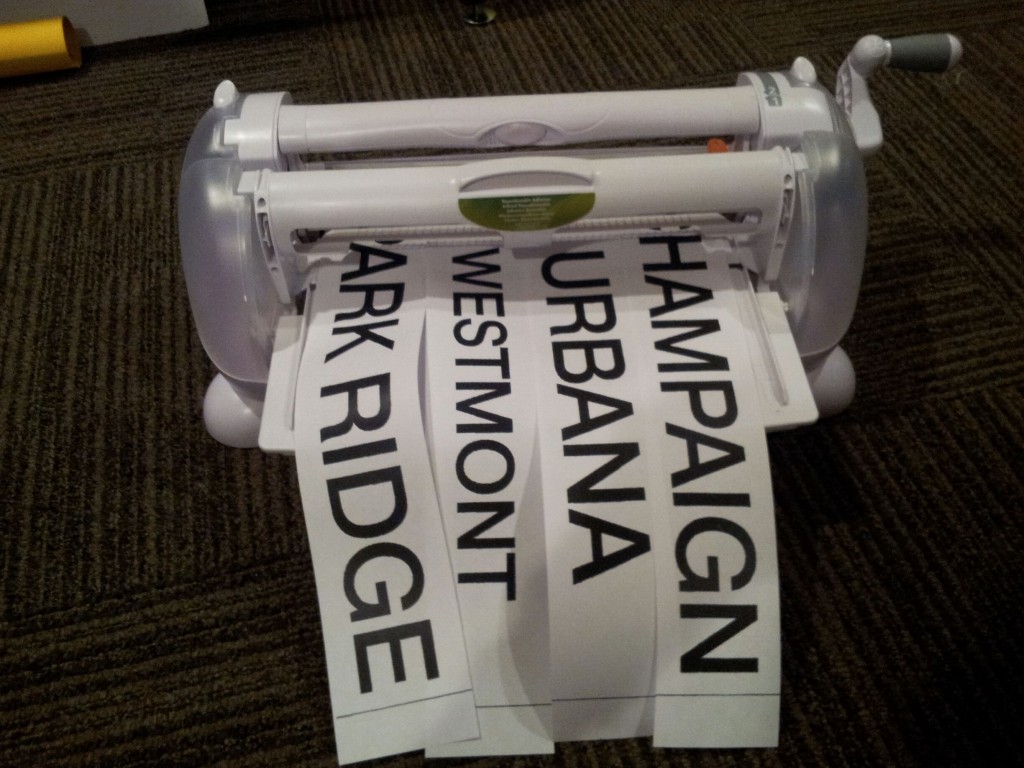
1) I’m fortunate to have a machine to apply adhesive onto anything. So, after cutting apart my text, I ran the pieces through my Xyron Creatopia with repositionable adhesive. Now my letters are like big post-it notes. If you do not own a Xyron, you can use Contact paper in the next step.

2) The tedious part: cut out each letter. I thought I’d only need an X-acto. Scissors will work just fine, and if you have non-stick scissors, even better.
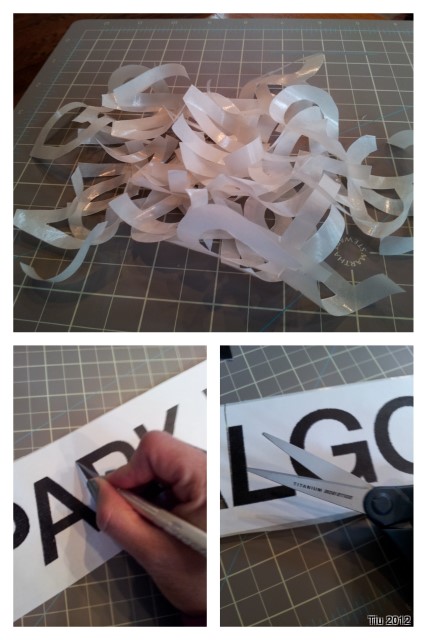
  • If you’re using Contact paper, I’d just layer and cut through your copy and the Contact paper at the same time. You could trace every letter onto the Contact paper first if you’re more comfortable with that.
  • Use your X-acto knife and cut out any opening in the letters (i.e. O, A, B, D, P, etc.)
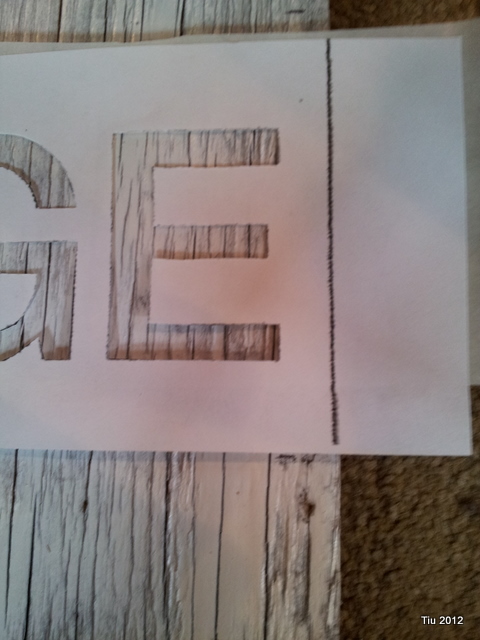
  • Save the “negatives” of your text. They will help when you’re laying out your words.
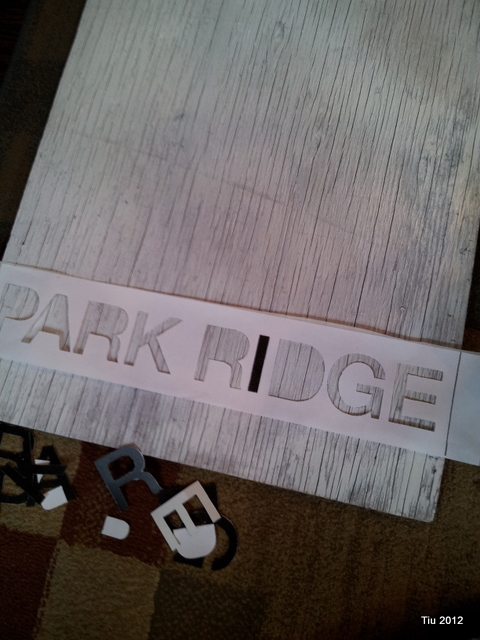
Placement on the boards

1) Remove the protective backing from the letters (one at a time) so you have stickers. Using your “negatives”, place the stickers in their respective spots.
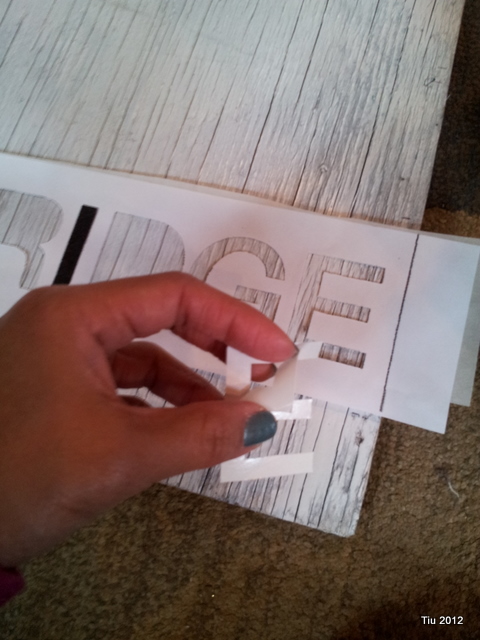
2) Once you’ve completed a word, carefully remove the “negative”.
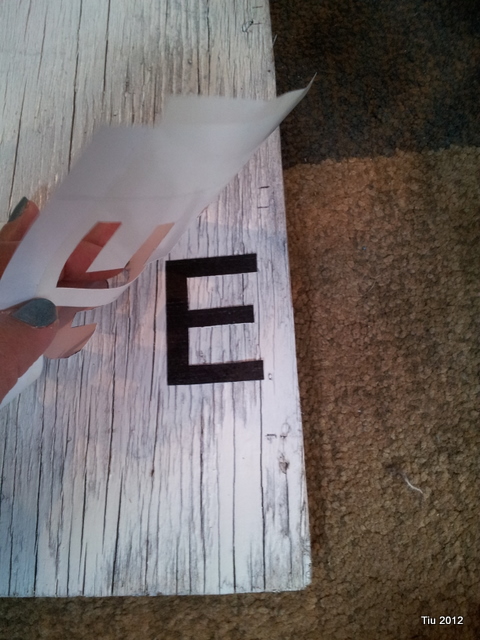
 3) You’re done with one word! Now do it for all your words… take a break and have some coffee. Stretch your back.

4) When you’re finished placing all your words, prop it up and take a look. Do you like the placement? Is it straight? Straight enough? Need to make spacing adjustments? Do it before you rub all the letters down.
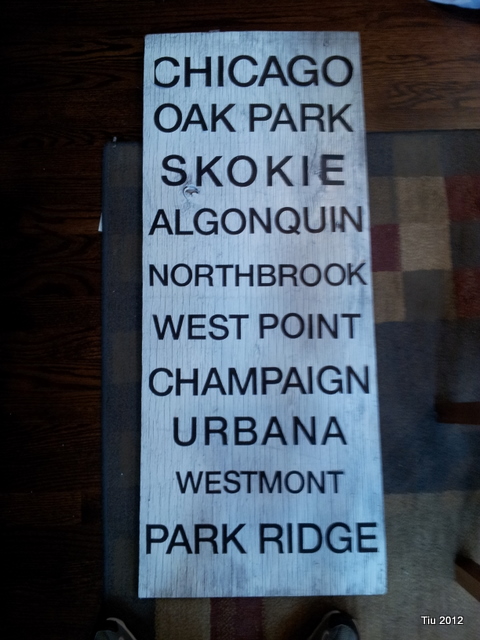
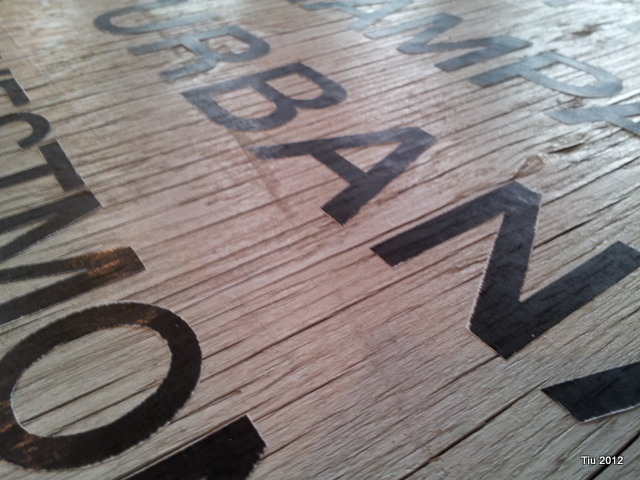
5) Take a blunt end of a dowel rod, or your pencil eraser, or your fingernail if you desire, and rub the letters down as much as you can. This will ensure that the black paint won’t seep under the stencils. And even if it does, it will be minimal.
Almost done

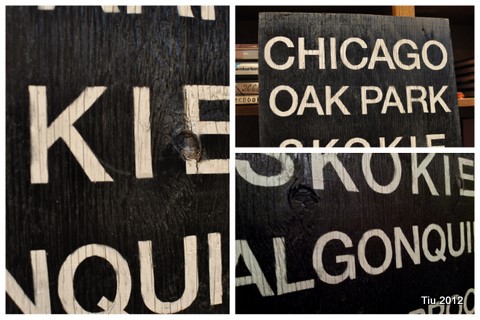
1) When you’re happy with the text… get your board and black spray paint. Go outside, spray one coat evenly, let dry according to paint manufacturer’s directions. When dry, spray another coat. Let dry overnight, if you can. I had minimal time, so it was about 4 hours.
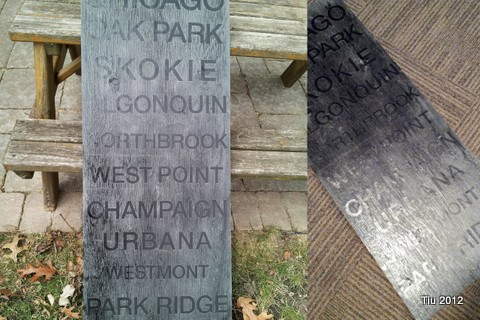
2) The fun part: using your X-acto, peel off the letter stickers carefully. (At this point, I was so excited about how it was turning out!)
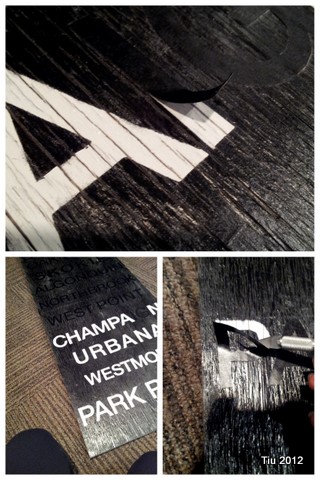
3) You might want to touch up certain areas with paint, or you may want to sand some spots but essentially, YOU’RE DONE! Nice work!