Teacher Appreciation Gift Idea: Daily Dose of Kindness and Free Printable Template

Thoughtful teacher gift idea

Don’t know about you, but once Spring Break ends, school days go by like an out-of-control snowball on a sledding hill. And the parties, picnics and project lists grow and grow. So I like gift ideas that are pretty easy to put together, both in time and materials.

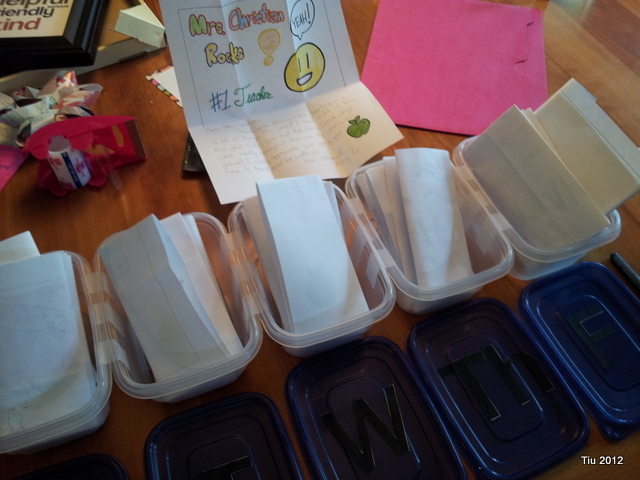
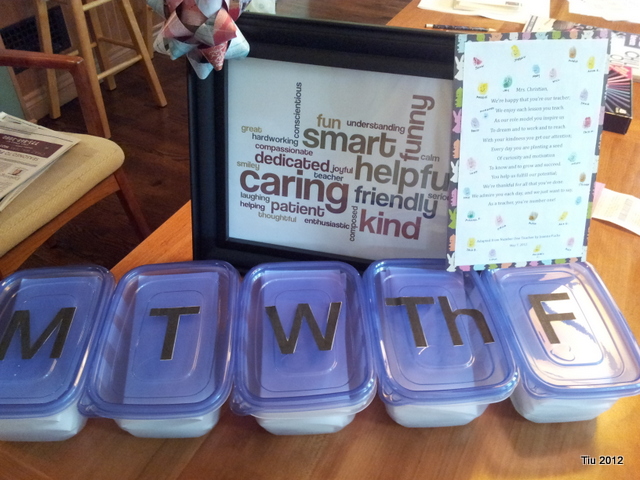
A few weeks ago we celebrated National Teachers Appreciation Week, and I had a nice time putting this together for my daughter’s homeroom teacher: a giant “pill box” with letters of appreciation from her students. It’s thoughtful and heartfelt; an option to candy, flowers or a gift card – which we all know we all do.

Along with the letters, I put together a “word cloud” using wordle.net, printed it out and framed it. All the students listed two or three words that they felt described their teacher.

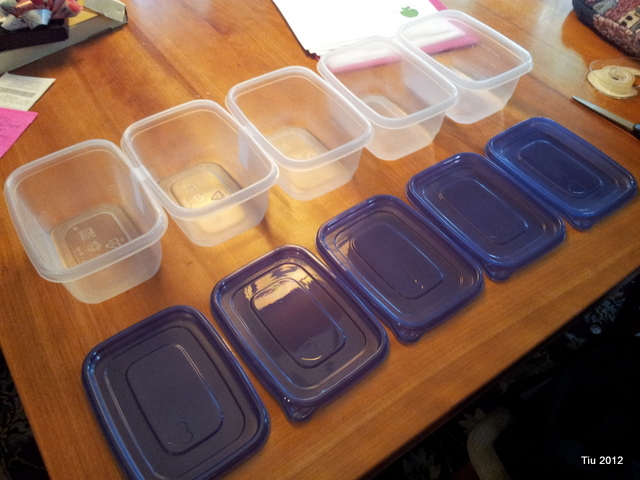
Materials needed for a giant letter-pill box:

  • (5) plastic containers (2-3 cup capacity)
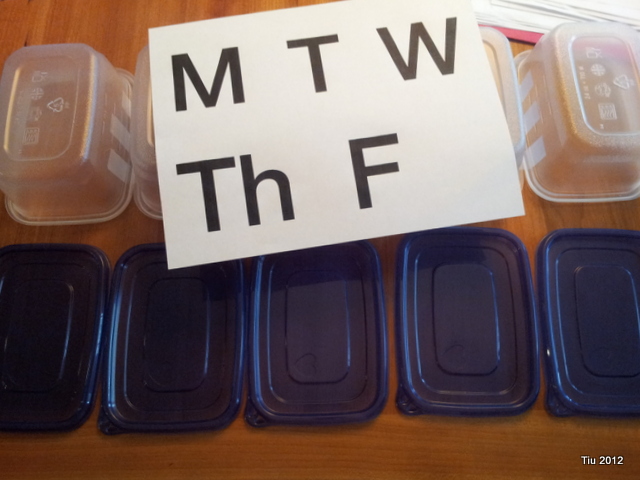
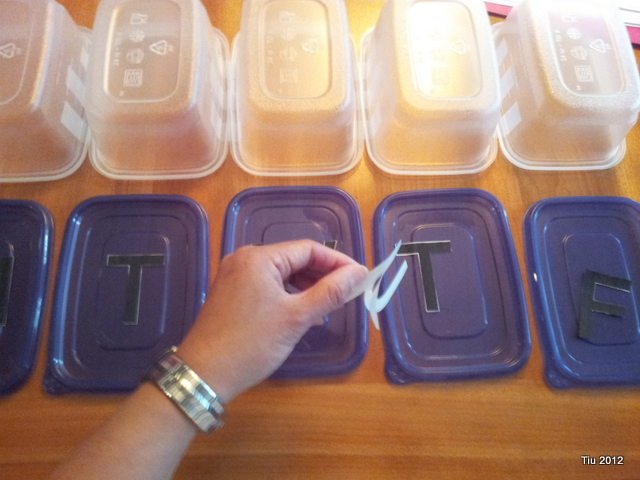
  • Stencils or vinyl stickers for the days of the week. I was able to print out letters and use my Xyron Creatopia machine to make stickers.
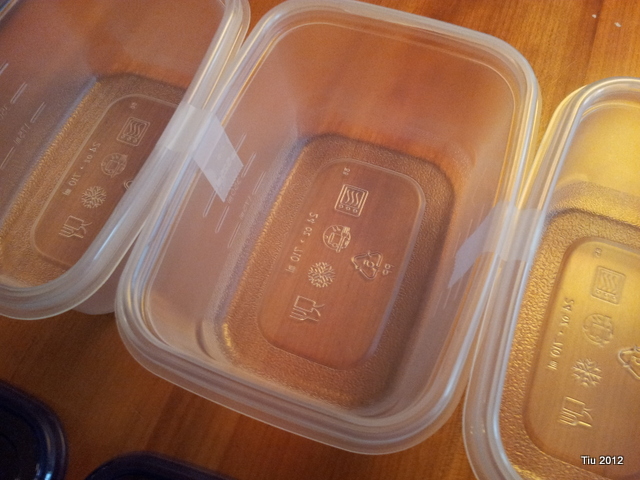
  • Scotch tape or clear packing tape

Giant "pill box" for teacher letters

Adhere days of the week stickers on teacher gift

teacher gift in progress - tape boxes together

Teacher gift in progress - days of the week stickers

Teacher gift: place letters in the boxes

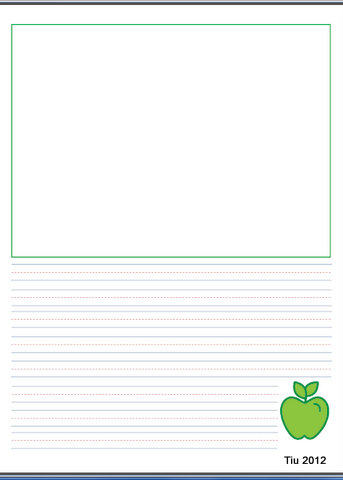
Here’s a Cute template for student letters that I made using Microsoft Publisher. Totally optional, but it’s something easy to print out and have all the students do. They can draw a picture and write their letter… so cute. (If you click on the picture below, you will also be redirected to the printable document.)

Teacher letter template - drawing and writing space

Hope this inspires you to shower your favorite teachers with a dose of kindness!
Birthday Party Ideas: Game Night

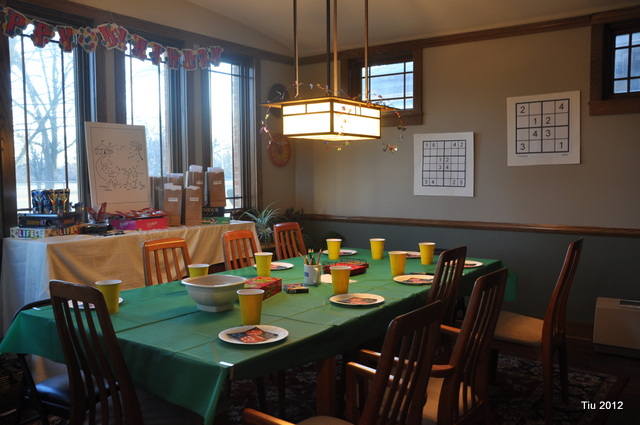
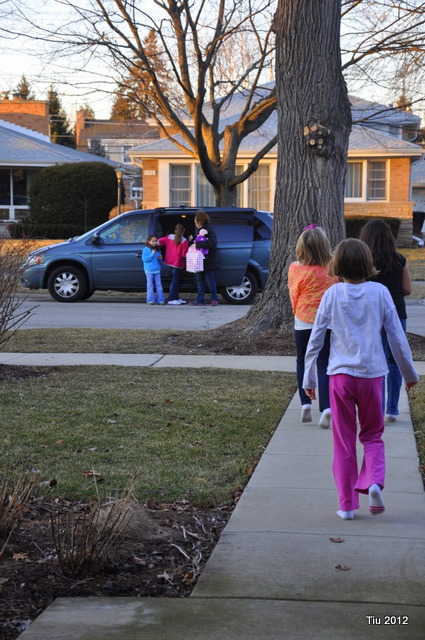
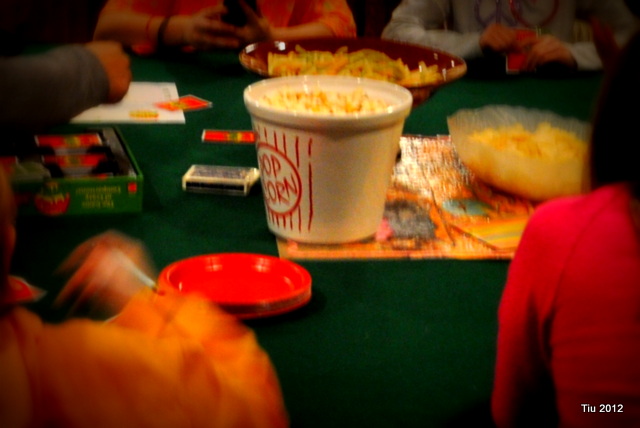
When my daughter turned ten (yeah – when did THAT happen?), we threw her a “Game Night Slumber Party” at home. She thought about having an art party at a local shop, maybe a dinner out, but the thought of a sleepover and plenty of games seemed to excite her. And for those of you who know her, she’s not that easily excited.

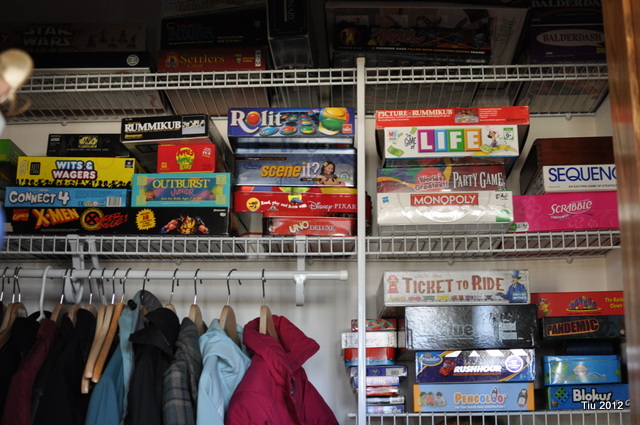
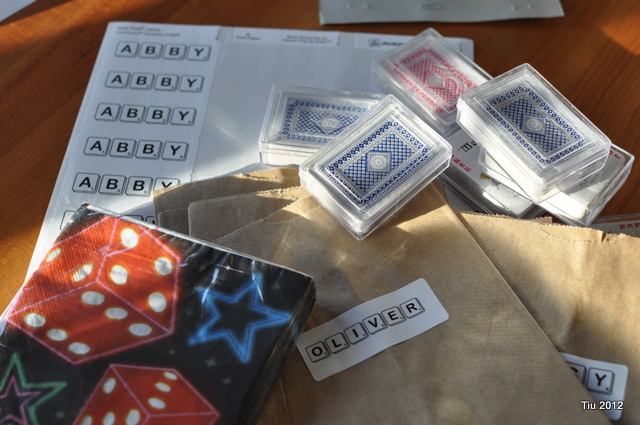
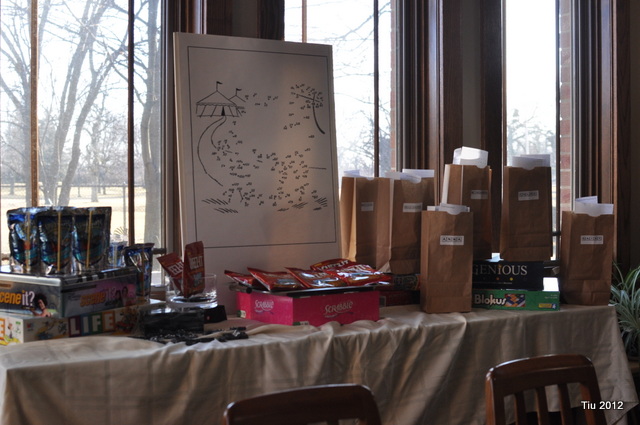
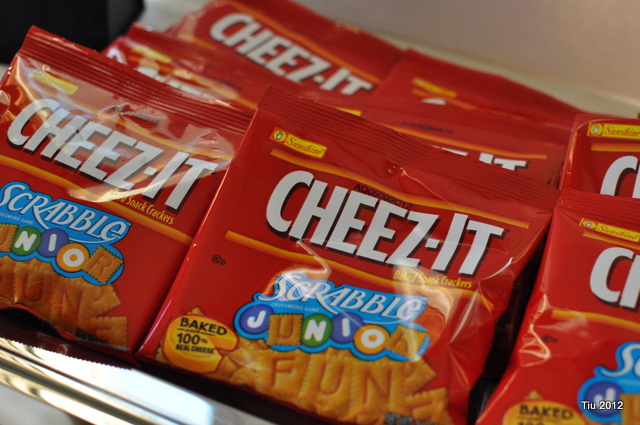
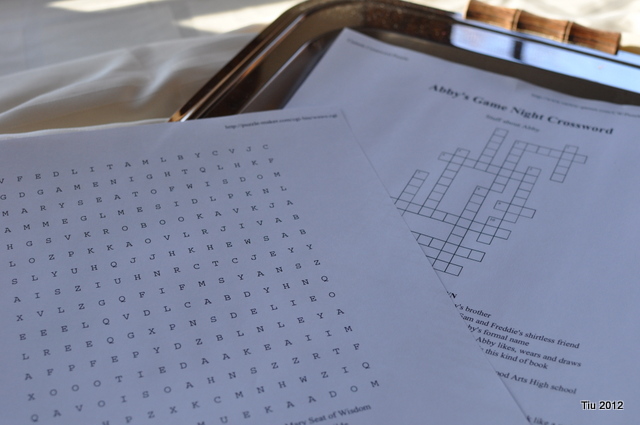
Favors and supplies for Game Night Birthday Party

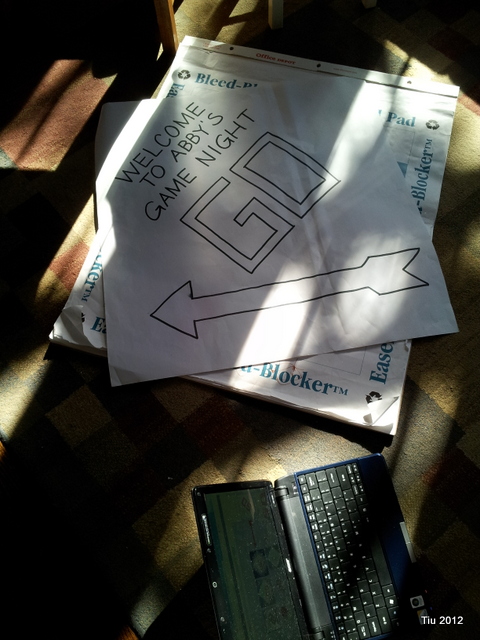
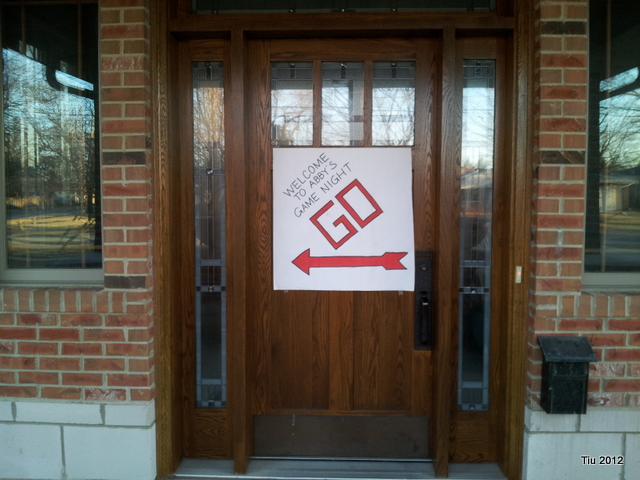
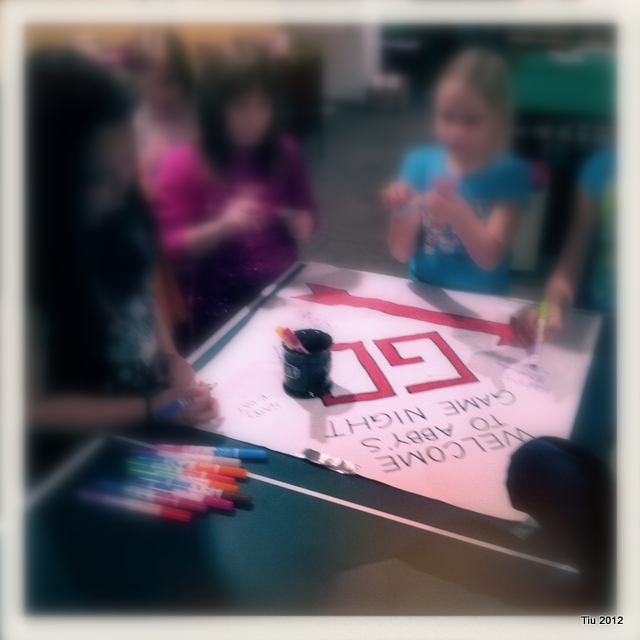
While I normally make cards, I opted to go easy on the invitations this time and went with evite There are plenty of game night themed invitations there. That left a bit more time to work on a welcome sign – inspired by Monopoly. If you’re good with freehand, it’s not too hard to do. But, careful… those fumes from the Sharpies can get you good.

We broke out the plastic spoons and taught the girls how to play spoons the card game. Lucky us, we’re still “cool” enough to play games with our kids. 🙂

Yeah, remember that door sign? It can serve as a poster that friends can sign. Hang it up in your kid’s room after the party… fun memento.

Would you let me know if you’ve hosted a game night party or are thinking of having one? What games did you play?

Enjoy the weekend!

Rice Krispie Sushi Recipe Tutorial

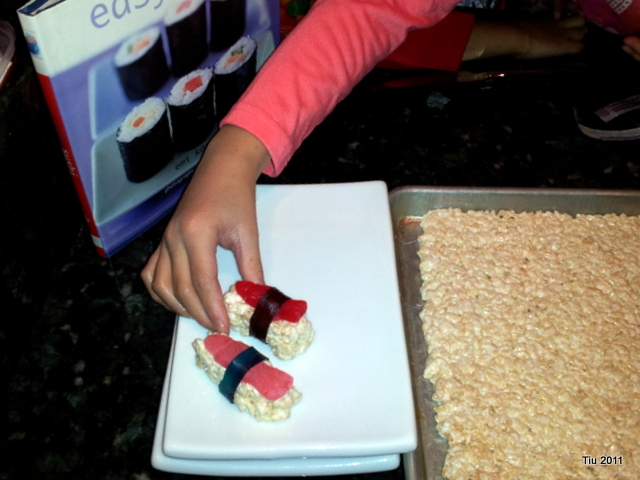
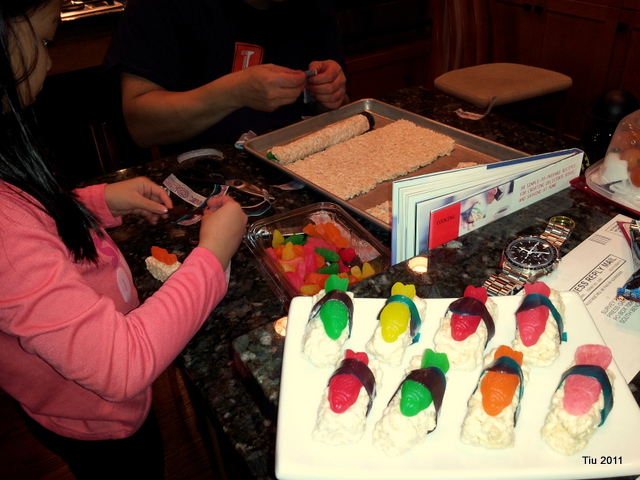
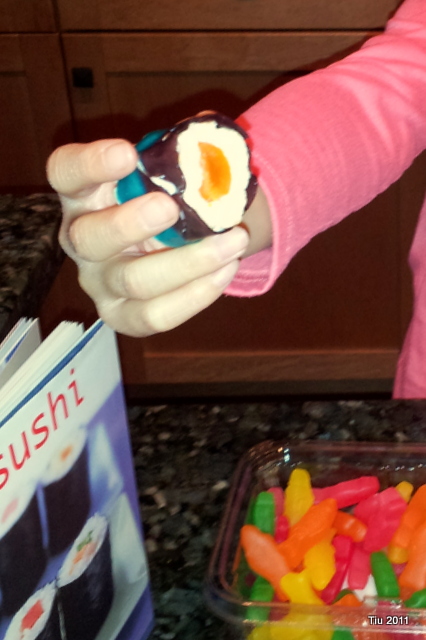
These are more like instructions rather than a recipe since you’re not going to cook a thing! We served these at a party where kids and grown-ups gave us great feedback about the rice krispie sushi. This might be something fun to do for a kids (heck, for adults, too) birthday party, a potluck? If you gave up sweets for Lent, this is a sugary way to break your fast.

What You Need

One batch of prepared Rice Krispie treats
Cooking spray (like Pam)
Candy: Swedish Fish, Fruit Roll-ups (fruit leather, preferably dark in color), cake decoration sprinkles

For the Nigiri (hand-rolled) Sushi

Spray or coat your hands lightly with cooking oil. Butter, magarine works okay too. Create an oblong mound of rice krispies in the palm of your hand. Top with a Swedish fish and wrap with a thin strip of cut fruit leather.

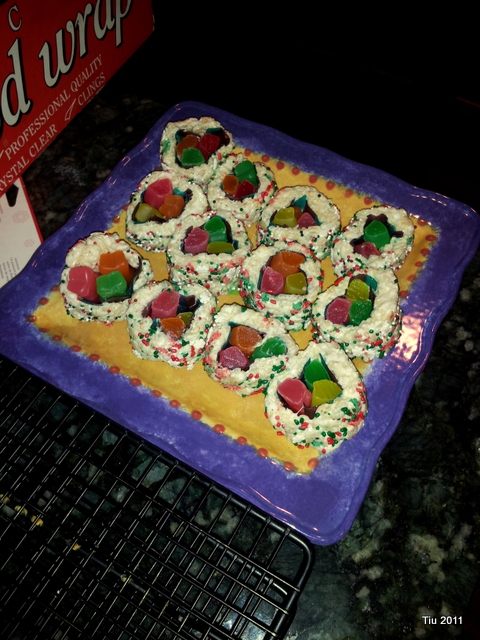
For the Maki (rolled) Sushi :: inside-out roll featured in first picture

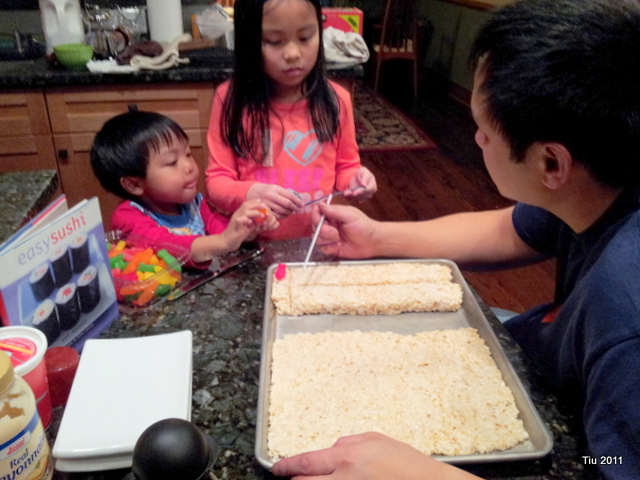
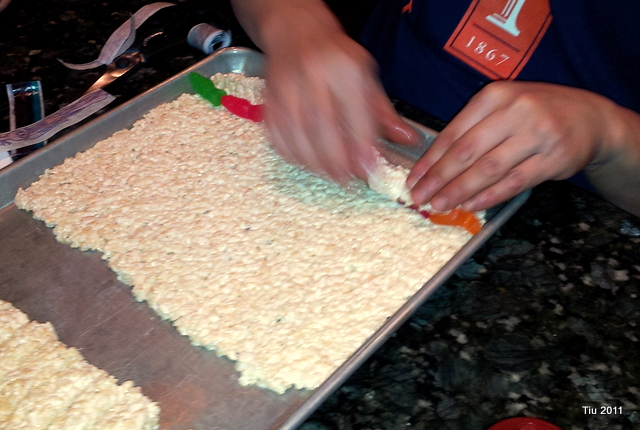
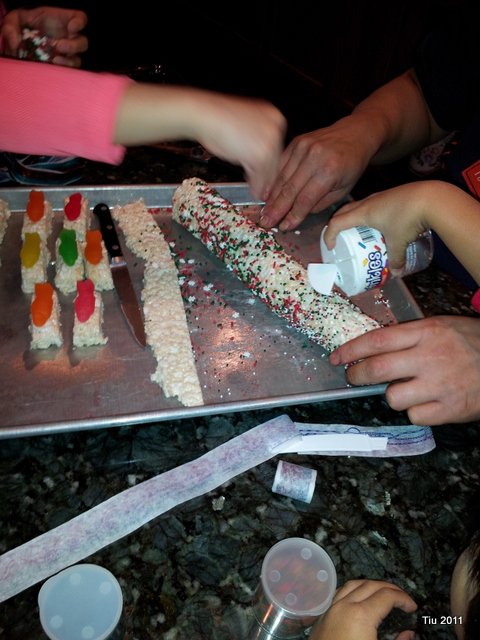
This one is a little trickier. Make sure your hands are well coated. Using your hands or a rolling pin, you will need to press or roll the rice krispie treats to a thin thickness. 1/4″ – 1/3″ inch should work. Swedish Fish in a row along one end of your prepared rice krispie treat. Roll the end of the rice krispie treat up and over the candy fish until they are covered.

(I have to say, at this point, we forgot to add strips of fruit roll-up for the “seaweed”. Lay down some fruit roll-ups before the Swedish fish. You can see it better in the very first picture of this post.)

Trim away from the remainder of the rice krispie treat. Shake some sprinkles on the roll (like sesame seeds), and using a sharp, buttered knife, cut into circles – like you would cut cookies.

For regular maki

You’re going to follow similar directions as above, but save your strips of fruit leather, and roll it around the rice krispie treat after you’ve cut them into shapes.

If you attempt to make these, I love to hear how it turns out! Share your pics and links! Enjoy…
5 Gift Ideas for Your Little Ones

Loving handmade, handcrafted gifts for the kids. So, I’m sharing these links with you.

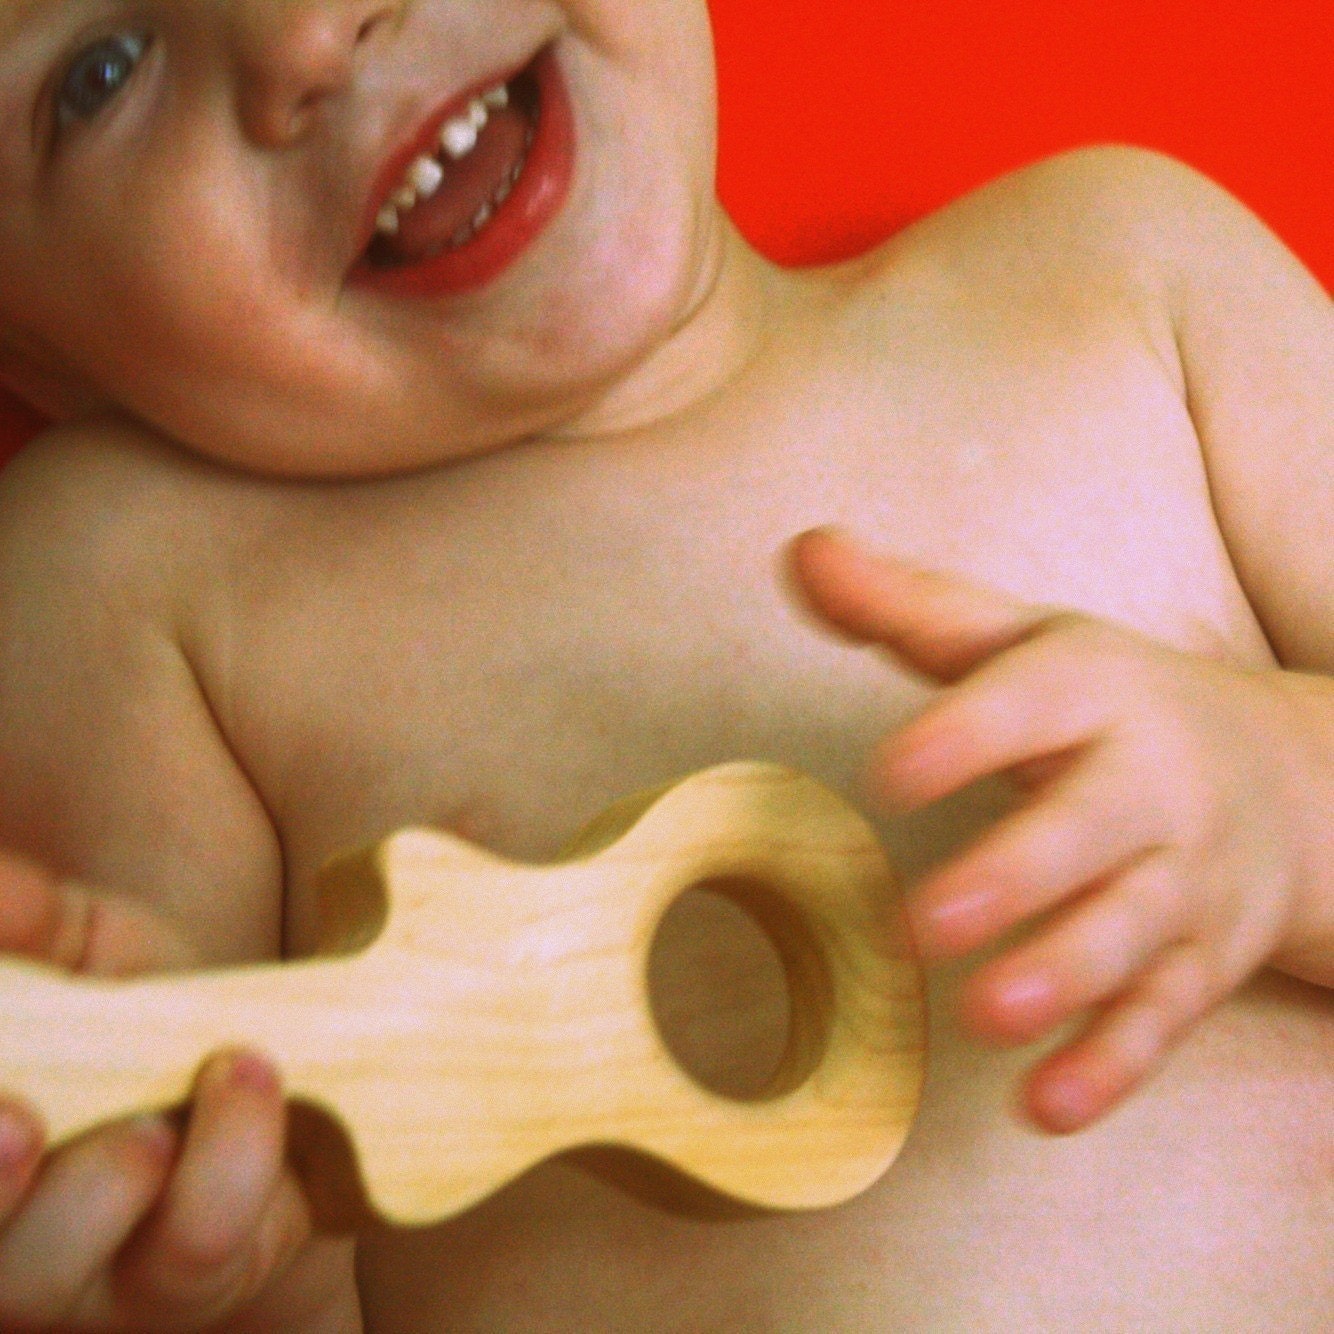
1) For the little “rock star”, wooden teething and grasping toy by littlealouette

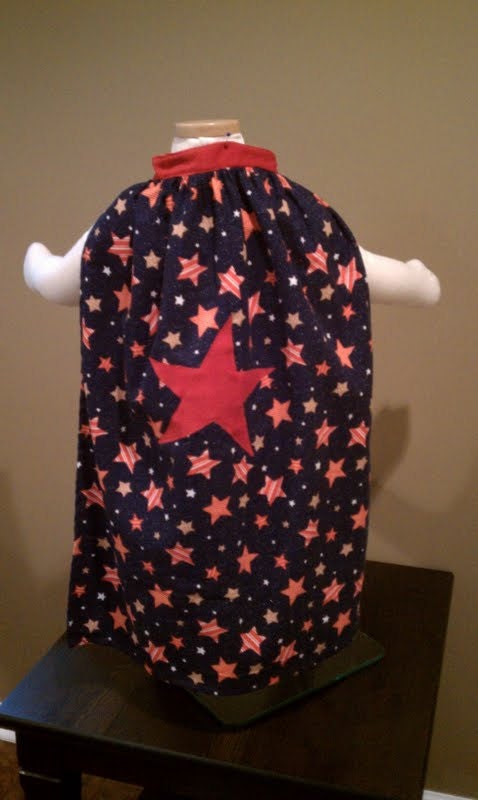
2) How about for the superheroes in your life? A Superhero cape for your crusader by Susipants

 3) Made with Rubberwood and Organic Cotton, “I Love My Planet toys” are fun and safe for children. Check out the rubberwood Giraffe at Peaceful Parlour.

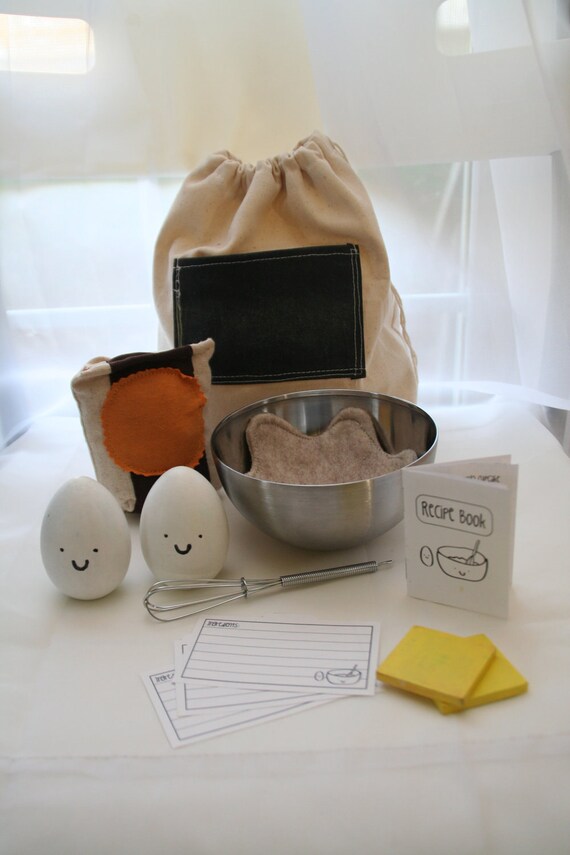
4) Cooking Time play set from Studio Wren – super cute!
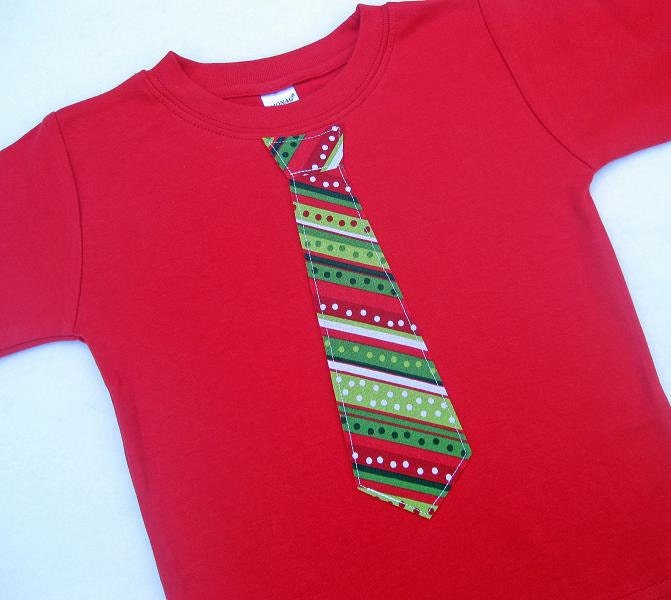
5) A cute “So Handsome Tie T-shirt” by We Choose Joy

What are some of your favorite buys this season? Or are you making a lot of your gifts this year?

Lego Birthday – Fun and Games

Taking a cue from the parties my parents threw for me, I put together a bunch of games for the kids knowing that we might get to all of them, or maybe only a few of them. I found that the kids were really happy to play on their own.

Activity Table: Just for starters, I printed out a bunch of coloring pages from the Lego website. As the kids finished a page, I hung them up with clothespins. I also placed a box of Legos in the middle of the table for random building.

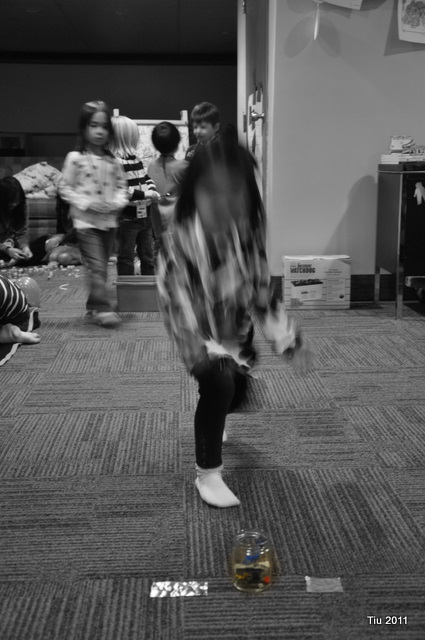
Fill the Jar (relay): Typically there are two teams, each with a spoon, and a bucket of Legos. At the other end of the room, there is an empty jar or box, one for each team. The object of the game is to fill the box as quickly as possible with only as many bricks as you can hold in the spoon, and not spilling any of them while traveling to the box. Since there were a handful of younger kids, we just made everyone part of the same team, and they filled a jar together. Team effort with kids between the ages of two to five – much better!

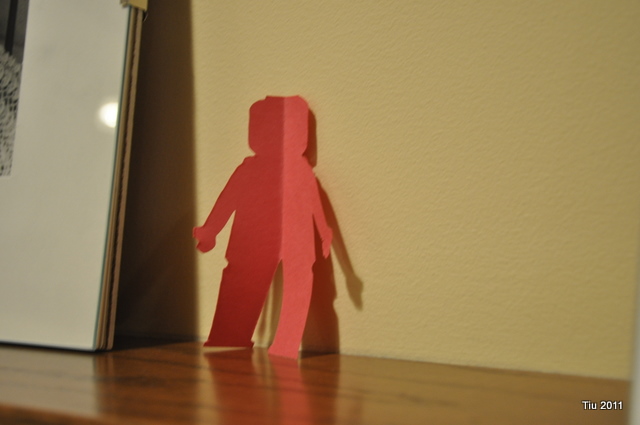
Where’s Lego Man? This was easy. I taped the cut-out Lego men all over our basement. Double purpose: decoration and game! (And, as the kids collected them all, they were actually helping clean up! Sssshhhh!)

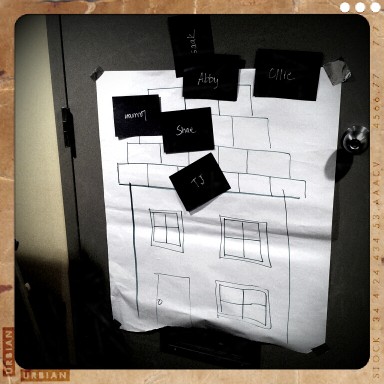
Pin the Brick on the Roof (a.k.a. Pin the Tail on the Donkey): Clearly, a very low budget, last minute drawing on a big sheet of paper. This game is self-explanatory, right? Blindfold, tape, and paper bricks made from construction paper. I wrote all our guests’ names on the “bricks”.


Bingo (Zingo): It’s a game by Think Fun; bingo with pictures and words instead of numbers. The kids were on their own on this one. The older kids called out the pictures. While they were playing this, my husband and I were getting dinner ready.

Zingo - we love this game

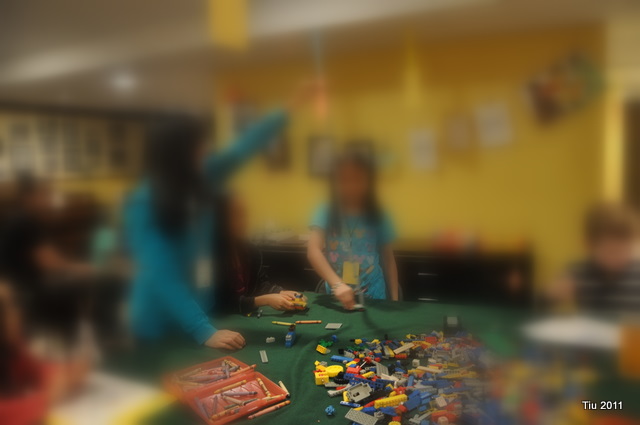
We also had estimating while the kids were eating pizza. I filled a jar with bricks and the kids tried to guess how many were in the jar – closest guess won a little prize. Lastly, we had an impromptu building challenge between the girls and the boys. Interestingly, the girls built houses, and the boys built spaceships.

——

All the work my parents put into birthday parties while my brother and I were growing up – I appreciate it so much more. Ice cream cake from Baskin-Robbins, and the party games my mom (and my friends’ moms) planned… It seems so old-fashioned now. Birthday parties. They are so much easier to host elsewhere. And it’s so nice to come home to a clean house. I know. We’ve had a few birthday parties outside of our home, too. But, the memories my kids have of their home birthday parties – priceless.

Lego Birthday – Treat bags and name coasters

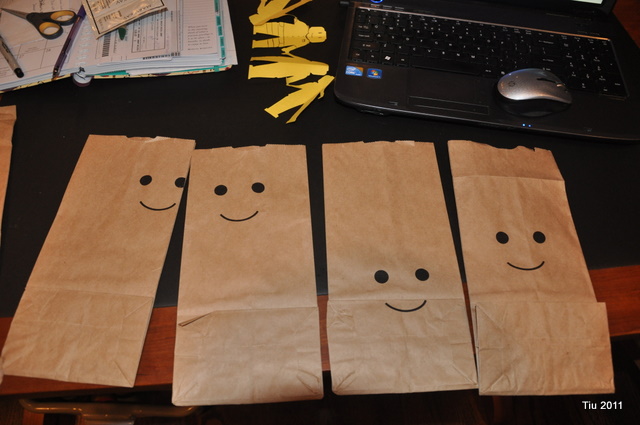
So happy

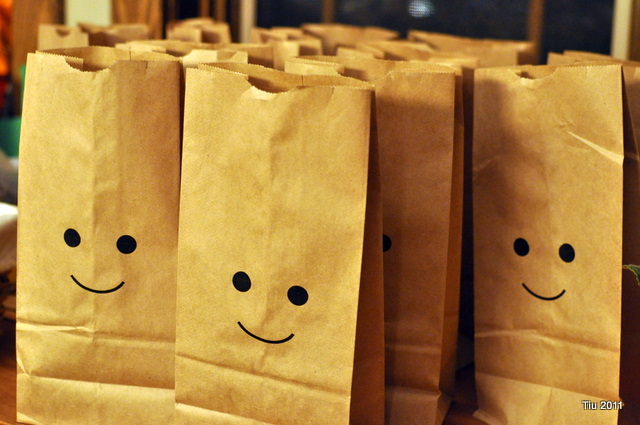
These are the happiest little faces, next to my own kids smiling at me… but to get it right, it took a few tries.

Too far right, too high, too low, just right

Here are my tips.

  • It may have been easier to just draw them with a permanent marker. I opted to use my inkjet printer and almost broke it.
  • If you have a printer that you can feed through, I suggest you tape down the paper bag flap. It caused a few paper jams.
  • Try some blank pieces of paper until you get the right placement and size that you like.

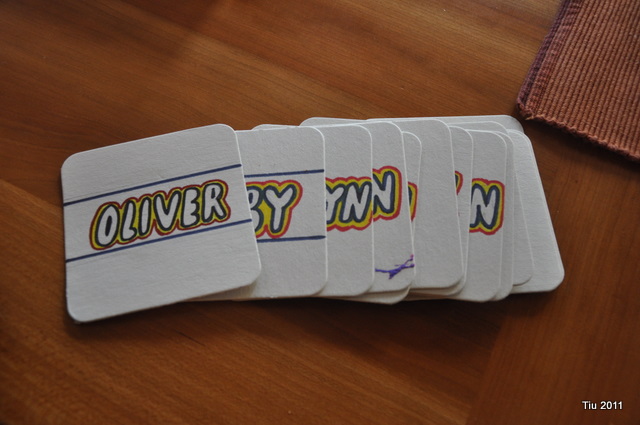
Lego-inspired place cards on paper coasters

If you look closely at the party table, you’ll see the coasters. This afterthought was a life saver with thirteen kids at the table. No one fought about where they would sit, and the kids were happy to see their names. We have an insane amount of paper coasters from a restaurant supply store – perfect. I just handwrote their names in bubble letters using black, yellow and red permanent markers.

Related Posts with Thumbnails