Mugshot Monday: Waiting for Spring

Another two-fer mugshot post…

Our days continue to be busy with activities, so I’m looking forward to a little break. Now whether or not it’ll feel like spring, that’s to be determined. It seems we can’t get past this warm sun-snow-freeze cycle. (Curse you, Polar Vortex!)

Mugshot Monday: 3/10/2014

Snow finally melting, except more snow on the way (March 10, 2014)

So, while I’ve been juggling the day-to-day life happenings, I’ve also been trying to sneak in some creative time when I can. I just finished my One Little Word activities for February. Got a thumbs up from Ali Edwards, herself! Eeeee.

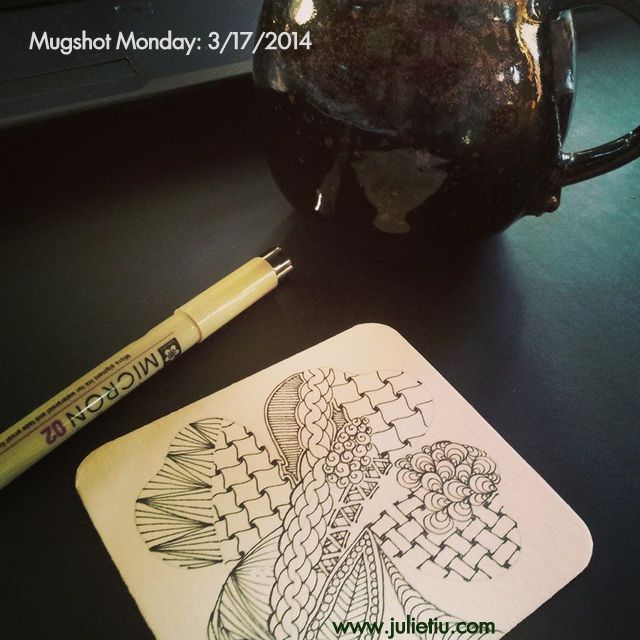
Mugshot Monday: 3/17/2014

In case you missed out on some baked goods yesterday (like I did), feel free to check out my Irish Soda Bread and Irish Stout Coffee Cake recipes!

Monday Mugshot prompts: The Precinct

One Way to Recycle Glass Jars into a Fun Party Favor

So I’ve established that I’m sort of a hoarder, and my poor husband was so nice turning the other cheek when he saw I had a crazy amount of glass jars stashed away… in the basement, under the stairs. I explained to him that I had every intention to use up the glass jars – well, I thought I had a craft for them. I just hadn’t gotten around to it. I’ve seen a lot of recycled glass jar projects around Pinterest, some of them leading to non-English tutorials, but pretty easy to figure out.
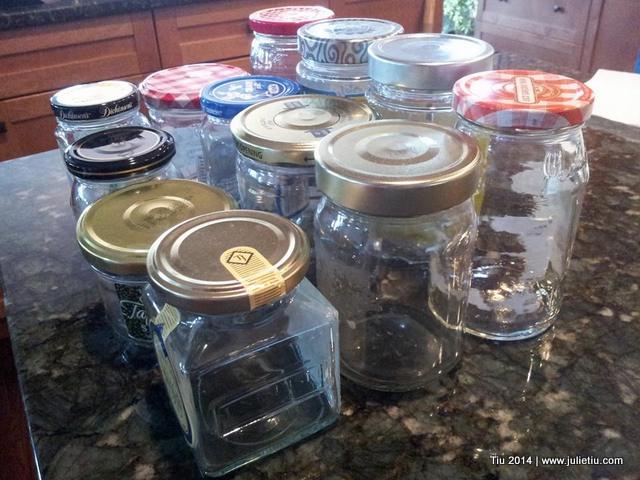
Recycle Glass Jars Fun Party Favor

Friends, grab your glue gun (Note: Super Glue did not work well), miscellaneous plastic animals from the party store (or your kid’s collection from the dentist’s treasure box), and clean, empty glass jars. Get a can of spray paint. I have metallic silver, so that’s what I used.

Wash the lids well. After your lids are clean, you can swipe them with some rubbing alcohol on a cotton ball to make sure they’re really clean. Using your glue gun, adhere your little critters of choice to the lids. They should all be secure after a minute. If you’re a good crafter, you’ll wipe away the hot glue “strings” before painting, I didn’t bother since it didn’t look too bad.
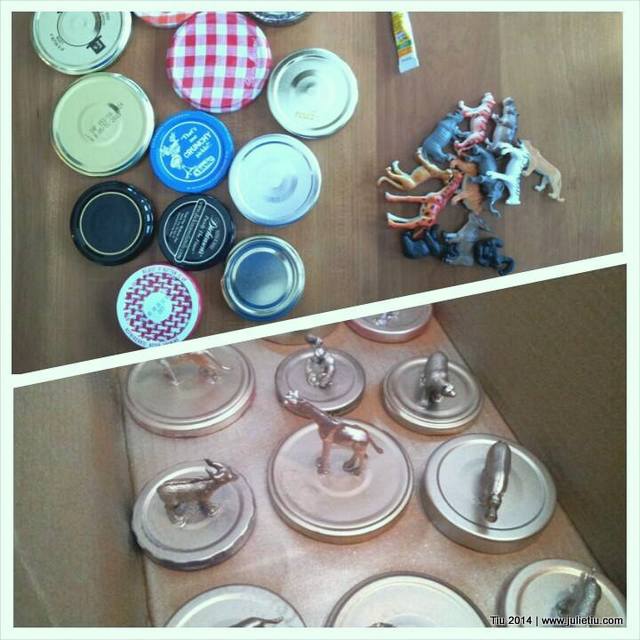
Recycle Glass Jars Fun Party Favor Spray Paint

Now for spray paint… Make sure you have good ventilation and a spray box (optional). If you can head outside and spray them, kudos to you. It’s freezing here, so I ended up spraying them in my (heated) garage. I gave the lids and animals three coats, 15-20 minutes in between. And, I still have a little touch-up to do.

You could wash all the glass jars while you’re waiting for the lids to dry. I took the labels off the same way I take off wine bottle or beer labels. And if the label adhesive doesn’t come off easily, grab some Goo Gone (Just follow manufacturer’s directions on the bottle.).
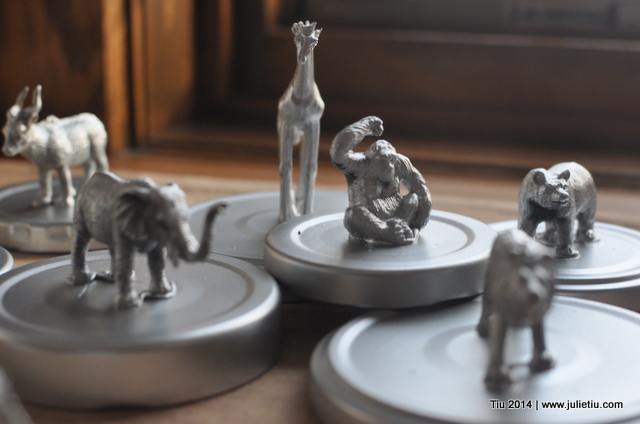
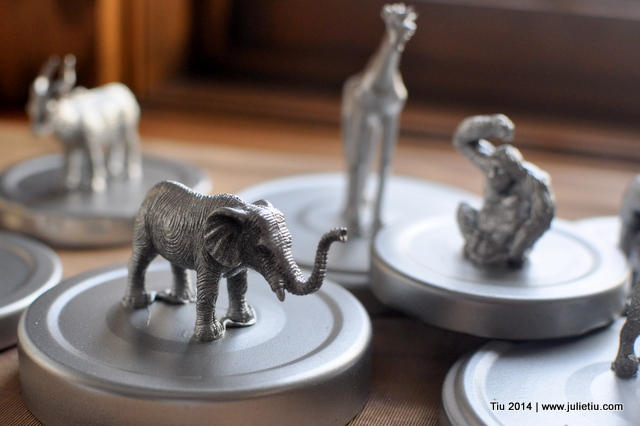
Recycle Glass Jars Fun Party Favor Plastic Animals Recycle Glass Jars Fun Party Favor

I let them dry overnight, and now my daughter will fill them up candy for her buddies.
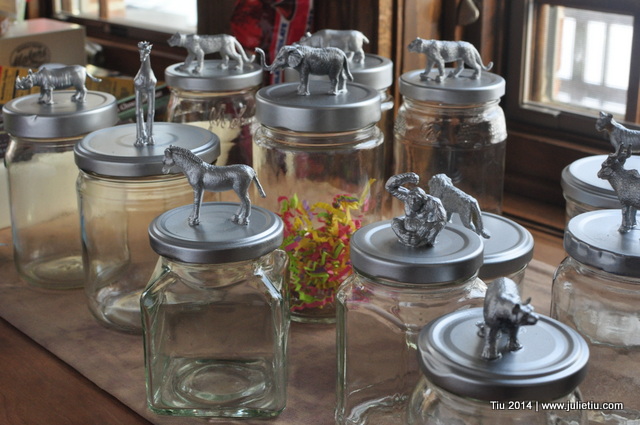
Recycle Glass Jars Fun Party Favor Plastic Animals

I’d love to know if you end up making this project!

Click for more party ideas!

Chinese New Year: Crafting mini {Red} envelopes with free printable

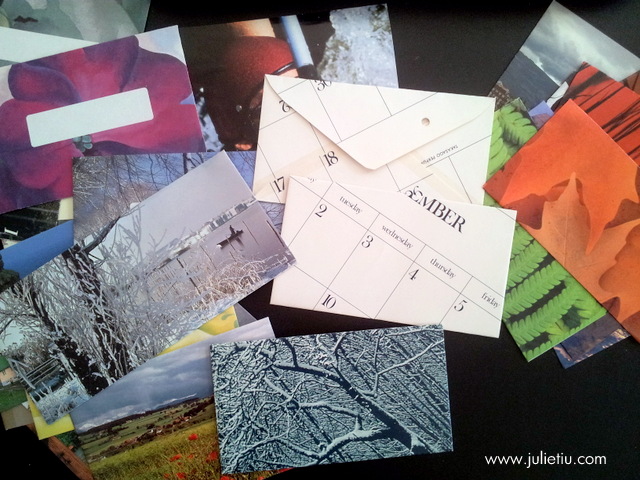
Crafting envelopes from old magazines and calendars

My obsession with making envelopes from old magazine and calendar pages

I’ve always had a love affair with paper, especially making envelopes from old magazine and calendar pages… even wallpaper scraps. And, I actually use them to mail letters! In college, I would take junk mail envelopes, open them up and use them for templates. Every envelope was different; I didn’t care if the picture was tilted, or if there was text. The envelopes were that much cooler.

Chinese New Year: Making mini-envelopes

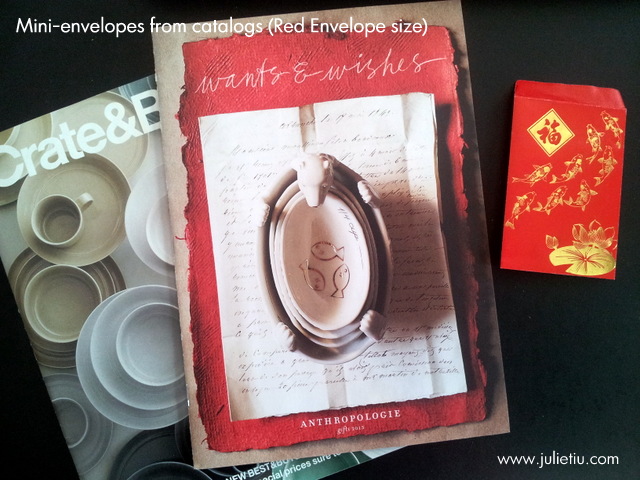
Recycling / upcycling my Crate and Barrel and Anthropolgie catalogs into mini-envelopes

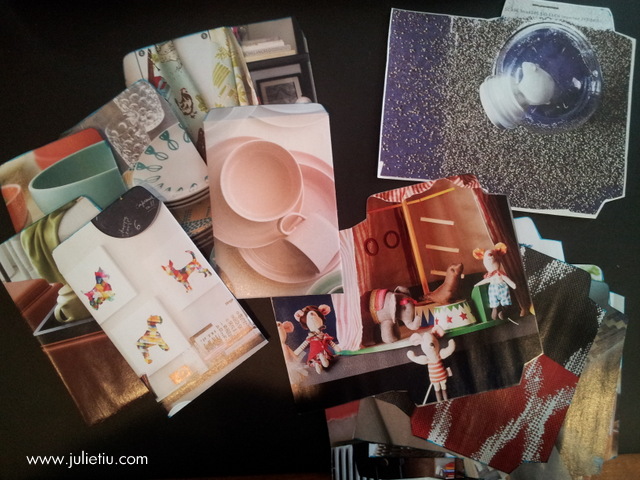
Since it’s Chinese New Year’s Eve, I pulled out red envelopes for the kids. I was inspired to make a few mini envelopes… from some favorite catalog mailers. (Crate&Barrel and Anthropologie, I love your layouts.)

Chinese New Year: Making mini-envelopes

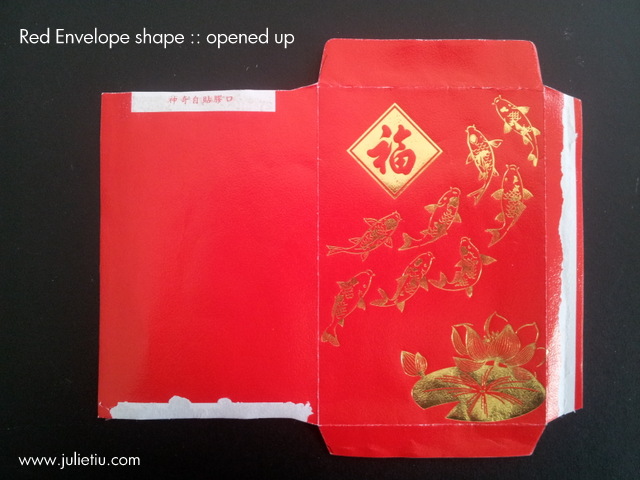
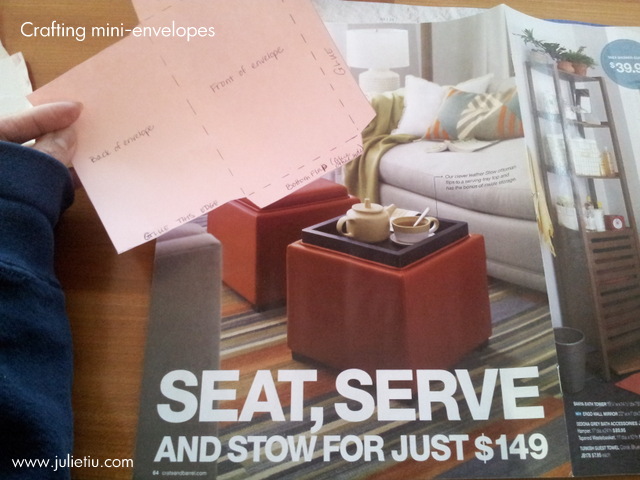
Here, I’ve carefully opened up my red envelope to figure out the shape and to make a template on a blank piece of paper.

I also put together a Mini / Red Envelope template that can be downloaded here. Just print on cardstock, cut, and follow directions.

Making mini-envelopes from old magazines and catalogs

Sometimes you get cute envelopes from unexpected pages. It’s all template positioning  – trial and error.

Before I cut out my envelope shapes, I used a silver marker to go around my template. It made a nice edge on the finished envelope. I also tried a colored permanent marker.

Making mini envelopes from Crate and Barrel catalog

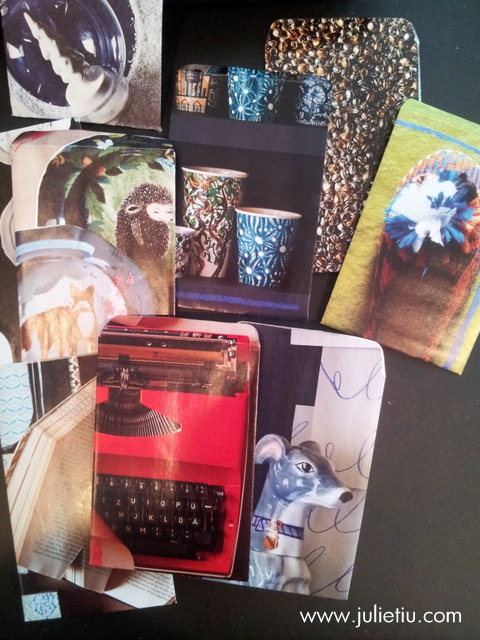
Like I said, I thought I would make a few envelopes, but I got carried away. (Yes, a die-cut machine would probably be more efficient but where’s the fun in that?) Guess I better figure out who to send these to.

Mini envelopes from Anthropologie catalog

Finished size is approximately 4 inches x 2-3/4 inches.

I wonder what else I could cut up to make envelopes? *grin*

12 Days of Gift Wrapping: Basic supplies, tools and how to pack a gift box

12 Days of Gift Wrapping, Julie Tiu, Basic supplies

How much fun is it to hang out with people who love to wrap gifts as much as you do? Last week I headed up a gift wrapping workshop, craft class… gathering. Lots. Of. Fun! I prepared way more than the two hours would allow, but that’s okay for my first time teaching gift wrapping (HA, a teacher. Me.)! I definitely have learned some lessons now that I have taught two “craft” classes on my own.

12 Days of Gift Wrapping, Julie Tiu, Basic supplies

So, here we are beyond “Beyond the Bow”. Sort of like Oprah’s “After the Show”. We could call this “Beyond the Bow: After Class”, and I am going to share what we talked about in class, and more.

12 Days of Gift Wrapping, Julie Tiu, Basic supplies

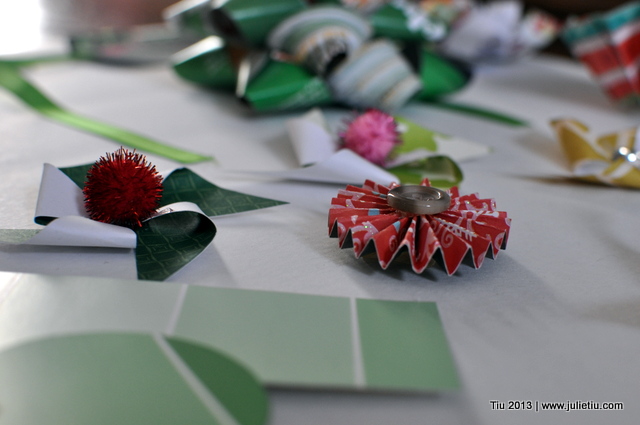
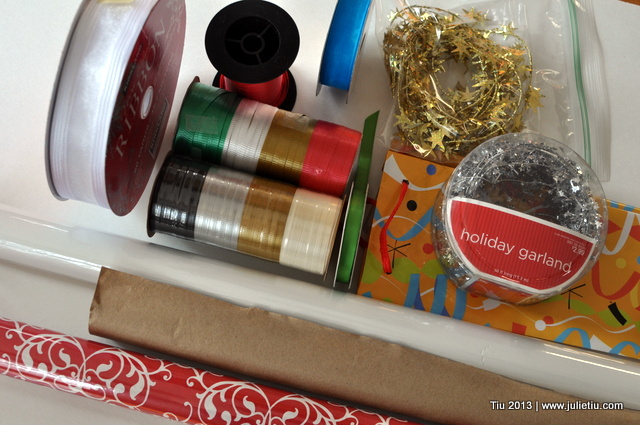
Let’s start with the basic supplies and tools of the trade. Gather your paper, ribbons and trim. (I’ll share some gift tag ideas around Day 11 or 12.) Maybe sooner.

12 Days of Gift Wrapping, Julie Tiu, Basic supplies

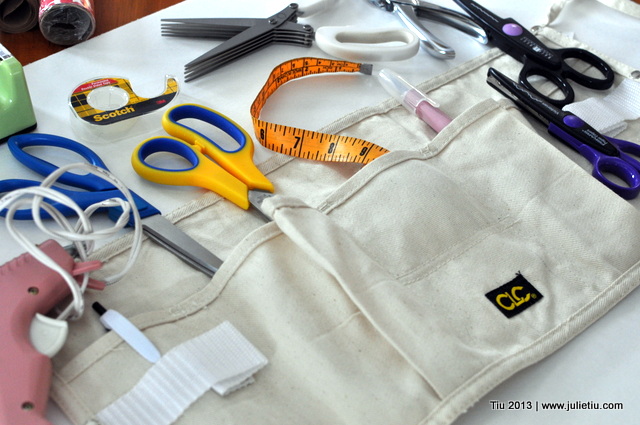
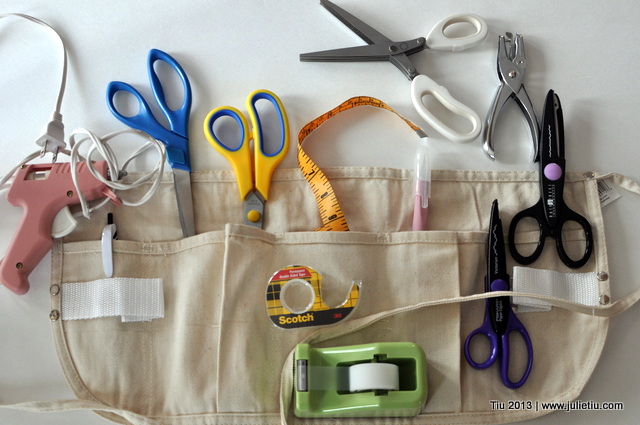
I wore a craft apron during the workshop – SO handy. And, no I did not sew it myself (just because you can, doesn’t mean you have to) but I’ll probably put that on the projects-to-do list.

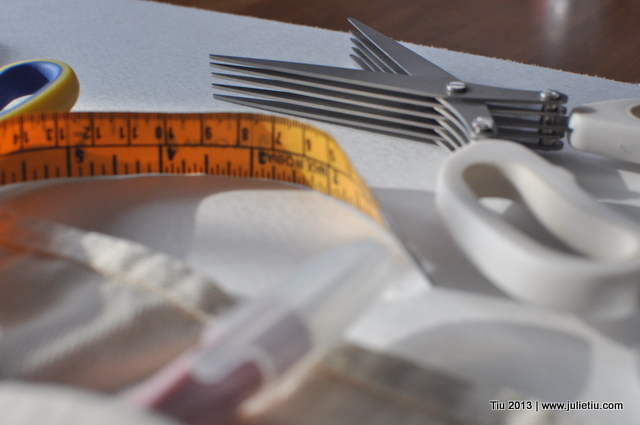
Think of all the things you might use when you’re wrapping gifts: Sharp scissor for paper only, scissors for fabric only, tape measure, fancy-edge scissors, craft blade, hole punch.

12 Days of Gift Wrapping, Julie Tiu, Basic supplies

Other things you should have on hand: tape (Scotch brand, double-sided and regular), glue gun (for embellishments, later in the week). Note: Do not put the glue gun in your apron.

And here is my pair of multi-blade scissors (I made these crepe paper flowers with them last year.).

12 Days of Gift Wrapping, Julie Tiu, Basic supplies

One of the things that I didn’t think of for the class is – how do you pack a gift box with fragile items? Here’s how I do it. Prepare your gifts and your gift box with plenty of tissue paper (see the following pictures). Continue reading, there’s more!

Work-in-Progress Wednesday: Prepping for Paint

My son's wooden toy shield with Chinese name

This past weekend, my son asked An-kong (Grandpa) if he would draw his Chinese name on his wooden shield. It turned out better than I could’ve imagined. Now it’s up to me to paint it. Wish I gesso-ed* before my father-in-law drew the characters, but no worries. I’ll make it work… (Hehe, “make it work”. I’ve been watching too much Tim Gunn and Project Runway! HA!)

Work in progress: gesso layer on brown paper bag

I’ve also started a brown paper bag journal – made it with three lunch-size paper bags from our take-out dinner the other night. (Upcycled product project, yay!) This has been something I’ve been meaning to do for a long time. I totally want to break out all my paint… and if you’d like to follow the journal journey, hop over to the my Facebook page where I’m winging it, as usual.

*Acrylic gesso (jess-o), in case you’re not familiar, is a basically a primer you can use on canvas, fabric, paper, wood, etc. It makes the surface nice and smooth for painting or drawing.

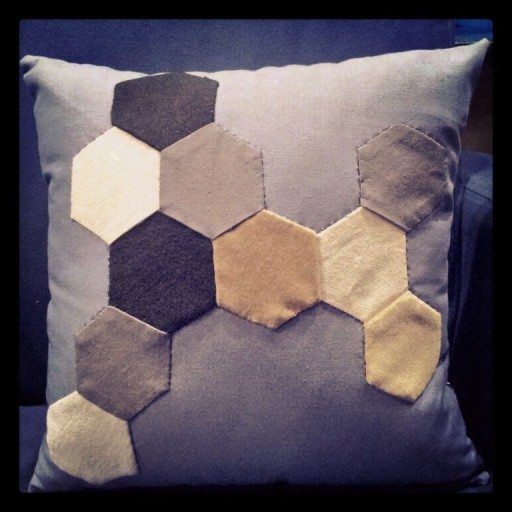
Completed Project: the hexie pillow

Hexie Pillow tutorial

Here it is! My pillow evolved from practicing and messing around with hexie shapes. (I posted yesterday how I cut my hexies.) Maybe it should be called “Molecule pillow” or “The Game Board pillow”, because that’s what I think of when I look at it. And, I’m not a gamer by any means, but I know that hex shapes are found in a lot of board games.

By the way, if you’ve played Settlers of Catan (or other similar games), then you know what I’m talking about. Check it out if you haven’t.

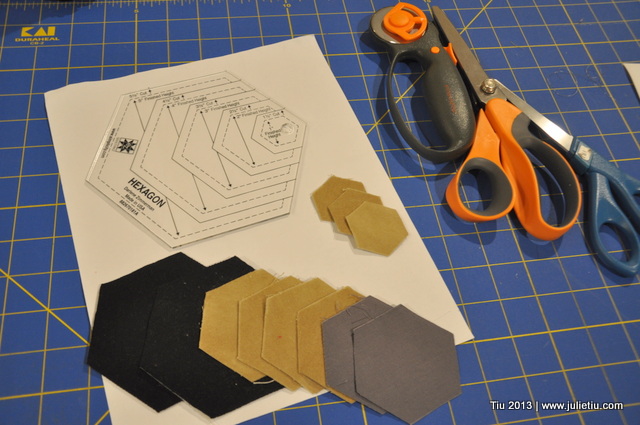
Hexie shapes for pillow

So… how are hexies put together anyway? I researched on Google for some answers. It all boiled down to : By hand, and carefully.

I found a few websites that show machine-pieced hexagons. Then I found a lot of information about paper piecing techniques, but I was looking for something that wouldn’t require cutting paper shapes for each fabric hex. Finally, I stumbled upon a tutorial for piecing hex shapes without paper. It worked for me, even if I didn’t print on my fabric. I’m pretty good at eyeballing distance and level lines.

I kept with neutral colors so I could gift the pillow to anyone – male, female, kid, adult. (In the middle of sewing the hexies together, I learned about some fabric printed with grass and rock graphics. Could be so awesome for a “Settlers of Catan” inspired project.)< Continue for what you need to make this pillow!

Related Posts with Thumbnails