
Julie Tiu | 2012 | www.julietiu.com
Home Improvement stores.
Fall displays, tools, fresh cut lumber. I could spend hours there. Simply, it makes me happy.
Julie Tiu | 2012 | www.julietiu.com
Home Improvement stores.
Fall displays, tools, fresh cut lumber. I could spend hours there. Simply, it makes me happy.

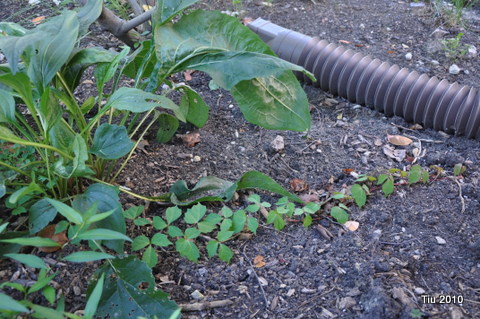
Garlic Scape
**yes, this picture is two years old. currently our scapes have been harvested.
**also currently doing some experimenting with garlic scapes in the kitchen. yum!
**this post is #300. yay!

Trying to keep the herbs alive
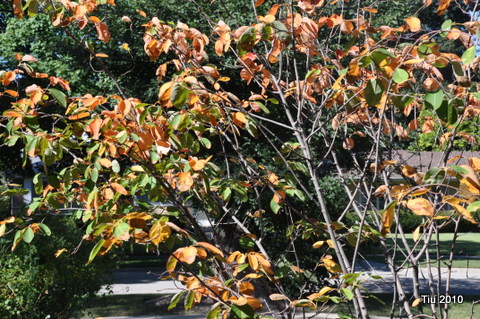
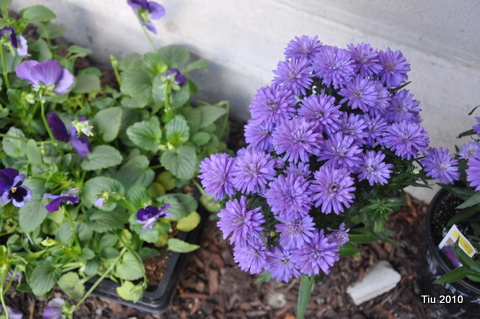
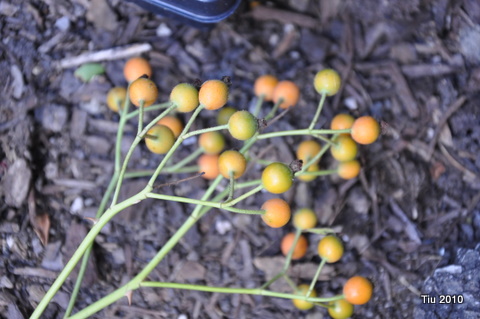
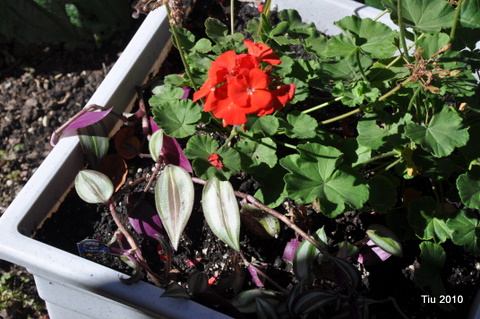
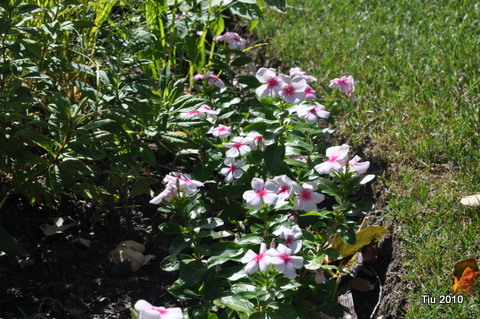
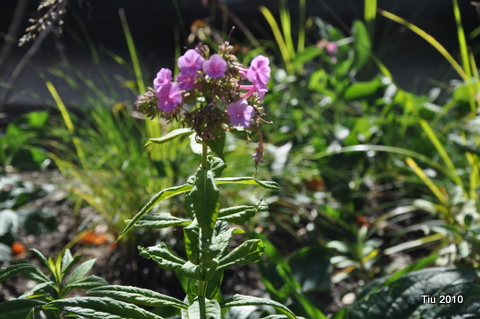
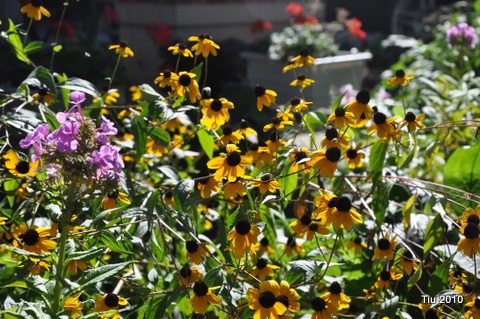
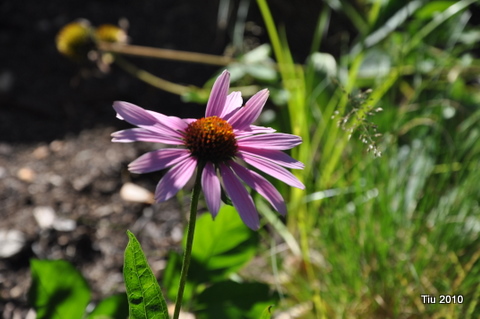
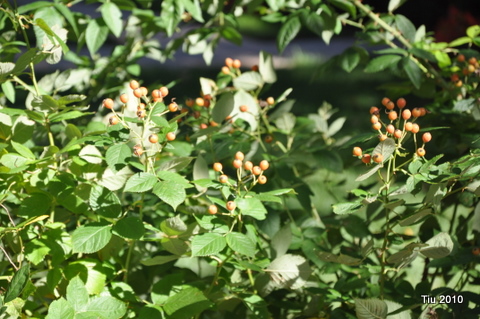
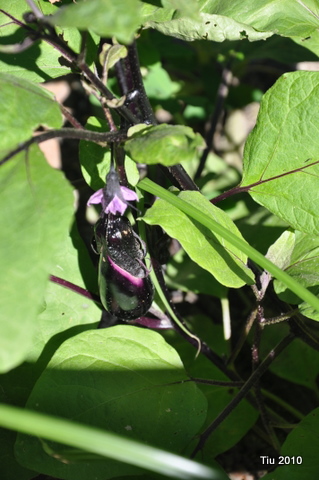
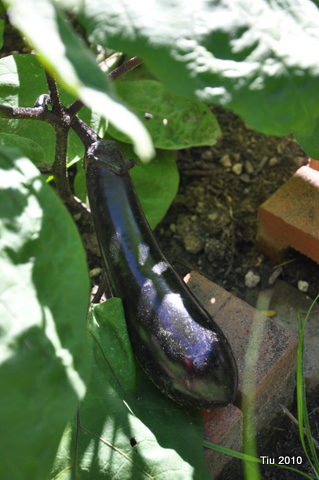
We finally have a break in the weather. From the heat and humidity, we’re enjoying a preview of autumn with highs in the 60s and lows going into the mid-40s in some areas nearby. We’ll be back in the mid-80s in a few days, but for now, I’m loving the crisp, cool air in the morning and early evenings. Then pair that with the earlier sunsets. Ah, late afternoons in the fall… It’s my favorite time of the day. Ask my husband, he might say, “Yes, my wife loves the sun in her eyes when the sun sets.” It’s all about the lighting and how everything looks to me when there’s that slight tint of peach-orange sunset. I could just drink it up.
The other day, the lighting was just beautiful, and I wanted to capture some colors around and in our garden beds. Enjoy and happy Labor Day!


Example barrel composter at class
** NOTE ** In an effort to get this posted quickly, I may not have all the dimensions, products or resources listed as I would like to. I’ll come back and update. I promise!
In trying to be more “green” at home, I finally finished putting our compost barrel together. Of all the recycling-earth friendly things we’ve started to do here, I’m most excited about this, but it probably shouldn’t have taken as long as it did. I started it in March at our local park district. (Embarrassed, yes.) Since I wasn’t able to stay for the whole class (1-1/2 hours), I jsut made sure I had all the pieces that were needed to finish and brought everything home. Of course, there was every intention to get it done on the first nice weekend, but that weekend went by, as did several others… and here we are today.
There have been a few inquiries about how to put it together. I was able to take a few pictures at class, which will hopefully be helpful with the instructions.
Materials needed
Legs
Composter
Equipment
Making the stands

This was essentially like making legs for a sawhorse except I didn’t place a long 2×4 across the legs. Instead I used two small pieces of 2×4. (See the pictures above and below of the finished barrel.)
Find the center of the 12″-2×4 and drill a hole to fit the bracket bolt. Center the sawhorse bracket on hole and hammer it down in place. Take the piece and place it on the sawhorse bracket. Take your assembly and put it on the ground upside down (ready to receive the legs). Insert leg pieces into the bracket/holders, hammer to secure, then place center support piece in the middle and tighten bolt. It may help to have someone steady the legs.

Preparing the barrel

On barrel ends, mark the centers. Drill a hole on both ends large enough for the 60″ PVC pipe.
Cutting the door
The door will be approximately 11″ x 11″. Your barrel may have seams (ribs or lines) that will be helpful for marking. From rib to rib on my barrel, I have 11 inches. I marked a square accordingly.
Before cutting the door, install the hinges and barrel bolts so that the door piece wouldn’t fall in after you cut it. To have the door open up like a trash chute, the barrel bolts are on top and the hinges are on the bottom. Place the pieces in position (no real measurements here) and traces locations and holes. Predrill all your holes with a small bit (5/16″ worked well) – it makes life so much easier!
At this point, take the jigsaw and cut ONLY at the hinge and bolt locations (4 cuts). Make sure your cuts go slightly past the hardware so you have somewhere for the jigsaw to start easily when you cut the rest of the square. Then install the hinges and bolts by hand making sure not to strip the screws (that’s actually me in the picture).

Cut out the rest of the square. After it’s finished, open the door to check if everything is cut correctly.
Install the two pull handles the same way, marking its location and predrilling holes. Basically, the pulls go on opposite sides of the barrel, above and below the door.
Using wire nuts, I cover all the screws on the inside.
Lastly, drill a number of random holes all around the barrel… but not through the door (plenty of air space around there).

Mounting the composter on the stands

Place your PVC pipe through the barrel. That’s the easy part.
It helps to have friends around for placing the barrel, but I was able to have my two kids hold the legs/stands upright and in place, while I maneuvered the barrel holding on to the pull handle. Once you get the PVC pipe on the legs, take a couple of pipe brackets and secure to the 2×4. I had to angle the screws in a bit. They were slightly long, and would have gone through the 2×4 had I drilled straight down. As it is, you want to angle the screws in, to make sure the brackets are tight against the pipe when you secure it to the wood.
What to Compost
Do Not Compost

It was another awesome time at the Chicago Craft Social last Friday night! I’m writing about the event on Craft Critique, so here we’ll just focus on this cool, recycle/upcycle project.
(Update: The event review is posted on Craft Critique now.)
Leading this table was a lot of fun, and I promised some new crafty friends that I would have instructions posted on this very simple eco-friendly outdoorsy project. Though it may be a little late in the season, I might start some vegetable seedlings for late summer/early fall planting. What I love about the pots is that there’s no adhesive, and you can plant the whole thing in the ground once your seedlings are established.

The newspaper seedling pots: newspaper and scissors
I didn’t use any forms or jars to form my pots, but there are certainly products out there that are sold at your local garden shop for not a lot of money. I took full sheets of newspaper and cut them in half, then half again (quarter-pages). Using two quarter sheets, roll them up like toilet paper roll size.

Fold one end of the tub into itself (about 1/4″ to 1/2″) and press. Repeat. Folding over a few times will give the pot some structure, a little collar of sorts.

Now the tricky party: the bottom. I place the tube over my fingers like a puppet and just start folding the bottom into itself, as if I’m wrapping a cylindrical gift.

Eventually, you end up with a triangular little piece of paper, and that can get tucked in. Actually, I smash it onto the table to help get the folds to stay. No adhesives.


This isn’t going to look super neat, but I figure, after you’ve filled the pot with soil, and you’ve started watering your seedling, the paper is going to stick to itself after getting wet.

Now the tray: cardboard, cereal boxes, snack boxes, ruler, cutting mat, rotary cutter or utility knife, bone folder (optional)

The tray was just something simple for crafters to carry their pots home, but think of the possibilities with kids and a little paint or stickers! You can use any cardboard box, like cereal and snack boxes. One box will make two trays. So, cut apart your box: front, back, two sides.
Take your large rectangular piece and measure 1-1/2″ to 2″ from each side – the width is up to you. Then using a straight edge, make a line from outside corner to “inside” corner. Score (not cut) on these lines.

At this point, you should be able to fold the cardboard and start forming the tray. The diagonal lines can be “pushed” into the tray. This then gets stapled to the tray side (doesn’t matter which side).

Use a box edge to create the handle… just staple onto the tray.

The tray below has a 1-1/2″ edge. The 2″ tray looks is shown at the beginning of this post and here at my friend’s blog, “Our Tiny Oak Park Bungalow“.

***
Looking for more crafting, my review on Xyron’s Creatopia machine is posted at Craft Critique (disclaimer). This machine is amazing! Check out all six articles, and there’s a great giveaway that ends on Saturday, June 26! Good luck!
