Chinese New Year: Crafting mini {Red} envelopes with free printable

Crafting envelopes from old magazines and calendars

My obsession with making envelopes from old magazine and calendar pages

I’ve always had a love affair with paper, especially making envelopes from old magazine and calendar pages… even wallpaper scraps. And, I actually use them to mail letters! In college, I would take junk mail envelopes, open them up and use them for templates. Every envelope was different; I didn’t care if the picture was tilted, or if there was text. The envelopes were that much cooler.

Chinese New Year: Making mini-envelopes

Recycling / upcycling my Crate and Barrel and Anthropolgie catalogs into mini-envelopes

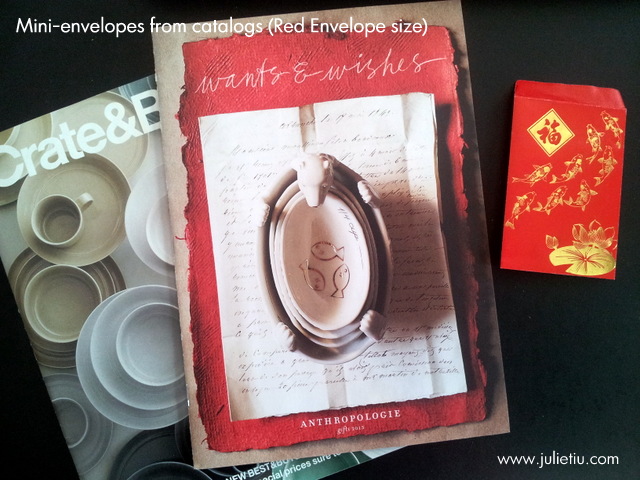
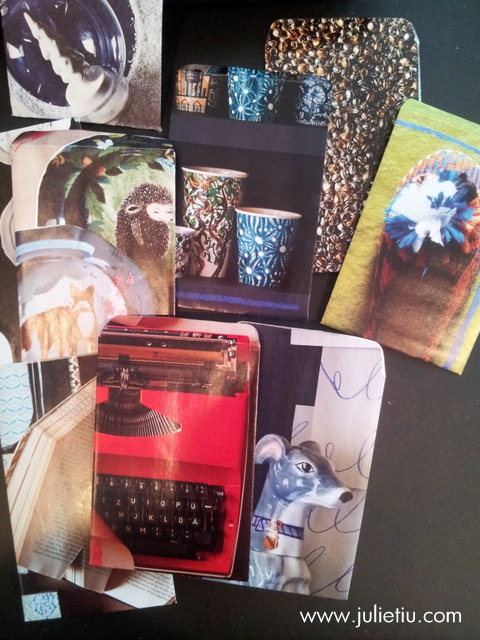
Since it’s Chinese New Year’s Eve, I pulled out red envelopes for the kids. I was inspired to make a few mini envelopes… from some favorite catalog mailers. (Crate&Barrel and Anthropologie, I love your layouts.)

Chinese New Year: Making mini-envelopes

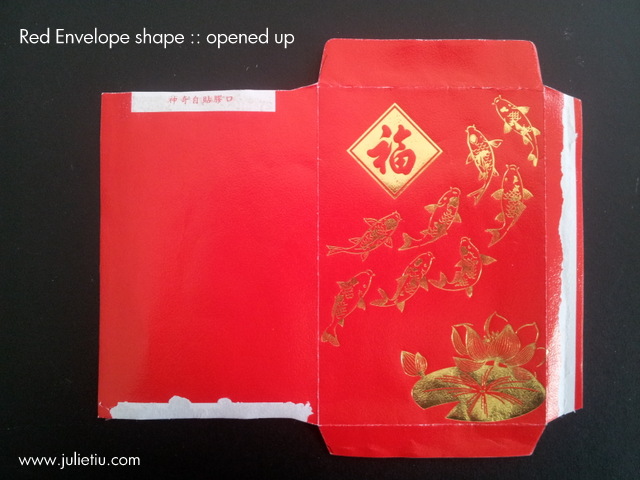
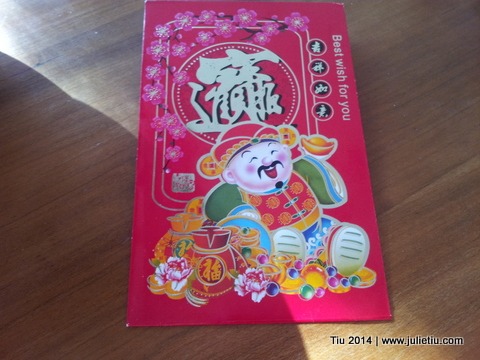
Here, I’ve carefully opened up my red envelope to figure out the shape and to make a template on a blank piece of paper.

I also put together a Mini / Red Envelope template that can be downloaded here. Just print on cardstock, cut, and follow directions.

Making mini-envelopes from old magazines and catalogs

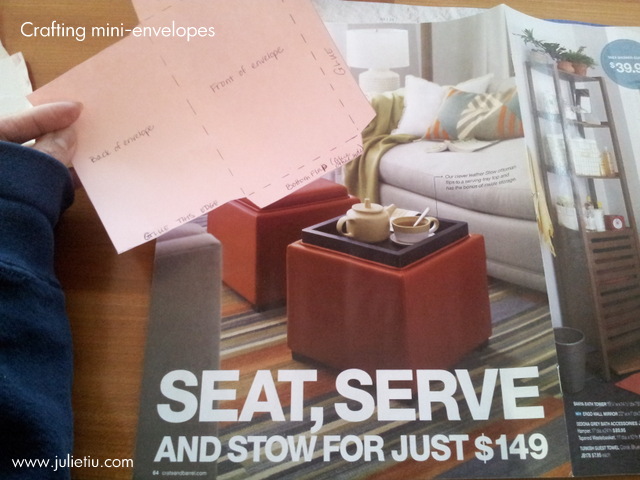
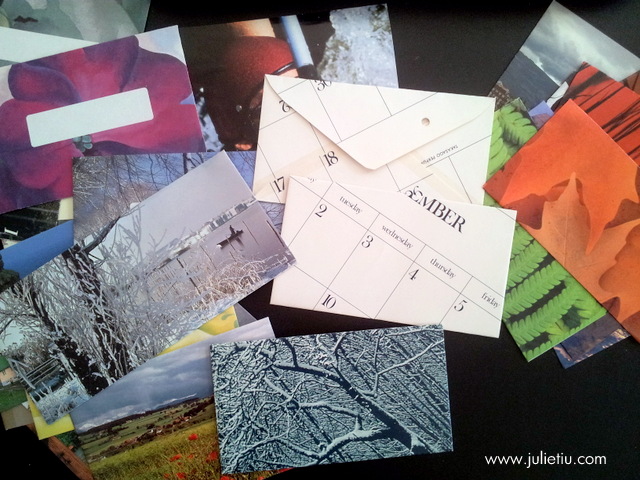
Sometimes you get cute envelopes from unexpected pages. It’s all template positioning  – trial and error.

Before I cut out my envelope shapes, I used a silver marker to go around my template. It made a nice edge on the finished envelope. I also tried a colored permanent marker.

Making mini envelopes from Crate and Barrel catalog

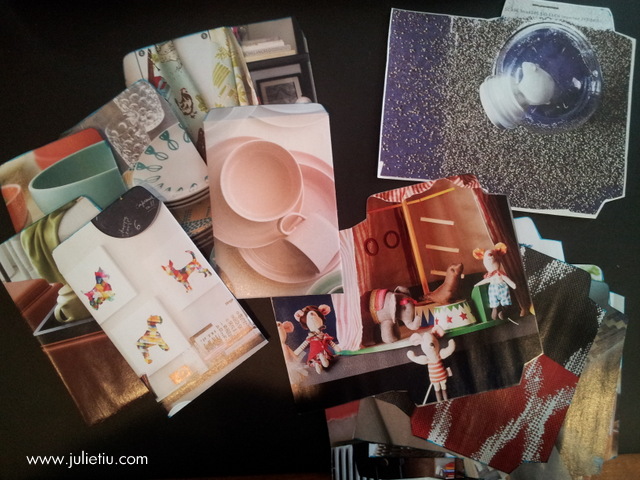
Like I said, I thought I would make a few envelopes, but I got carried away. (Yes, a die-cut machine would probably be more efficient but where’s the fun in that?) Guess I better figure out who to send these to.

Mini envelopes from Anthropologie catalog

Finished size is approximately 4 inches x 2-3/4 inches.

I wonder what else I could cut up to make envelopes? *grin*
Chinese New Year: Year of the Horse and Noodle Recipe

** My original article posted on patch.com a few years ago, but the links are presently broken. Imagine the horror when I thought all my articles were deleted! But, I got in touch with the engineers, and hopefully they will have it up and running in the near future. Until then, I’ve updated a few things.**

Chinese New Year: Year of the Horse and Misua Recipe

This Friday, January 31, marks Chinese New Year, 4712 by the Chinese calendar, which is also known as the Year of the Horse. It’s a special year in our house with my daughter, brother, father, father and mother-in-law all celebrating their year. To set the record straight, I am not Chinese by heritage, but my husband is, and almost everything I know about Chinese New Year, I’ve learned from him and his family.

Chinese New Year: Year of the Horse and Misua Recipe

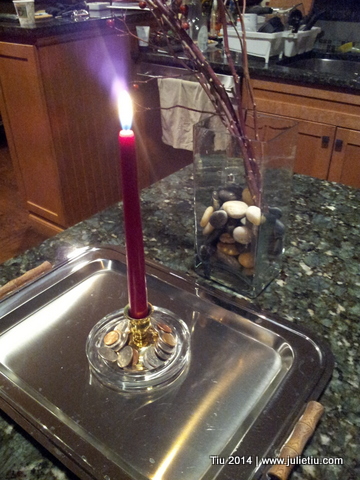
On Chinese New Year’s Eve (and regular New Year’s Eve) we light a red candle

Chinese New Year is based on the date of the second New Moon after the Winter Solstice, so the date changes from year to year, but is usually sometime between late January to early February. Traditionally it is a fifteen-day celebration, so it is acceptable to celebrate anytime within two weeks of the beginning of the New Year.

On Chinese New Year’s Eve, we light a red tapered candle surrounded with coins… the candle symbolizes your parents’ lives, and coins for prosperity. Let the candle burn through the night for long life. (If you think I’m going to burn my house down, you won’t be the first one.)

My family typically has a wonderful brunch at my in-laws home to celebrate Chinese New Year, and sometimes, we wait until the weekend for more convenient scheduling. It’s not a particularly lavish brunch, but steeped in tradition and symbolism. And, we all wear red.

Chinese New Year: Year of the Horse and Misua Recipe

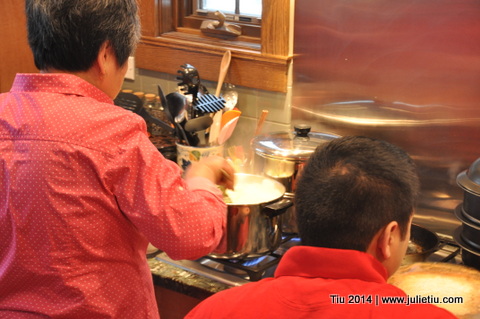
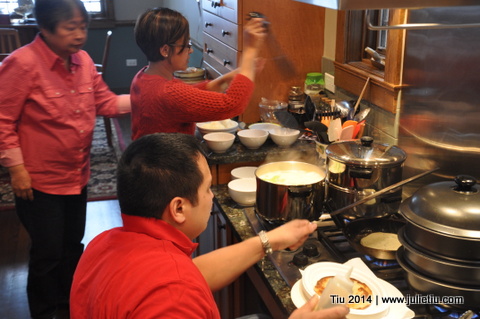
My husband and his mom making misua for New Year’s (2014)

Chinese New Year: Year of the Horse and Misua Recipe

Mom-in-law, hubby and me preparing misua (noodles) for New Year’s

The color red is used whether in clothing, tableware or dishes, and the color was believed to ward off evil spirits. The word for red in Mandarin also means “prosperous”, so lucky word, lucky color – lucky red! Round or circular shapes are found throughout the meal since circular shapes are considered to be good luck.

Chinese New Year: Year of the Horse and Misua Recipe

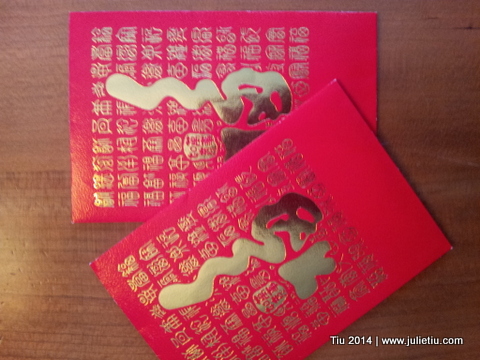
Red envelopes for Chinese New Year

Our kids will receive red envelopes (shown above, and first picture) from their grandparents and us, mom and dad. Again, it’s red symbolizing good luck, and to ward off evil spirits. The envelopes, ang pao (Fukinese) or hong bao (Mandarin), contain money – good fortune. Read on for the misua (noodle recipe)

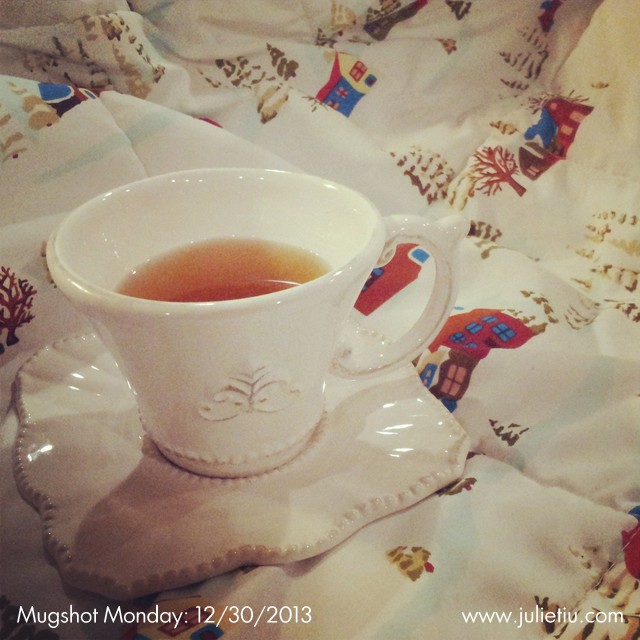
Mugshot Monday: Winter

Our last prompt of the year from A Year in the Life of An Art Journal. Hope you’ve all had a wonderful holiday season! You can bet my family has, despite someone me getting sick. Never fails, with all the crowds, late nights… someone’s bound to catch a bug. But, all is good. Nothing a little tea and sleep can’t fix.

Mugshot Monday: 12/30/2013

It’s been a great 2013, and I think I did what I set out to do, more living… less wishing and more making things happen. The website continues to change with hopes for great craft, food, and idea sharing, more timely postings, and not so much self-inflicted pressure.

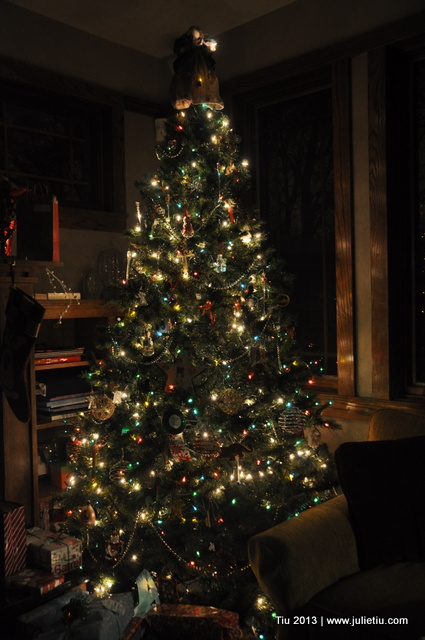
12/24/2013: Waiting for Santa
From my home to yours, wishes for a craftful, wonderful, blessed 2014.

12 Days of Gift Wrapping: Cupcake liners and doilies

12 Days of Gift Wrapping: If you don't have ribbon

Something useful for those mismatched cupcake liners and extra doilies you might have hanging around in your kitchen drawers. Just wrap your gift with plain, solid paper (I used brown craft paper), wrap some ribbon, layer a doily and cupcake liner, then secure with coordinating bakers twine.

This is super cute used with brown paper bags, too.

12 Days of Gift Wrapping: Yarn or twine

Totally Pinterest-inspired wrapping.

12 Days of Gift Wrapping: Yarn instead of Ribbon

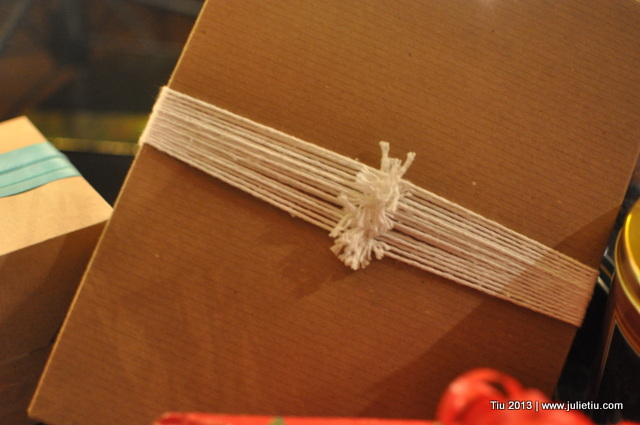
So, in case you don’t have or run out of ribbon, scrounge around your house… maybe you have twine or yarn! Cut ten to twenty lengths of yarn, enough to go around your gift and enough for you to tie tight knots. Tie the yarn one piece at a time around your gift with a double knot. Once you’re done, line up all the knots and then trim the ends to the length you desire. Kind of like a hair cut.

12 Days of Gift Wrapping: If you don't have ribbon

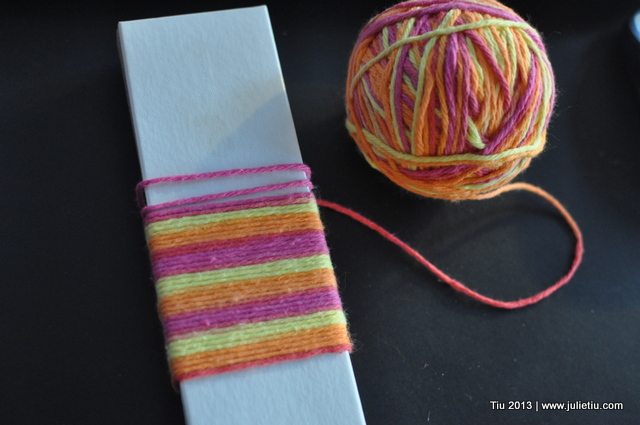
How about a skein of multi-colored yarn? Just take your yarn and apply the same way as above, or tape one end of your yarn and wind around your gift until you get the width you like. Cut and tape the end, tucking it in behind the rest of the yarn. It’s just as much  fun unwrapping it as it is winding the yarn around the box.

12 Days of Gift Wrapping: If you don't have ribbon

12 Days of Gift Wrapping: Curling Ribbon Tip

12 Days of Gift Wrapping: Curling Ribbon Tip

I’ve been obsessed with curling ribbon since I was a kid. I tried and tried to curl fabric ribbon and paper strips by rolling them up around my pen or pencil. (That doesn’t work so well, by the way.) And then I learned there was specific ribbon for curling purposes.

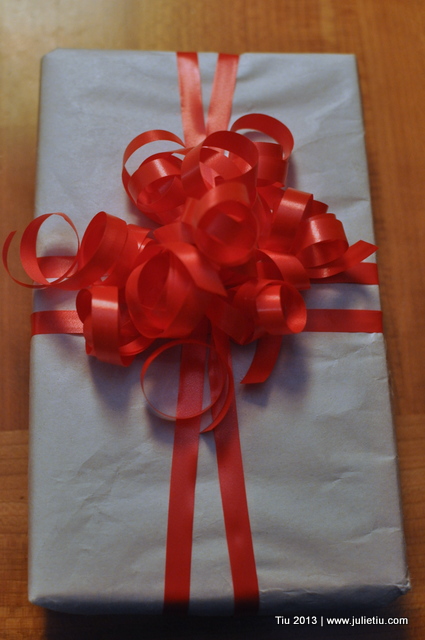
The key to making it all fluffy: don’t curl your ribbon after you tie it to the box – do it before you tie.

Tie one (or two, as shown) pass of ribbon around your gift as you typically would, leaving a few inches of ribbon to tie your gift tags, etc.

Cut several lengths of curling ribbon, anything over 18 inches. Be generous. I like to use about four or five pieces. Curl each ribbon piece just as you would, with the edge of your scissors. You should have a curlicue mess right now.

After you curl the ribbons, take one piece, hold one end in your left hand, hold the other in your right. Bring the ends together, hold them in one hand. Find the center (like folding sheets) with your free hand. Fold the ribbon again by bringing the center to the ends.

Now… you tie the center of that mess of curled ribbons to your gift. Repeat with the other pieces of ribbon.

If you can hold all your ribbons while folding the other pieces, you could fold up all your pieces first and then tie at the end.

Related Posts with Thumbnails