Adobo Cook-Off, Fire Pit and a Long Bike Ride


What a fun-filled weekend!

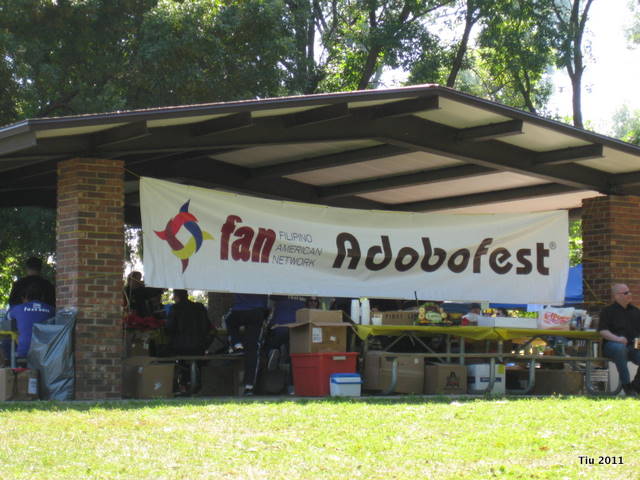
  • Attended a Filipino food cook-off, Adobofest 2011, in one of the many forest preserves around Chicago. It seemed pretty well attended, but I heard there were four times as many entries as there were this year. More on this event tomorrow.

    Filipino Cook-Off Event: Adobofest 2011

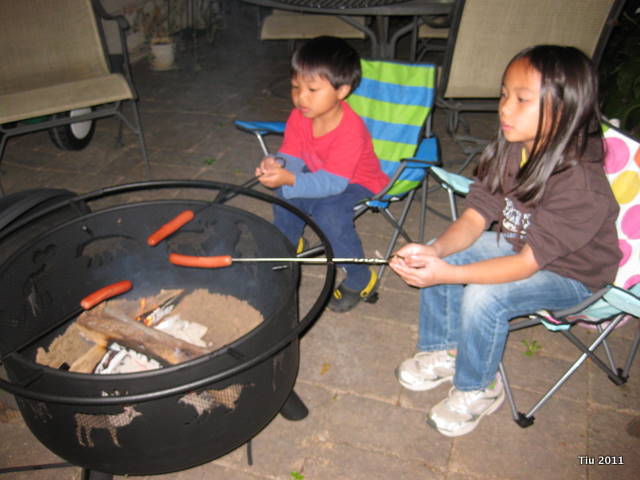
  • Used our fire pit for the first time. Told the kids this was a close to camping as we’ll ever get! I’ve never been camping. Ever. But I am open to the idea of putting up a tent in the backyard one nice summer night. Maybe next year?

    Roasting dinner over the fire in the backyard with the kids

  • Abby’s soccer team won their game after a harsh season opener (they lost 8-2)!
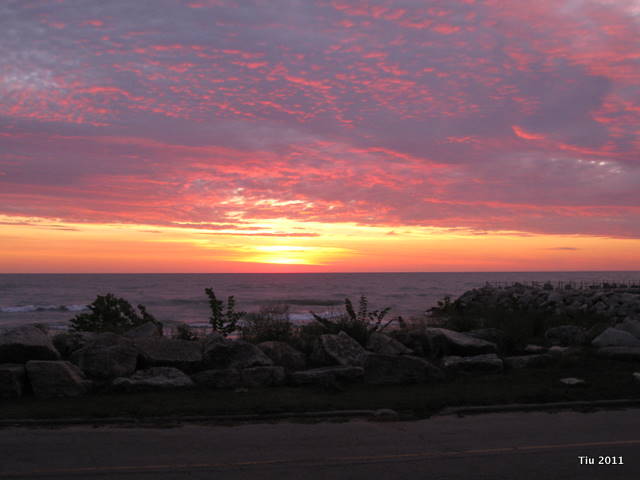
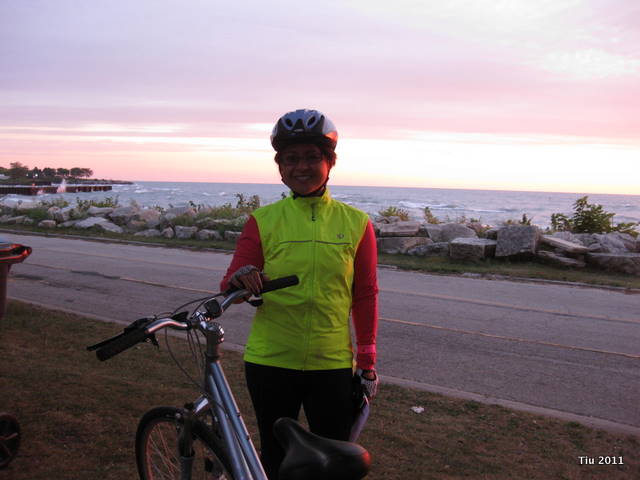
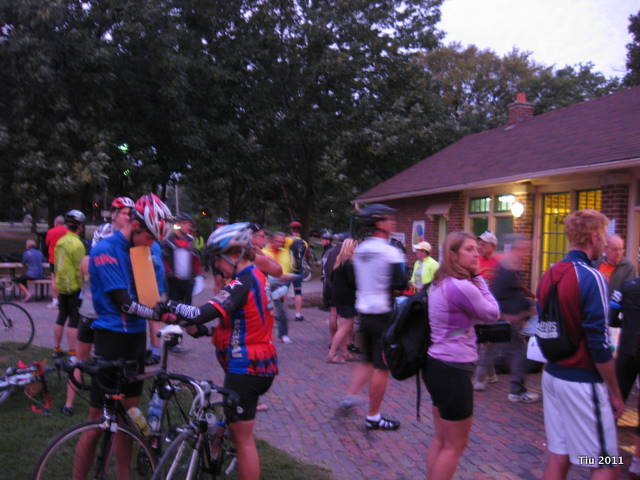
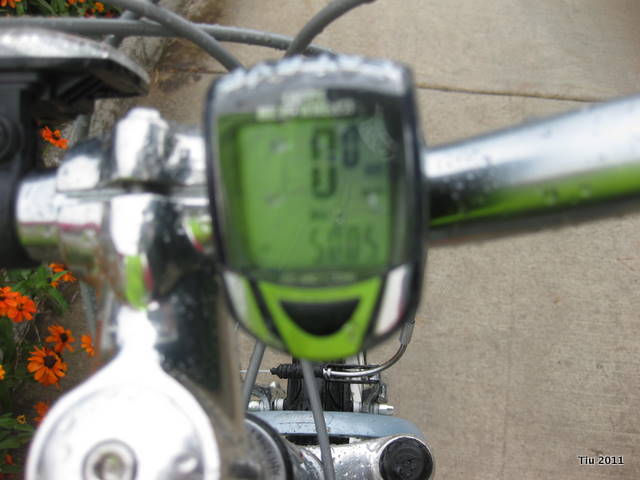
  • And I rode 50 miles in the North Shore Century Ride! Started with a lovely sunrise over Lake Michigan – but quickly turned into a rainy mess of a day. I was drenched by the end. Took me 4 hours and 25 minutes, and on somewhat spongy tires for the middle leg of 20 miles (Oops.). It was really fun, but I won’t lie – it was a lot of work in some spots. And, I’m not very athletic at all. This may be my one big athletic accomplishment to date.

    Sunrise at Lake Michigan - Dawes Park - Evanston, IL

    The eager cyclist - I'm so excited

    Morning registration

    Bike odometer reached 50 miles at Bahai Temple of Worship, Wilmette, IL

I’m ready for a relaxing week. Too bad it won’t be… always something happening around our here! *grin*

Have a great week everyone!

Making Our Own Rotating Barrel Composter

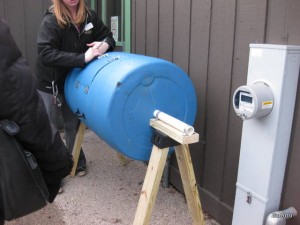
Example barrel composter at class

** NOTE ** In an effort to get this posted quickly, I may not have all the dimensions, products or resources listed as I would like to. I’ll come back and update. I promise!

In trying to be more “green” at home, I finally finished putting our compost barrel together. Of all the recycling-earth friendly things we’ve started to do here, I’m most excited about this, but it probably shouldn’t have taken as long as it did. I started it in March at our local park district. (Embarrassed, yes.) Since I wasn’t able to stay for the whole class (1-1/2 hours), I jsut made sure I had all the pieces that were needed to finish and brought everything home. Of course, there was every intention to get it done on the first nice weekend, but that weekend went by, as did several others… and here we are today.

There have been a few inquiries about how to put it together. I was able to take a few pictures at class, which will hopefully be helpful with the instructions.

Materials needed

Legs

  • (2) Plastic sawhorse brackets (hardware included)
  • 4 pieces of 2×4 at 31″ to 32″ lengths each for legs
  • 2 pieces of 2×4 at 12″ each for pipe surface

Composter

  • (1) Food grade plastic barrel
  • (2) hinges
  • (2) barrel bolts
  • (2) pull handles
  • (1) 1-1/2″ diameter PVC pipe – 60″ length
  • (4) 1-1/4″ EMT/pipe brackets
  • several wire nuts to cap off screws

Equipment

  • Jigsaw
  • Hammer
  • Tape measure/ruler
  • Hole drill bit
  • Power drill (cordless is easier, but not necessary)
  • Drill bits
  • Permanent marker

Making the stands

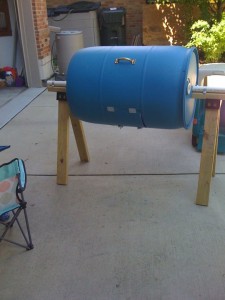
This was essentially like making legs for a sawhorse except I didn’t place a long 2×4 across the legs. Instead I used two small pieces of 2×4. (See the pictures above and below of the finished barrel.)

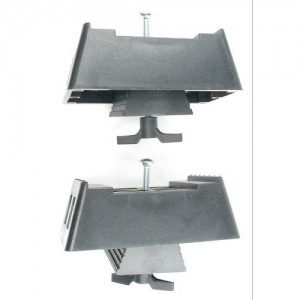
Find the center of the 12″-2×4 and drill a hole to fit the bracket bolt. Center the sawhorse bracket on hole and hammer it down in place. Take the piece and place it on the sawhorse bracket. Take your assembly and put it on the ground upside down (ready to receive the legs). Insert leg pieces into the bracket/holders, hammer to secure, then place center support piece in the middle and tighten bolt. It may help to have someone steady the legs.
Preparing the barrel
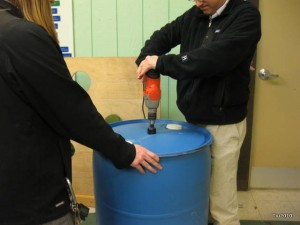
On barrel ends, mark the centers. Drill a hole on both ends large enough for the 60″ PVC pipe.

Cutting the door

The door will be approximately 11″ x 11″. Your barrel may have seams (ribs or lines) that will be helpful for marking. From rib to rib on my barrel, I have 11 inches. I marked a square accordingly.

Before cutting the door, install the hinges and barrel bolts so that the door piece wouldn’t fall in after you cut it. To have the door open up like a trash chute, the barrel bolts are on top and the hinges are on the bottom. Place the pieces in position (no real measurements here) and traces locations and holes. Predrill all your holes with a small bit (5/16″ worked well) – it makes life so much easier!

At this point, take the jigsaw and cut ONLY at the hinge and bolt locations (4 cuts). Make sure your cuts go slightly past the hardware so you have somewhere for the jigsaw to start easily when you cut the rest of the square. Then install the hinges and bolts by hand making sure not to strip the screws (that’s actually me in the picture).
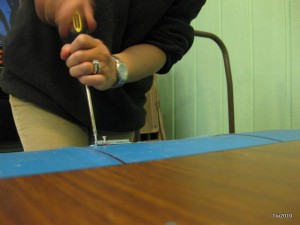
Cut out the rest of the square. After it’s finished, open the door to check if everything is cut correctly.

Install the two pull handles the same way, marking its location and predrilling holes. Basically, the pulls go on opposite sides of the barrel, above and below the door.

Using wire nuts, I cover all the screws on the inside.

Lastly, drill a number of random holes all around the barrel… but not through the door (plenty of air space around there).
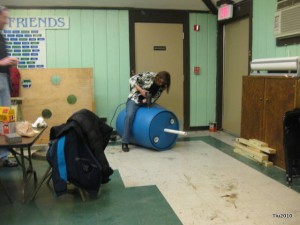
Mounting the composter on the stands
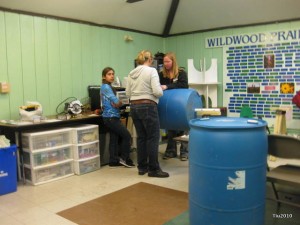
Place your PVC pipe through the barrel. That’s the easy part.

It helps to have friends around for placing the barrel, but I was able to have my two kids hold the legs/stands upright and in place, while I maneuvered the barrel holding on to the pull handle.  Once you get the PVC pipe on the legs, take a couple of pipe brackets and secure to the 2×4. I had to angle the screws in a bit. They were slightly long, and would have gone through the 2×4 had I drilled straight down. As it is, you want to angle the screws in, to make sure the brackets are tight against the pipe when you secure it to the wood.
What to Compost

  • Coffee grounds
  • Tea leaves/bags
  • Eggshells
  • Fruit and vegetable scraps (I’ve been told that banana peels, orange peels and peaches have high levels of pesticides, so don’t compost them if you’re going to use your “black gold” to grow food.)
  • Shredded newspaper (for carbon)
  • Leaves, straw, hay, grass clippings

Do Not Compost

  • Deadly weeds
  • Diseased plants
  • Human or pet waste
  • Meat/fish scraps or bones
  • Oily/fatty food products
  • Dairy products
  • Chemically treated wood products

Gotta Get Outside

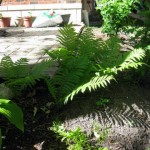
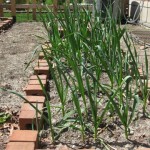
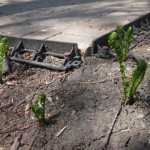
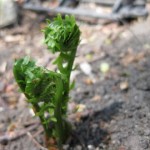
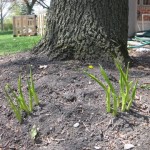
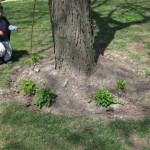
I’ve learned from working in construction that there are really only two seasons in Chicago: coming out of winter and going into winter. Sometimes there is an in-between, and that’s when everyone runs outside. We’ve been spending some time outside in our backyard. I’m so excited the plants are coming up after last year’s late season planting especially the brunella (Jack Frost), the garlic and some ferns that were transplanted from Oak Park to a far west suburb and then to our home. You’ll see the ferns have grown a lot in just a few weeks!

(click on the pictures to zoom in)

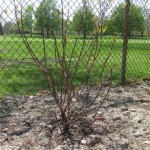
The shrubs are looking a little lopsided, hopefully after some pruning and warmer temperatures, they’ll bounce back. I’m slightly worried about them. I planted some lettuce and spinach in “the farm”, but I’m afraid it’s late in the season. They’re sprouting now, as of this post, so we’ll see what happens. Saturday, chicken wire was added to help deter the rabbits. I’m looking to add some marigolds soon…along the perimeter of the kitchen garden.

This week is starting out a little damp and cloudy, but by the weekend, I should have some warmth to do more outside. Right now, I have a leak somewhere in the roof to take care of, too. Grrr!

One Fall Day

Hope you all had a nice weekend. We certainly enjoyed ours. I should have been getting ready for the Craft Social, but I had other projects in line.
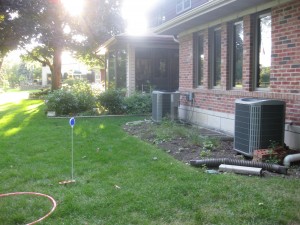
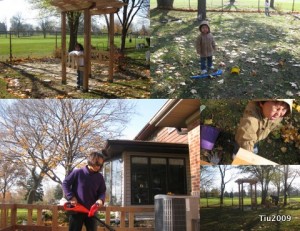
Enjoying the Backyard

The boy is crying not because he was hurt. He tried to lock me up in the garden and I yelled at him. Needless to say, he went back inside the house for a while.

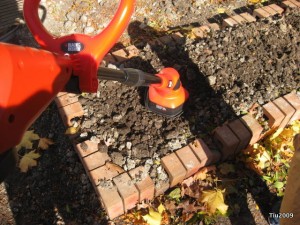
Black and Decker Cultivator

This garden tool was pretty nice to use once the hard clay was amended with peat moss.

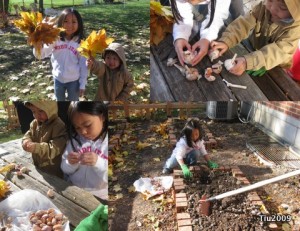
Planting Garlic

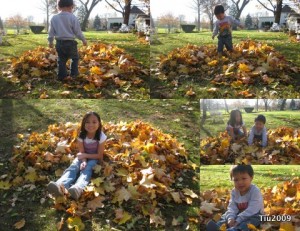
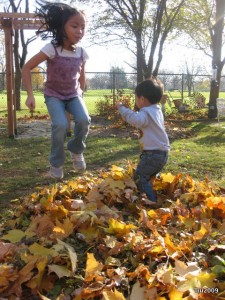
After planting the garlic, it was time to enjoy the leaves.

Fall Leaves

Life is Fun

**Updated: Wow! This is my 100th post – a great way to “celebrate”. Thanks to everyone who takes time out of their day to share time with us!

In the Backyard

Over the last few weeks, we’ve been busy in the backyard. Yes, while also preparing for family houseguests and the wedding. Needless to say, our home has been very active over the last month.
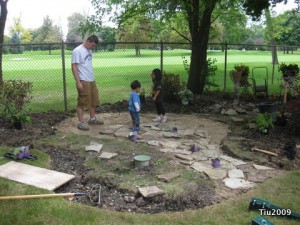
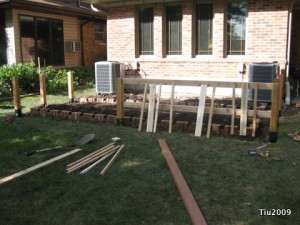
We wanted to do something in the southwest corner of our backyard – the shadiest part, too. We called up our friend who also designed our home to help us pull together some ideas. These are the “before” shots.

Southwest corner

Looking west

Not so full garden bed - south elevation before

Here’s where we are now:

Southwest corner

Our poor friends… the clay soil was really tough to work through. They also ran into some leftover construction debris (stones, concrete scraps). I’m so glad they were able to help. Patrick is laying out the patio where most of the flagstone came from “Freecycle”.

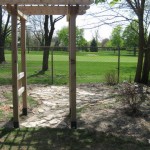
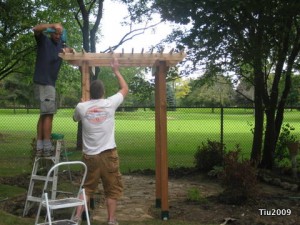
Working on the arbor

Pretty arbor – the doorway to the shade garden.

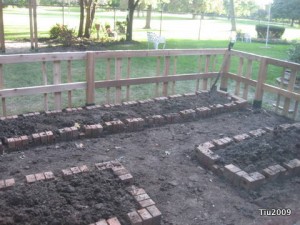
Fenced kitchen garden in progress

Fencing to keep the critters out – have to add the chicken wire.

Fenced kitchen garden

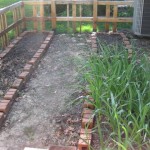
The raised beds are bordered by our leftover brick from original house construction. We have a few more details to complete and then we’ll be done for the season which is a good thing… it was a balmy 30 degrees (or less) overnight. Hopefully the plants will survive since they’ve been in for almost a month now.

Shade Garden Plantings: Henry’s Garnet Sweetspire, Viburnum “Winterthur”, Jack Frost Brunnera, ferns and other steppable plants interspersed within the stone patio.

Bird Problems

Note: Some pictures will not be for the squeamish. Proceed with caution. You have been warned!

It seems like we’re having a run of bird issues. At first it was all innocent. We had a family of robins living just outside of Abby’s window.

Robin's Nest

Our neighbor also has a birdfeeder with some sort of wild bird mix with berries and we’re seeing a lot of beautiful cardinals and blue jays. But, with that comes interesting splotches of dark blue-purple all over the patio and driveway. One of them dropped a bird-doo bomb on my car, on the driver’s side door WHILE I was pulling into our driveway with the window OPEN. GROSS, right? I had to wipe off the door, window “sill” and part of my seat. Ollie and I were spared from any splash.

Then one day, I’m in the basement and… THUD!

“Joules… bird!” says Eastman.

“What?”

“I said, “Bird!”, a bird just ran into the window…” says Eastman.

“It was so loud, Mom!” says Abby.

IMG_2463

Oh no. Oh yes, the husband says, and he’s laughing! I creep up to the window slowly and see the ugliest, yet saddest, blackbird lying still on our patio. I actually shrieked…eeeeeee… and ran around my kitchen like a crazy girl. You know that feeling when your stomach all of a sudden drops, and you feel a little sick and all the color has drained out of your face? Yeah, that’s me, because it’s my job to dispose of the aviary corpse. Ugh. Not my favorite chore. I tried to tell my husband that, hey, it’s like a husbandly duty sort of thing, but there are some actual physical challenges and so I have to do it.

Within one week of the blackbird incident, there were two other birds run over in front of our home in the street. At least I didn’t have to clean them up.

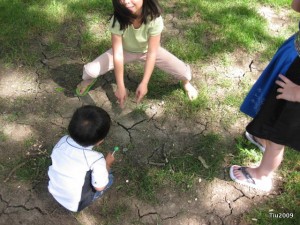
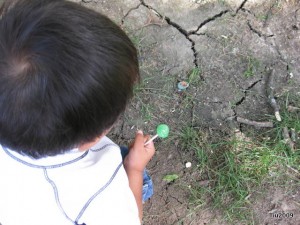
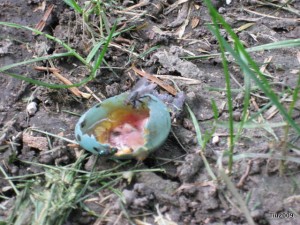
The other day, Abby and our next door neighbor’s granddaughter found a robin’s egg in the backyard. On the ground. I took the pictures approaching the egg, then Abby says, “Ooh, ooh, I want to take a picture from my side.” I didn’t know she’d take a close up. It’s impressive, but definitely not pretty. I didn’t realize the egg was “inhabited”.

Robin's EggRobin's Egg - A little closerUnfotunate Robin's Egg

Filipino people out there… balut! Eeeeek!

Related Posts with Thumbnails