DIY Decoupage Beer Label Coasters Tutorial

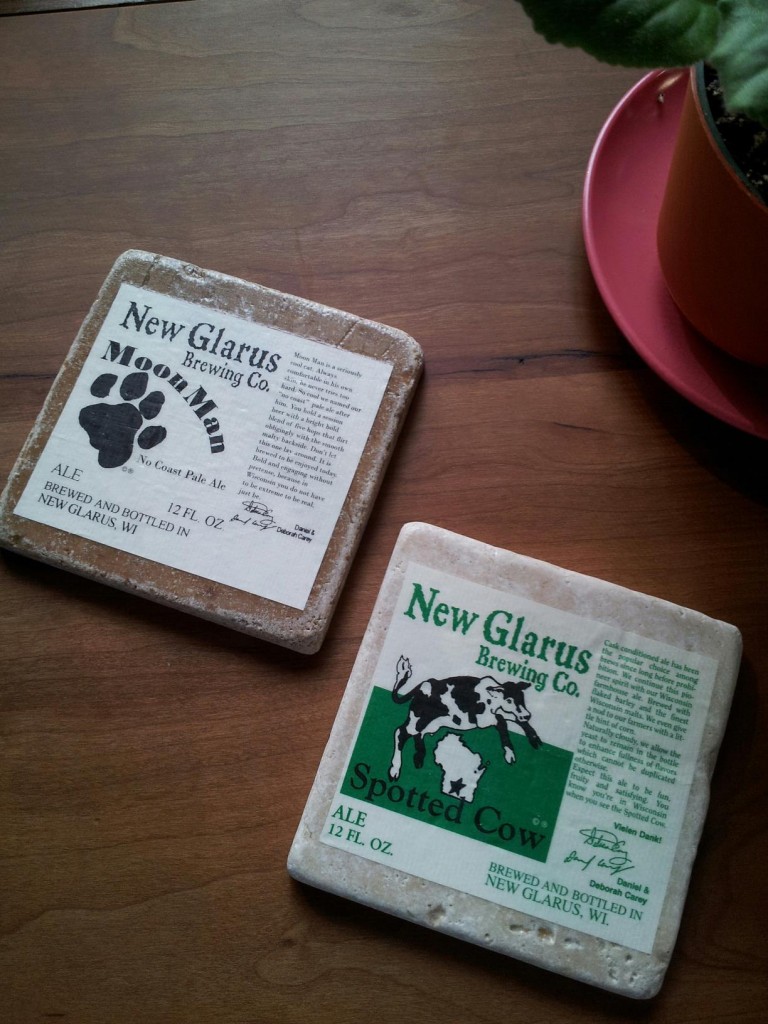
DIY Beer Label Stone Tile Coasters

These are fancy looking, but oh so easy to do with some simple materials. Again, I feel like I need to mention that there are lots of decoupage coaster tutorials out there. All are very searchable, and use everything from color copied photos, scrapbook paper, scrap fabric, wine bottle labels… my coasters use local beer labels. Great gift idea for a host, or that beverage aficionado in your life!

You need:

  • Water
  • Tub or mixing bowl large enough to submerge your bottles
  • 4″ x 4″ Stone tiles (found at your home improvement store in the flooring section)
  • Foam Brush
  • Mod Podge, or some acrylic decoupage medium
  • Felt (adhesive-backed)
  • Optional (but useful): Safety pin or dressmaker pin, plastic card (i.e. used gift card), very fine sandpaper, clear acrylic spray

**OH, when you’re looking at the tiles, check them for chips and dings before you purchase. People pick through them!**

First, you’ll want to remove your labels. I filled our empty beer bottles with water, then submerged the bottles in hot/warm water in a large mixing bowl. Actually, I left it overnight, and in the morning, the labels were super easy to remove. No rips, no shredding. Lay your labels down to dry. (Now go put your glass bottles in the recycling bin…)

Prep your stone tiles by wiping down with a damp towel. They get pretty dusty at the home improvement store. Assuming your labels are dry… use your foam brush and apply a thin coat of Mod Podge to your tiles, nice and easy. Place your labels where you want them, and then press them down firmly.

You’ll get tiny air bubbles, air pockets, because stone tiles are bumpy and porous. Just work out the bubbles gently with your fingers (or plastic card) from the middle of the tile and outward. This is also when you might find a pin handy. I would gently poke the air bubble then push the air out with my finger. Let the tiles dry for about 15 minutes.

After 15 minutes, check your tiles. They will feel tacky, but you can touch them. Add another coat of Mod Podge, and work out the air bubbles, and let dry. Repeat two or three more times. I painted five layers, each time working out any air bubbles with a pin.

Let your tiles dry completely overnight, or 24 hours. If you don’t like the tacky feeling, which I don’t, you can “wet sand” your tiles with very fine sandpaper. I wet a small piece of sandpaper and just went over the tiles. Your decoupaged skin won’t be messed up at all… it will become smooth. Skip the sanding (or not), then just seal with clear acrylic spray, following the manufacturer’s instructions.

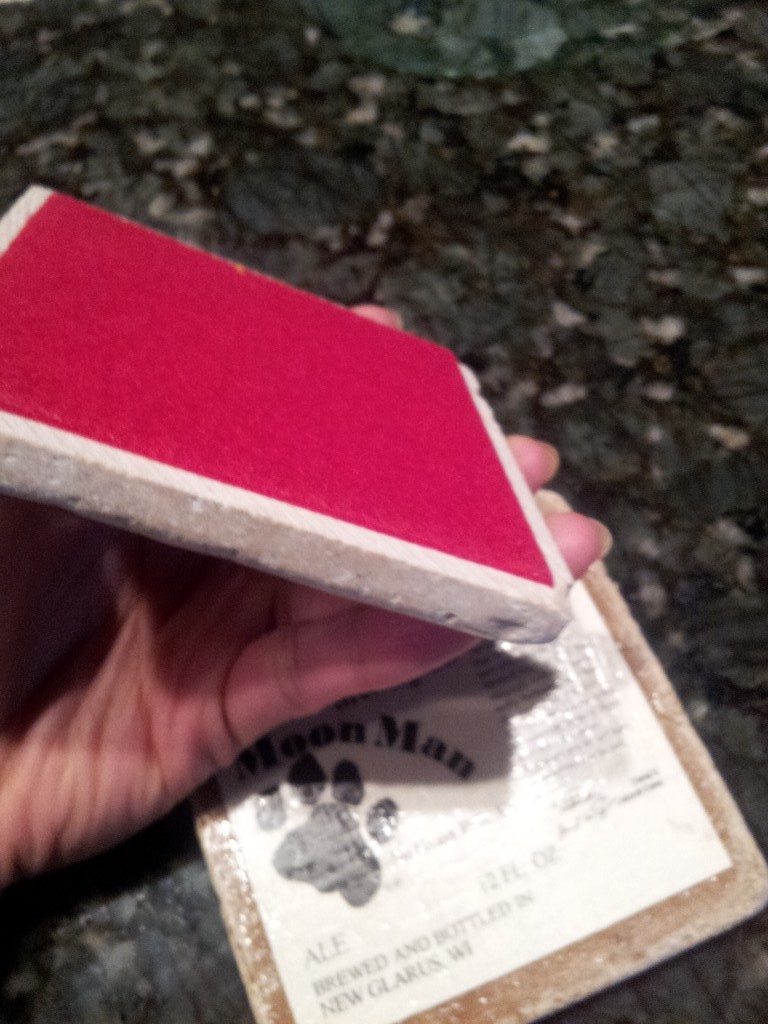
Lastly, cut 3-1/2″ x 3-1/2″ felt squares and glue under the tiles, or if it is adhesive-backed, just press into place.
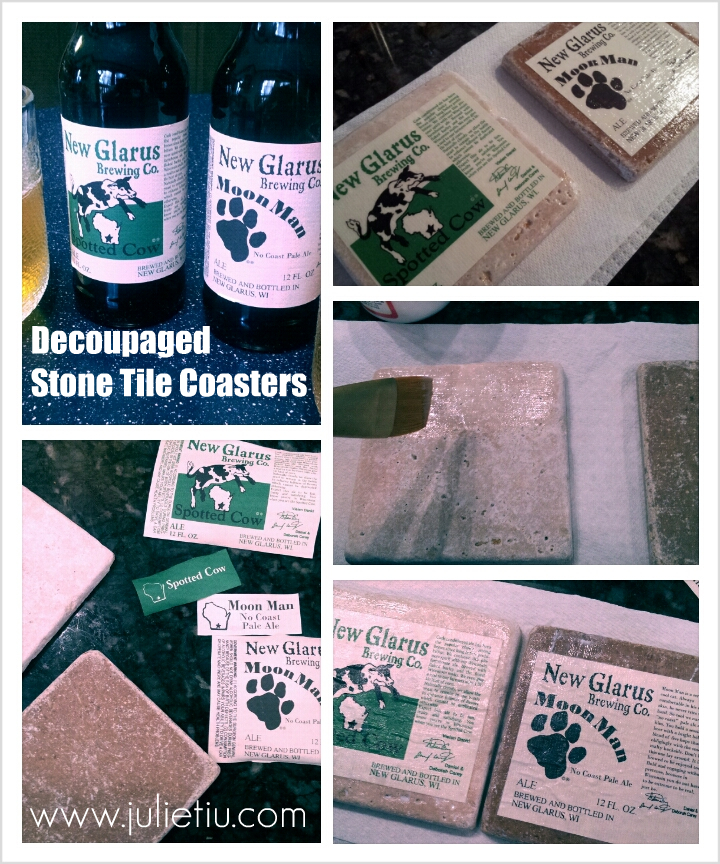
DIY Decoupage Stone Tile Coasters

Beer Labels decoupaged onto Stone Tiles

Craft Product Review and Giveaway: Needle Felting Kit

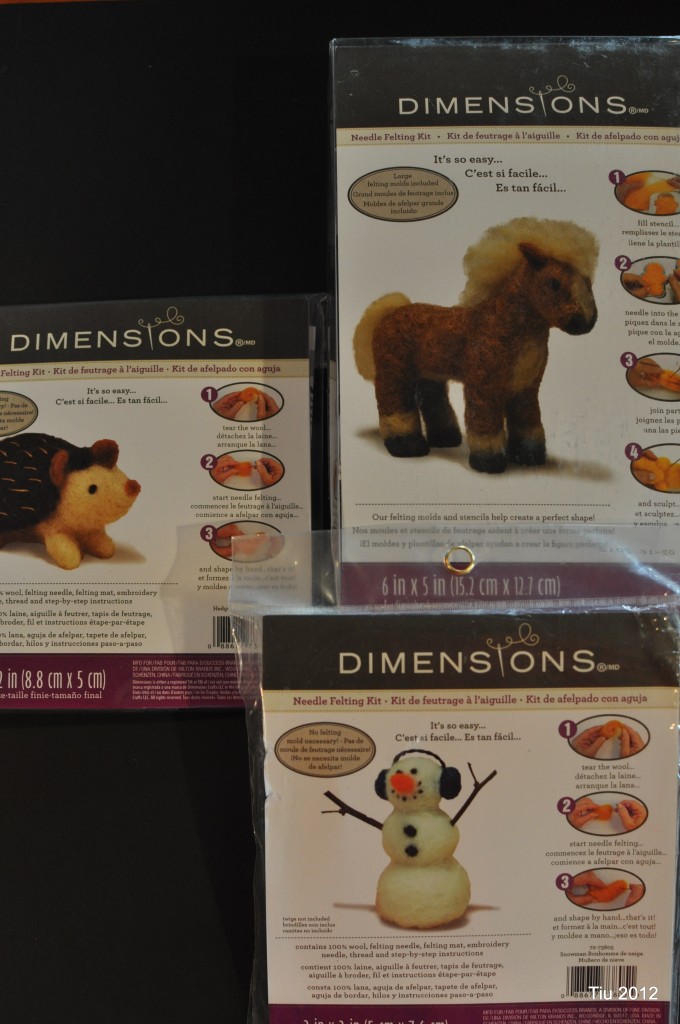
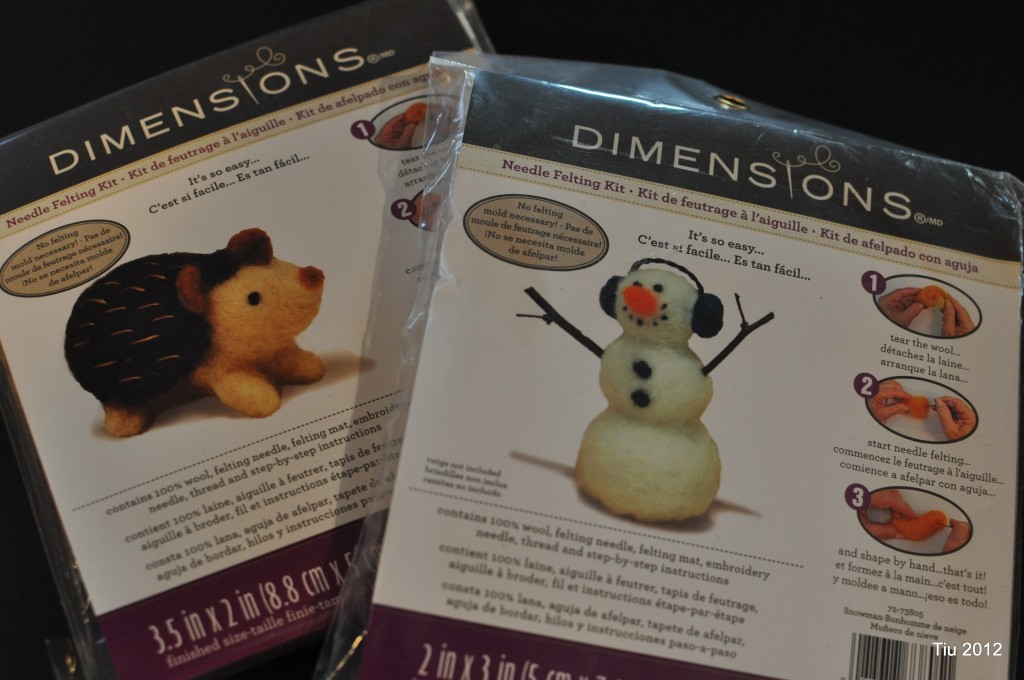
Now that Halloween is over, are people onto Thanksgiving or are most people skipping it all together and going straight to Christmas? I know, I love Christmas too, but with Thanksgiving there are so many projects on my “to-do list”. Check it out. Aren’t these needle felting kits cute? They’re from Dimensions Needlecrafts. I love the woodland animal feel of the hedgehog and pony.

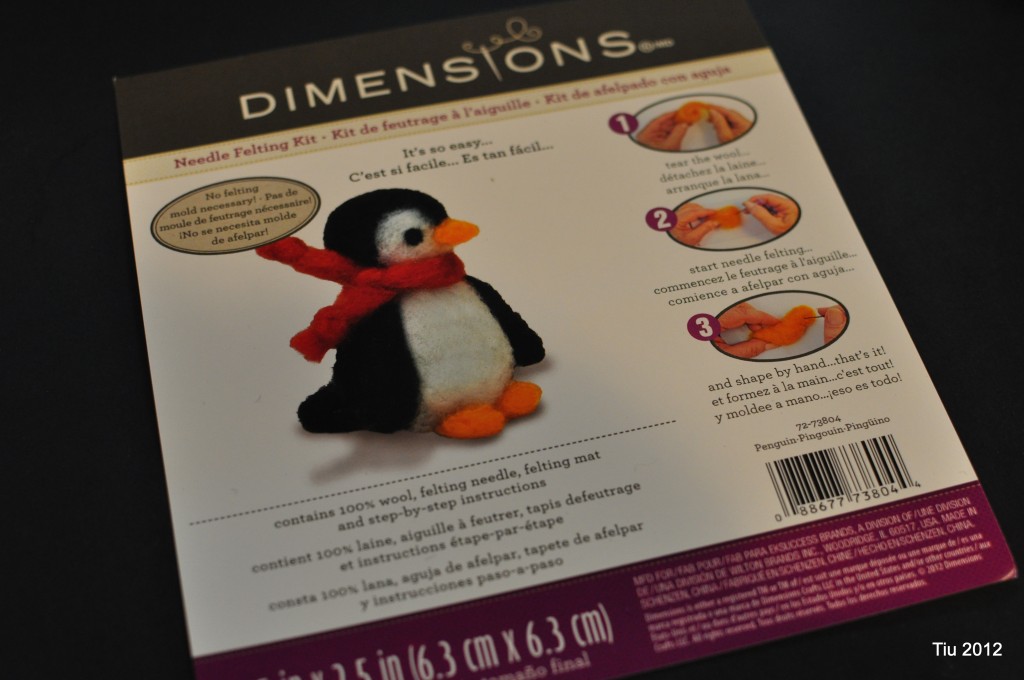
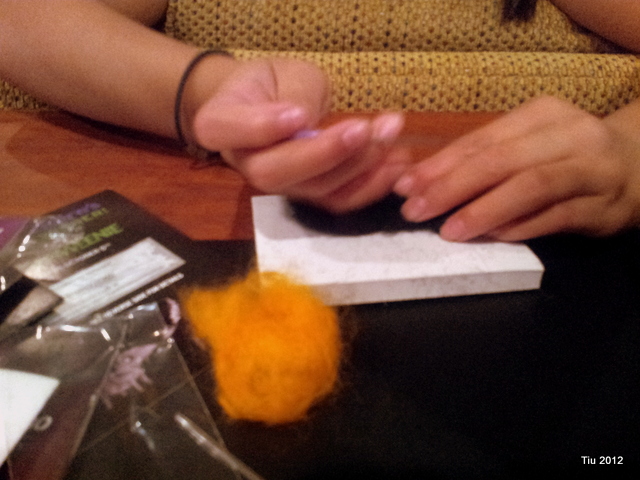
I’m working on this little guy:

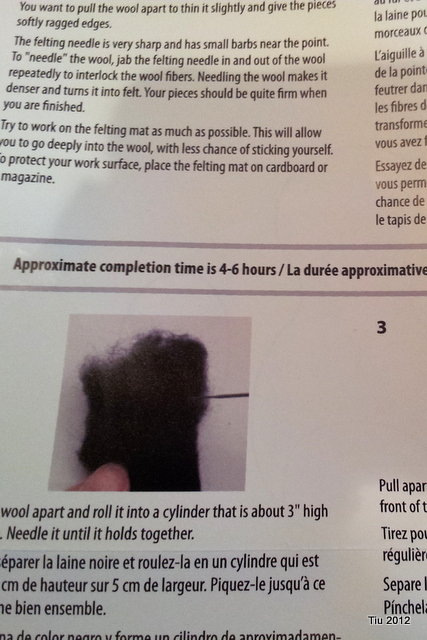
The kit comes with step-by-step directions, 100% wool (all the amount you need), two felting needles, and a felting mat. In some kits you’ll also have embroidery thread, an embroidery needle, molds and/or stencils. If you’ve never felted before, this intro video by Dimensions shows the basics.

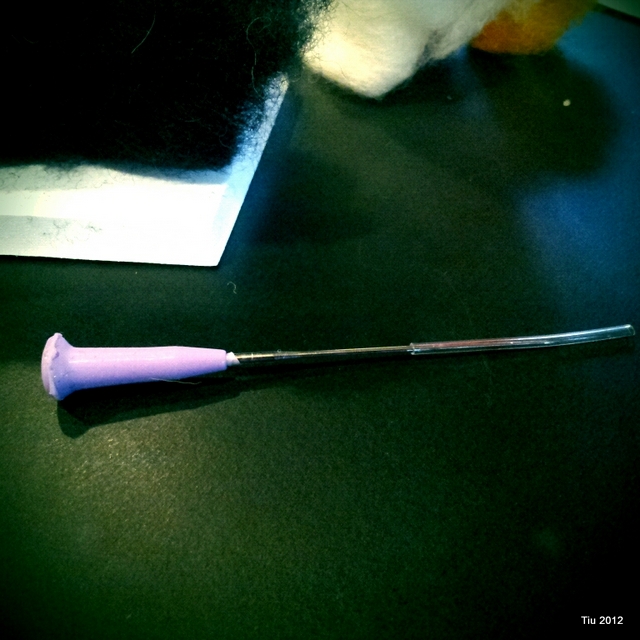
I thought this would be a fun project for me and my daughter, but 1) she thought it took too long, and 2) I was nervous about her using the felting needle. It’s sharp!  And because it has small barbs near the point, you can imagine that you don’t want to stick yourself accidentally. I have to say, the wool feels nice and is workable into a firm felt shape. The felting mat is a nice quality – think dense foam. I’ve seen some felting mats that look like hair brushes. Not sure how that works out. The mat gives a nice surface and lessens the chances of sticking yourself.

Felting needle comes with cover

So, I would say this particular kit is not exactly for kids (though my daughter is ten years old and a pretty darn good crafter). The instructions are very easy to follow… felting just takes time. We’re not quite done with our project yet.

So, make some time, grab one of these kits at your local craft store or online at Dimensions Needleworks for $10-$25, OR (and I’m so excited to share this!) enter to win one of the kits I’ve shown here! I’m so thankful for all the support this year from friends and readers… let’s kick of November with a giveaway! I have one hedgehog kit, one snowman kit and one pony kit to give away to three readers.

  • Snowman and hedgehog kits retail value, $9.99; Pony kit retail value, $24.99.
  • Prizes furnished by Dimension Needleworks (EKSuccess Brands™).

Just follow below for chances to win one of these needle felting kits! Good luck!

a Rafflecopter giveaway

  • This giveaway is in no way affiliated, administered or endorsed by Facebook.
  • Please provide your email address so that I can contact you if you win.
  • One kit will be given to one winner, three winners total. No specific kit requests will be honored.
  • Winner(s) will be notified by email on 11/10/2012 and will need to respond within 48 hours to claim their prize or another winner will be chosen.
  • Winner(s) must be 18 years of age or older and a US citizen in order to win.
  • International shipping charges may apply.
  • Winner(s) are responsible for paying any necessary taxes on winnings.
  • Alternate entry email: jtiu@comcast.net with entry information.
  • All prizes will be mailed by Julie Tiu and Dimensions Needlecraft will not be held responsible if the prize is not fulfilled.
  • A list of winners may be requested after the giveaway has ended. Questions and additional information can be requested by emailing: jtiu@comcast.net.

P.S. I feel like I ought to apologize for not sharing Halloween projects with you.  I admit, I didn’t visit the craft store once before Halloween. It’s just never been a huge holiday for my family, but I’m happy to report that my sort-of-anti-Halloween daughter has turned a new leaf and had lots of fun with her girl pals last night. As for my son, he brought in a haul! His friend and he had a great time trick-or-treating.


Craft Book Review: The Star Wars Craft Book

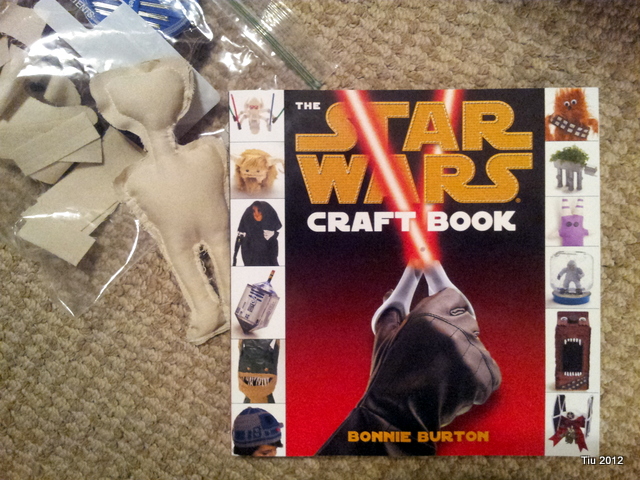
The Star Wars Craft Book | project-in-progress

“Dedicated to Geeky Craftsters everywhere. May the glue gun be with you!”

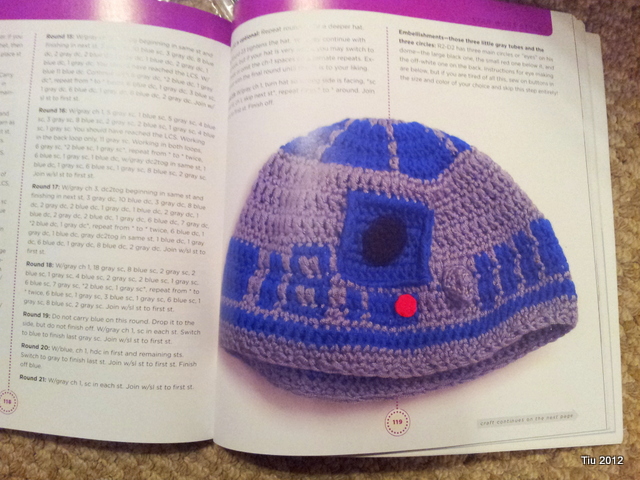
I received The Star Wars Craft Book by Bonnie Burton (Del Rey, 2011, 156 pgs.) as a Christmas gift last year. Galactic ideas here. Clever projects use material you can probably find around your house, and if not, they aren’t too pricey. Like usual, I devoured the book and earmarked some projects, (like this R2-D2 beanie!), but only recently started my first project.

If only I knew how to crochet…

I found the book tone very casual unlike a Martha Stewart craft book – very precise. That’s not a bad or good thing… just an observation. The patterns for all the projects are located at the back of the book and online (if you don’t want to cut up your book, or need to copy and enlarge the patterns).

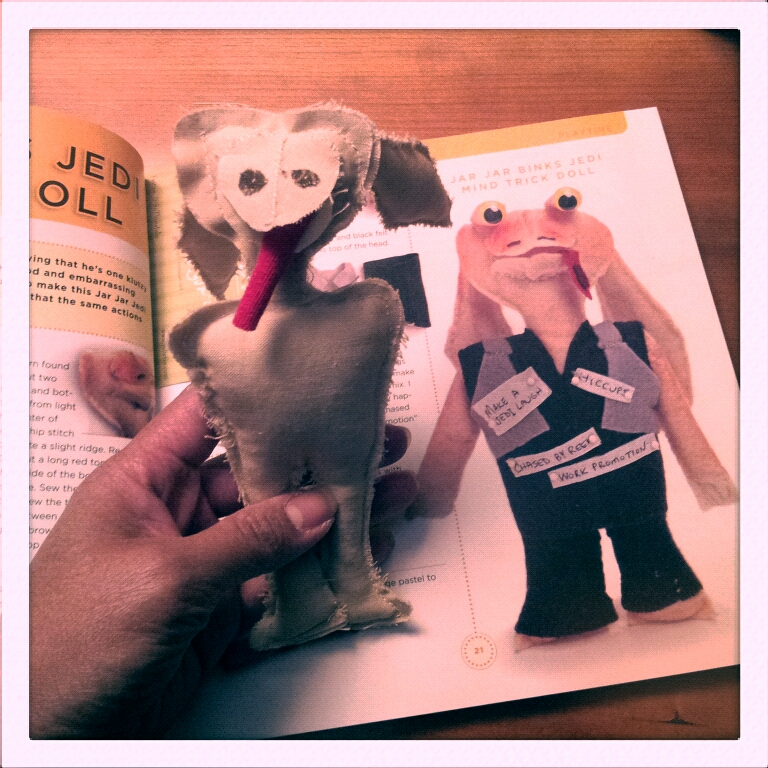
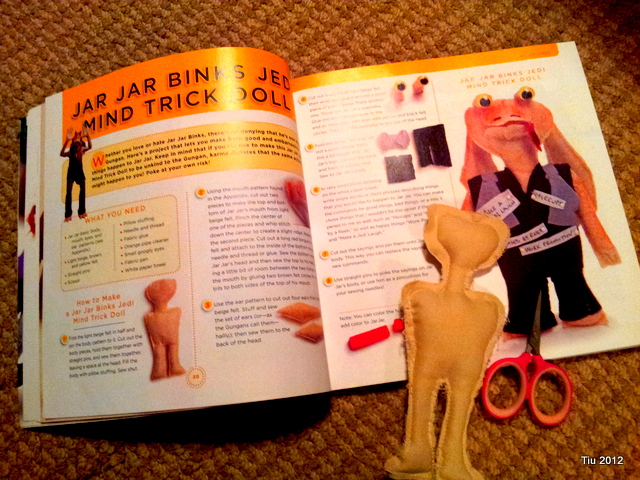
Jar Jar in-progress

My son asked me for Jar Jar Binks Jedi Mind Trick Doll. Not my first choice. My husband asked him if he might like some other project: the Bith Band puppets, a Bantha… maybe Han Solo in Soaponite. Nope.

“Jar Jar. Because he’s cute.”

One issue with the Jar Jar project material list: red felt is missing. You need it for Jar Jar’s tongue. The directions are easy to follow, but the directions fail to include a step for the arms. They are included in the pattern.

So as of this post, the project is in-progress. Since I didn’t have any felt on hand, I decided to use what I had: cotton and some flannel. I always seem to drift away from patterns (craft apron), directions (t-shirt quilt) and recommended materials. They’re just suggestions, right?

I’ll post the finished project as an update… and, would this book be a welcome addition to the Geek Crafter in your life? Yes, yes it would. It’s fun for the whole family, it’s fun if you’re a Star Wars fan… just plain fun!

My Monster T-Shirt Quilt

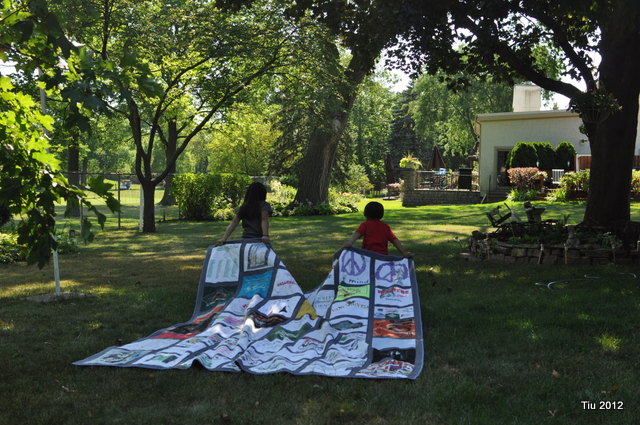
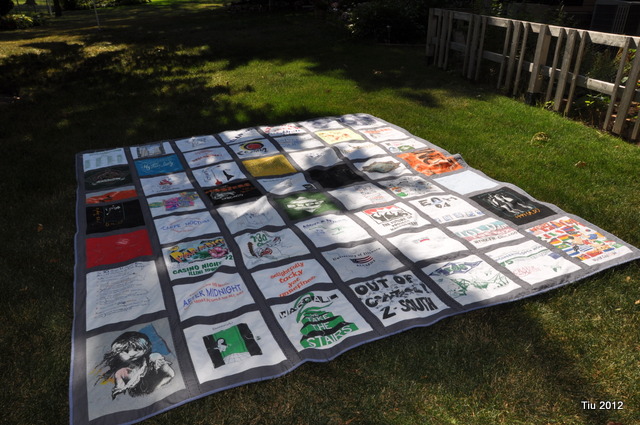
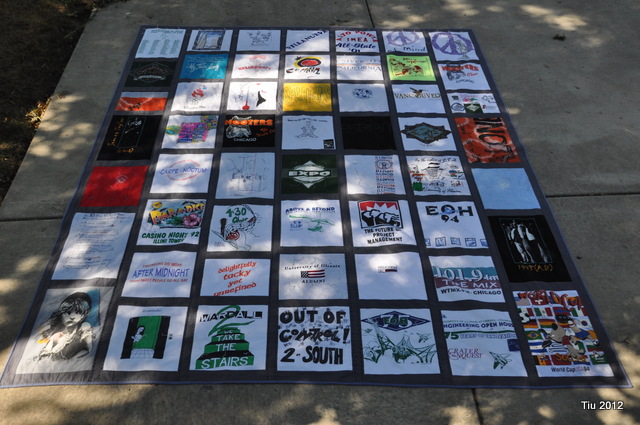
… is FINALLY done! Countless hours, countless seam rips, startovers, facepalms… but it’s done, and it’s a beauty. (Really, don’t ask me how long it took – I first mentioned the t-shirt quilt way, way back.) Can’t say I’d ever do a king-sized quilt again, but I’ve been known as a repeat offender of crazy crafting projects.

The quilt entertains and keeps us warm, the perfect summer-weight cover. It makes me smile remembering some high school and college memories. I love it.


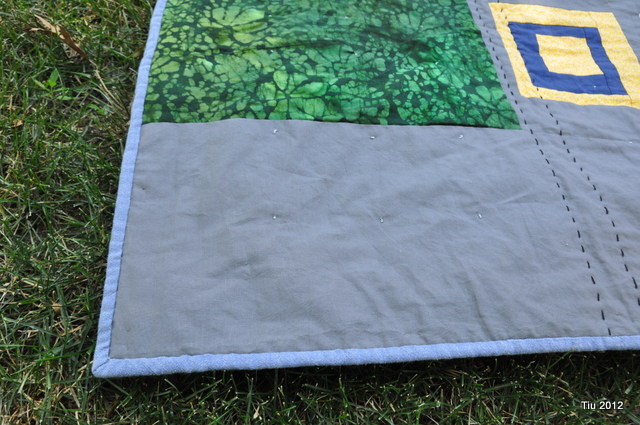
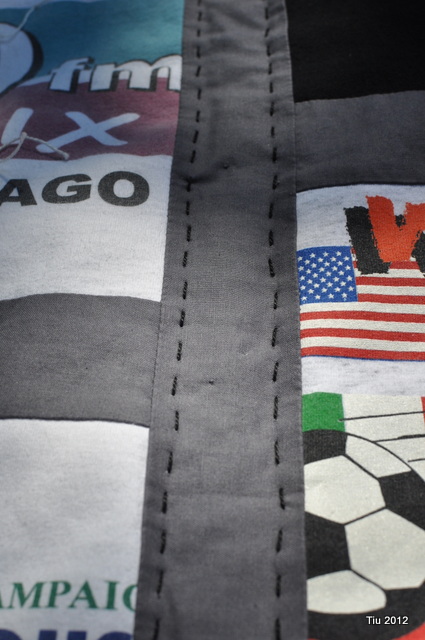
The quilt is hand-tied and hand-embroidered with binding finished by hand. I could have sent it to a full-arm quilter, but I had come so far on my own investing time and intended careful planning. Too much emotional attachment, I guess. Besides, I like crooked lines. Adds charm.


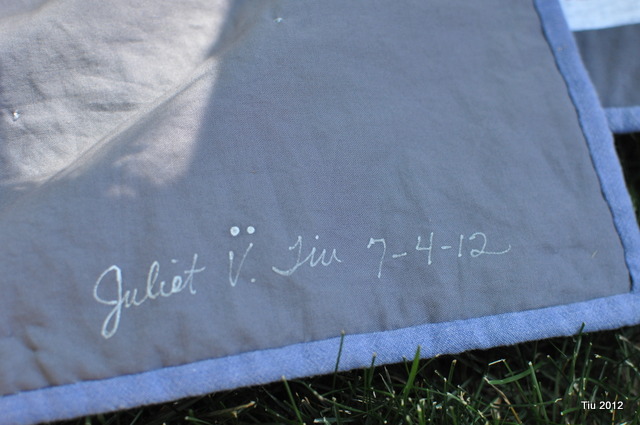
Don’t forget to sign your quilts, right?! This was done with a silver paint marker. The two little dots were completely accidental from shaking the pen. Lucky placement.

Sixty-one t-shirts make up the front, and each square has its own story.

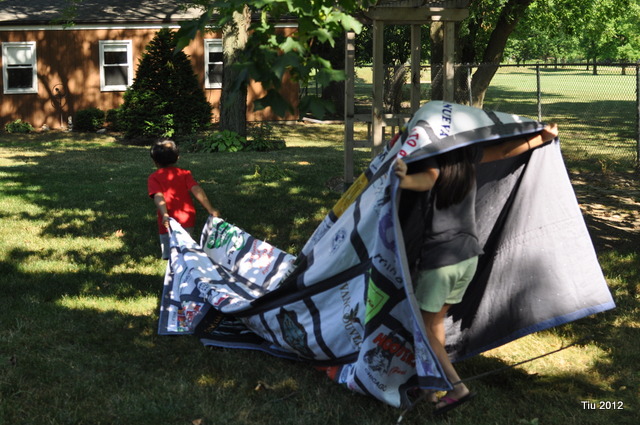
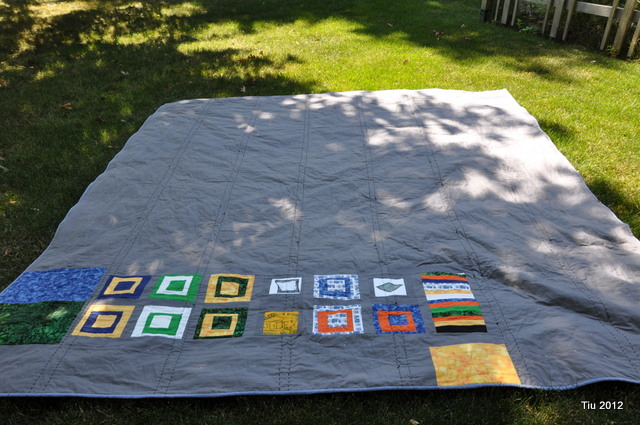
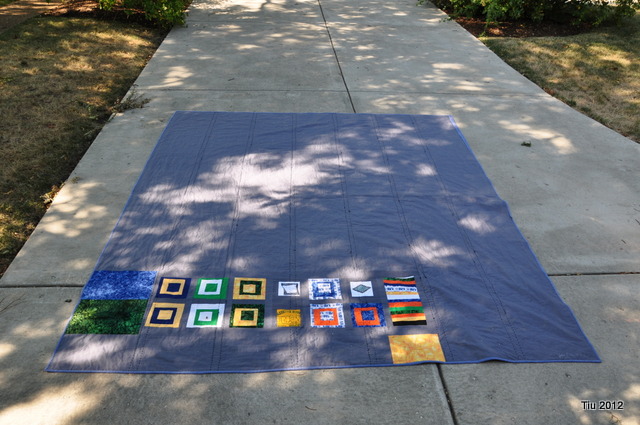
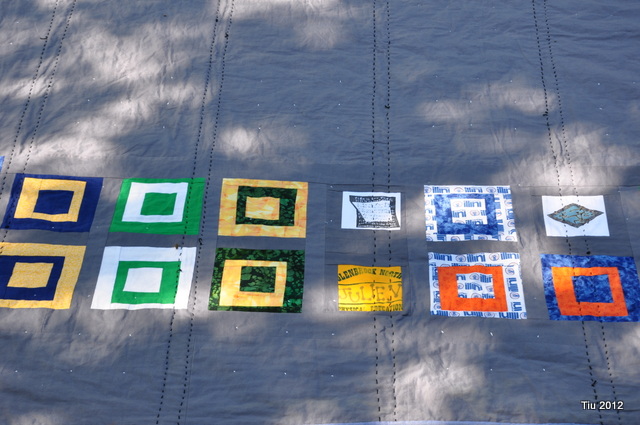
I love the backside of the quilt – sort of makes it reversible, right? And, the colors for the wonky squares are significant. Each represents a school I attended.

So there you have it. The quilt took time, but it was worth the effort. It’s definitely not the prettiest quilt, or the most artistic…It holds memories and it’s remarkable to me. I dare you to pull out those unfinished projects you’ve stashed away. (I have many. Ha!) Or start those projects that you’ve always wanted to do. Everyone has some… do it. Do something remarkable!

Related Posts with Thumbnails