Easy DIY Photo Card Stationery

DIY Photo Card Stationery

How are we in February already? And, how am I so behind in sending out thank you notes from the holidays? Am I the only one who falls behind? (Probably, because I’m the nutty girl who wants to make everything herself.) But these… these are way cool. I’ve thought about doing this for a while now.

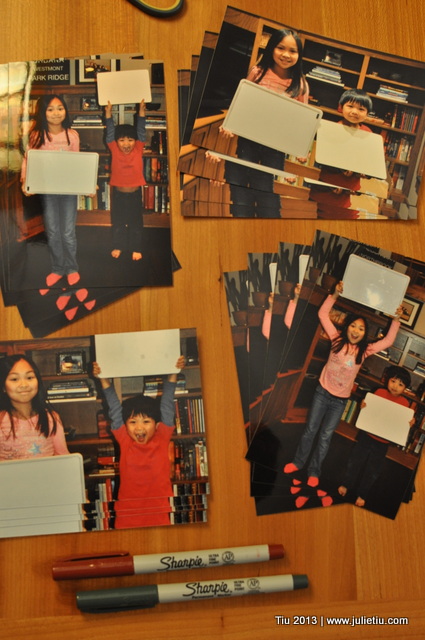
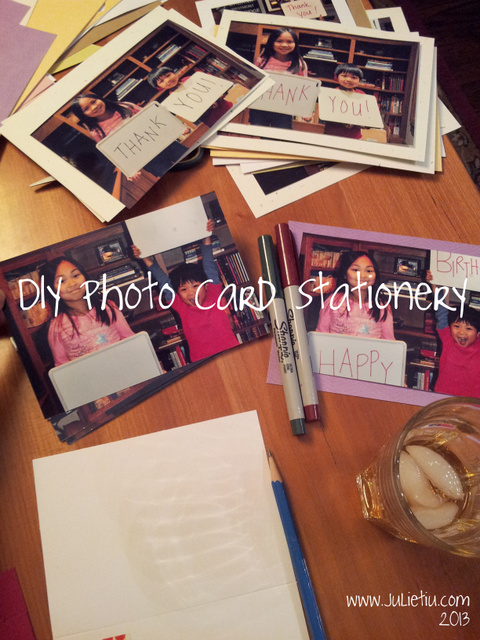
The possibilities are endless with your camera, willing family members (i.e. children), blank white boards or cardboard, Sharpies and blank cards. I took about 10-15 pictures of the kids and picked my favorites. Uploaded and printed them out at the photo center for very little cost. If you print them glossy, you get the coolest effect.

Use Sharpies on glossy photos

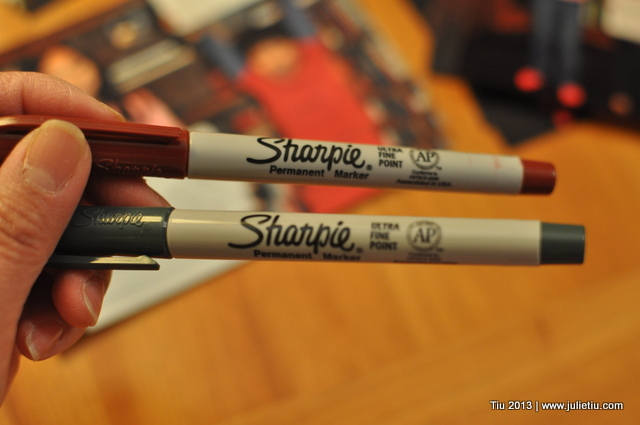
I love my Sharpies. Use them and turn these blanks…

Use blank white boards or cardboard in picture

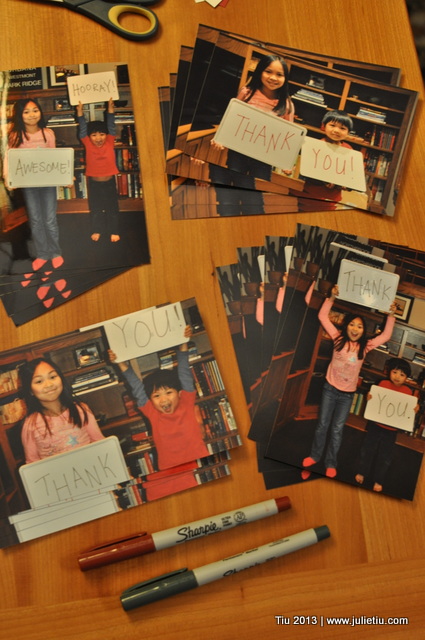
… into any card you want! For 4″ x 6″ pictures, you could purchase empty photo card frames. I have extra cardstock laying around so I just cut it to size for my blank cards. (See first picture.)  They measure at 4-3/4″ x 6-3/4″.  I get weird when it comes to the borders… I don’t like them too wide.
And to stick them on the card, use double stick tape or glue dots. If you want to get fancy, use photo corners or with an X-acto knife, cut slits on a diagonal at each corner and feed the corners of the photo through.

DIY Photo Card Stationery: Use permanent marker to customize picture

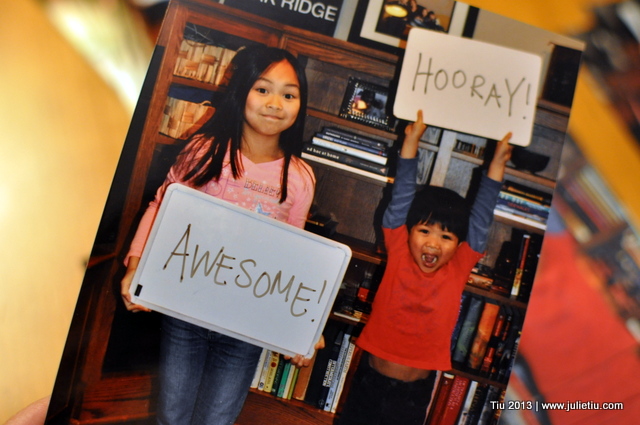
Don’t limit yourself to just saying “Thank you.” You can split it up like, “Cool! Thanks a bunch!” Or “Happy / Birthday”.

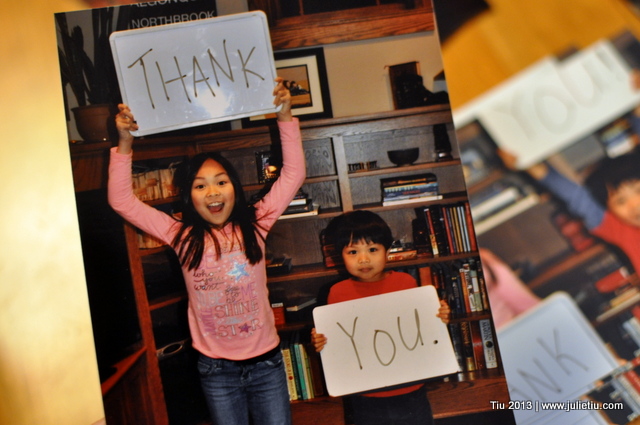
DIY Photo Card Stationery: Use permanent marker to customize picture

My daughter thought the pictures “freakishly” looked like the words were already printed on the boards.

DIY Photo Card Stationery: Use permanent marker to customize picture

Yes, I could’ve printed the cards out at the photo center as folded cards (for a whole lot more money), but what’s the fun in that? Enjoy… let me know if you’ve done this or if you might try it!
Making a Magnetic Pin Holder

20130116_094954

More decoupaging. This Altoids mint tin was stashed in a box waiting for its next life. Yeah, yeah, on the brink of hoarding here, but I LOVE recycling, or upcycling. Maybe this could hold some paper clips, safety pins, or thumbtacks if you’re not into sewing.

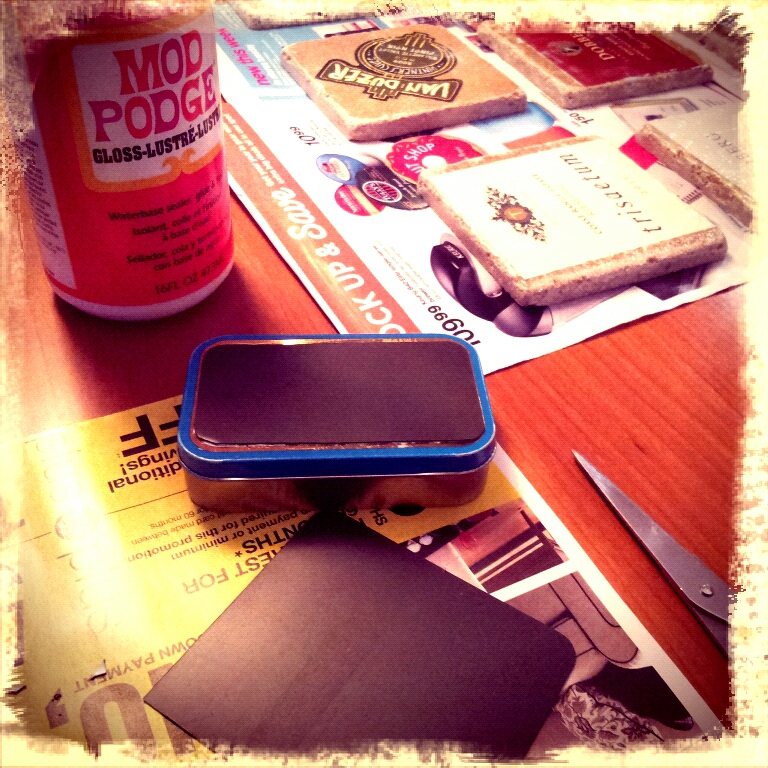
Here’s what I did to make this fun little box. I took an old refrigerator magnet (an out-of-date freebie sheet magnet), cut it to size and stuck it on the tin.

shot_1357944502777

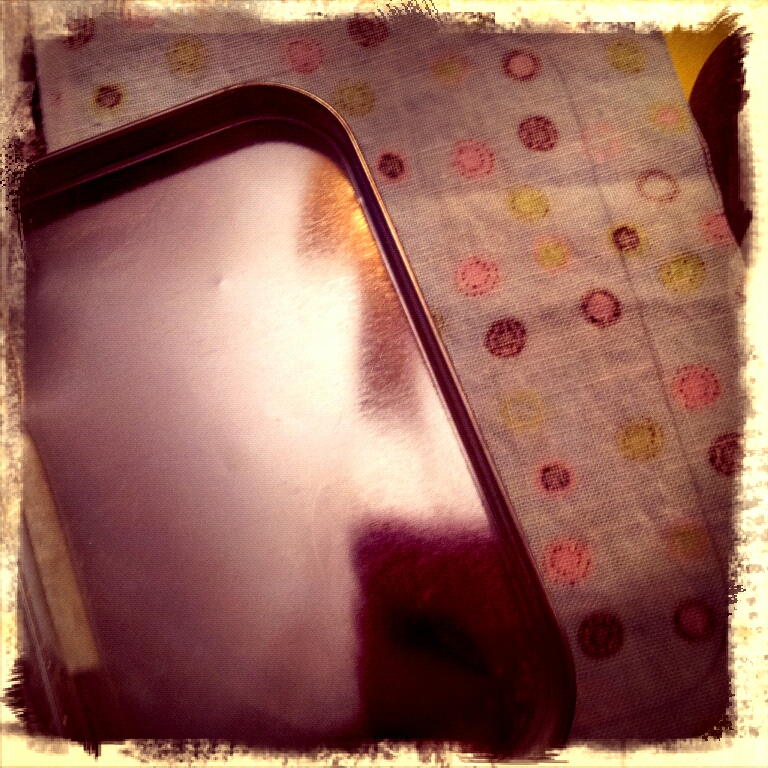
I dug up some scrap fabric and traced around the lid. Then I just cut around my traced line to make sure the fabric would completely cover the lid.

shot_1357945139881

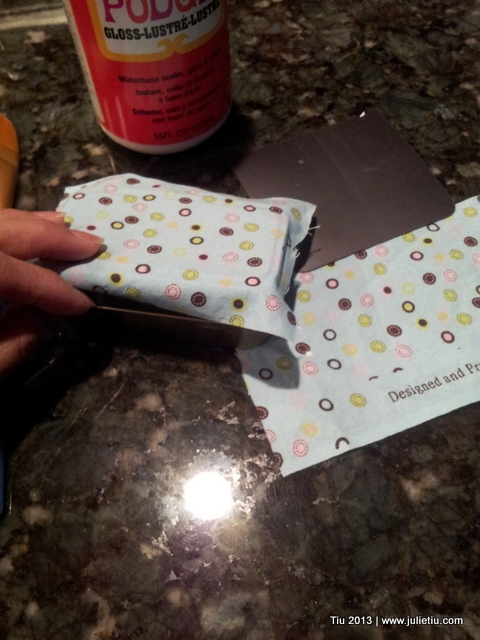
I lightly brushed Mod Podge on the top of the lid and flattened out the fabric. When the lid was dry I decoupaged two opposite sides down to cover the entire lid… like pick the front and back, or the other two sides. It’s the corners that demand your attention. I treated the corners like I would wrapping a gift box lid – nice, neat hospital corners. Then I “Mod Podge-d” the heck out them so they’d stay down.

IMG_20130115_070412

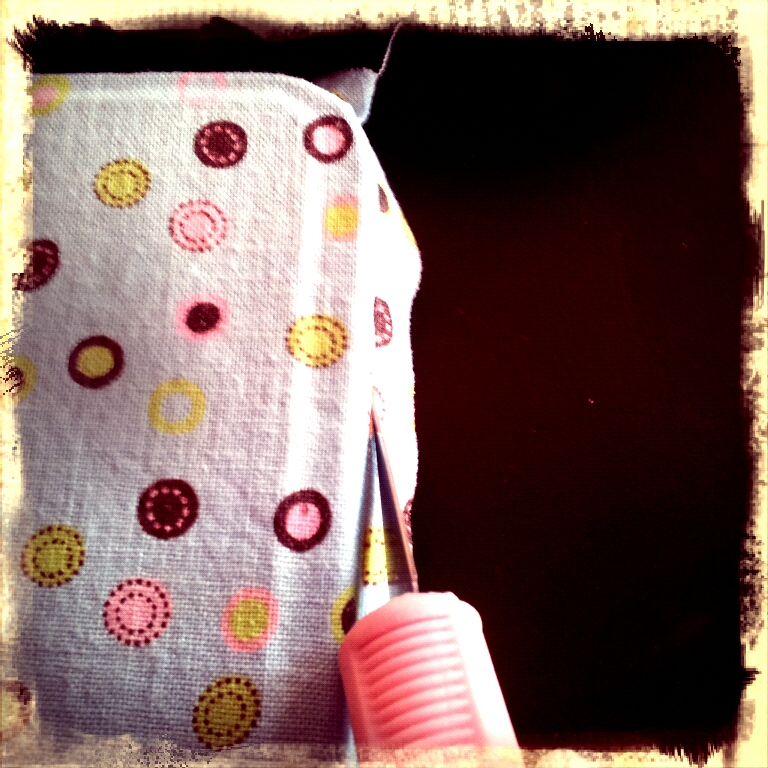
Used my sharpest craft blade (X-Acto knife) and trimmed around the lid when everything was dry. I let it dry for 24 hours (Mod Podge paranoia). Tip: Take your time with the cutting and trimming part. Mod Podge gets all crispy and tough to cut through. PLEASE be careful.

shot_1358348815034

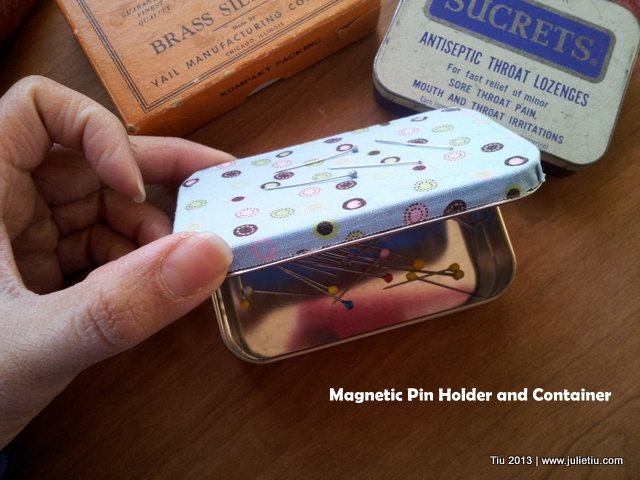
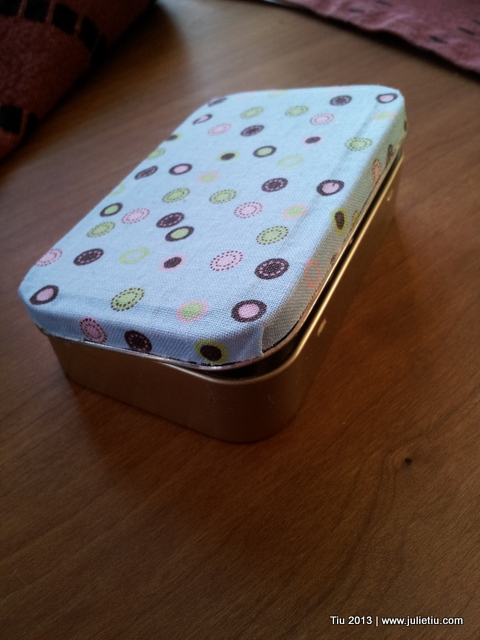
And here it is! My own little magnetic pin holder.

20130116_094255

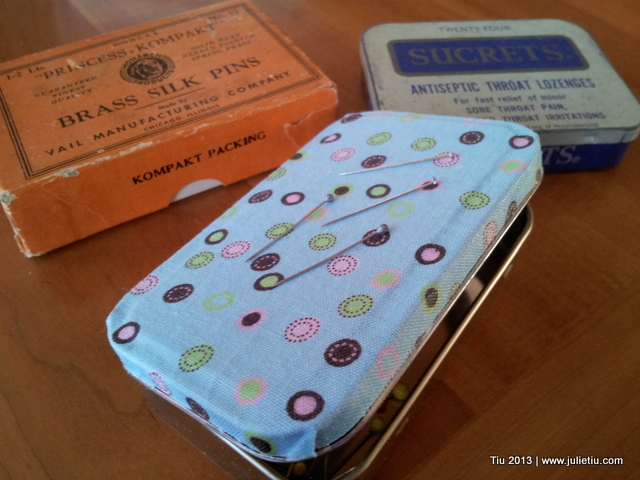
Look! The pins stick to the top!

20130116_094839

20130116_094922

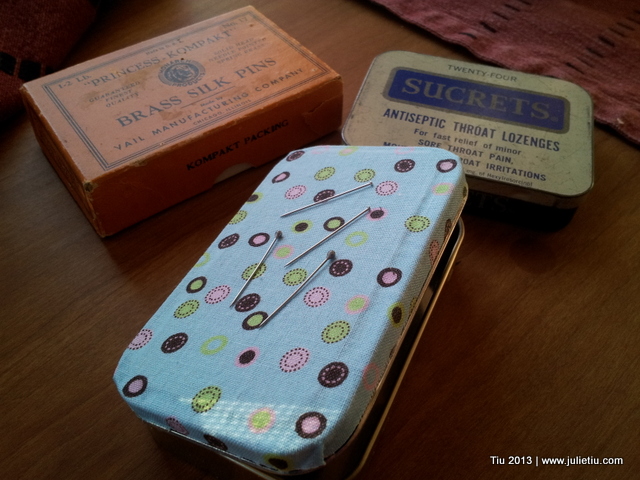
Those are a couple of my other pin holders. Vintage, eh? I’m so looking forward to having the magnetic one next to my sewing machine… pins won’t get away from me so easily now. Maybe this means I have sewing projects coming up?? *grin*

Mugshot Monday: Learning about Sergers

Husky Serger

This is what I’d like to learn to use this year: a serger. Or I guess sometimes it’s called an overlock machine? It’s been sitting in my basement for a few years (after a very generous friend loaned it to me). My sewing machine is still running really well, but it’s probably time to get it serviced, tuned-up, cleaned up. And, what if it’s gone for a while? What am I going to sew with?

So before I actually sit down and start reading, I better go grab my cup of coffee.

Mugshot Monday: hot cup and reading material

Are you trying something new this year?

Favorite Posts from 2012

Hi everyone. Hope you enjoy this look back at some of my tutorials and recipes from the year. (I hope the links all work back to the original post! ACK! Might need to work on this still. The pictures aren’t linked, but the posts are all listed underneath.)

This year did not fail to amaze me… the good and the bad. But sharing ideas and meeting many of you near and far has been such a highlight of my year. I’m thankful and humbled by your continuing readership and friendship. May 2013 bring all of us peace. Blessings to you, friends!

Favorite tutorials and recipes from 2012


K&Company Paper Bundle and Sticker Giveaway

Two giveaways in one post! AH!! Sorry I missed yesterday, but I was finishing a project. Overextended me. Typical. Let’s see what this giveaway is all about.

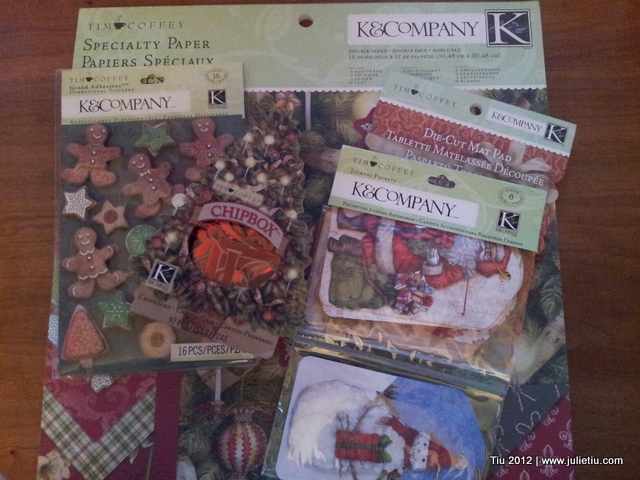
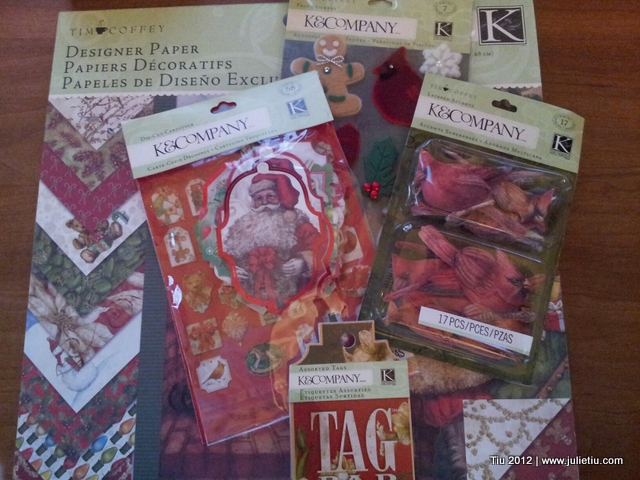
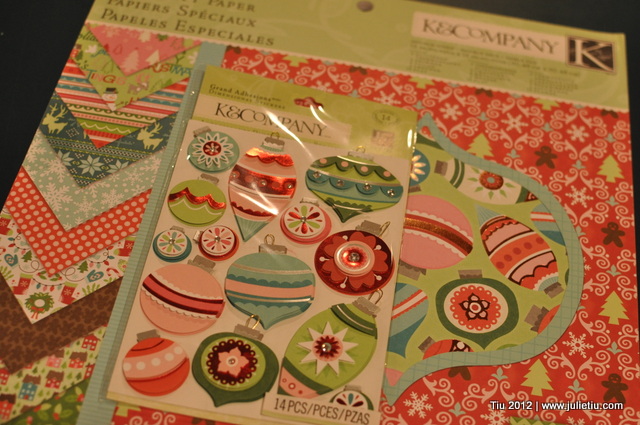
I love paper… not for scrapbooking (mentioned before) but for just about any other type of paper crafting. These sets from K&Company just get me in the Christmas mood.

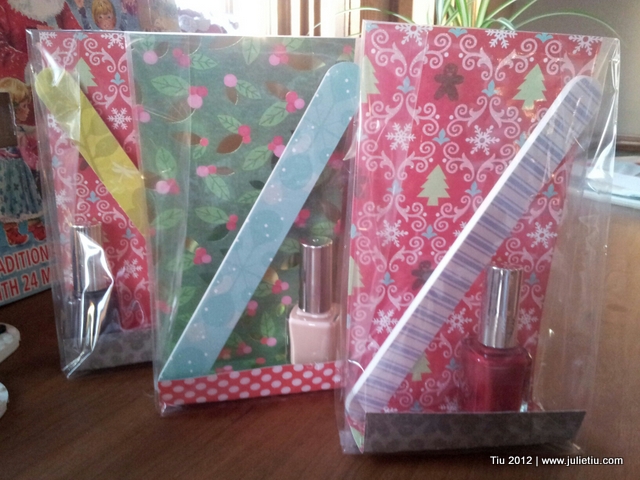
They’re cute background for these little gifts for my kids’ Sunday school teachers. This was a Pinterest inspiration, but I pieced together the gift bag. (Teachers, if you’re reading, would you skip the picture or cover your eyes. Sorry for ruining the surprise.) All you need are clear party favor bags. I cut the scrapbook paper into 3-3/4″ x 9″ strips, folded one end twice to make a little bag “bottom”. Stuff into the party favor bag and place your goodies.

Use scrapbook paper and clear party favor bags

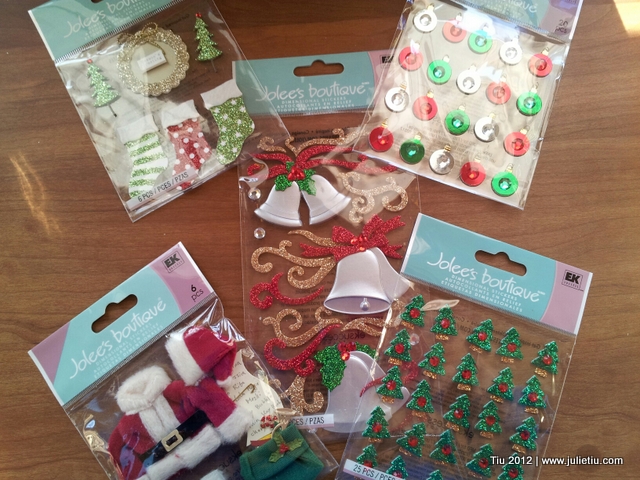
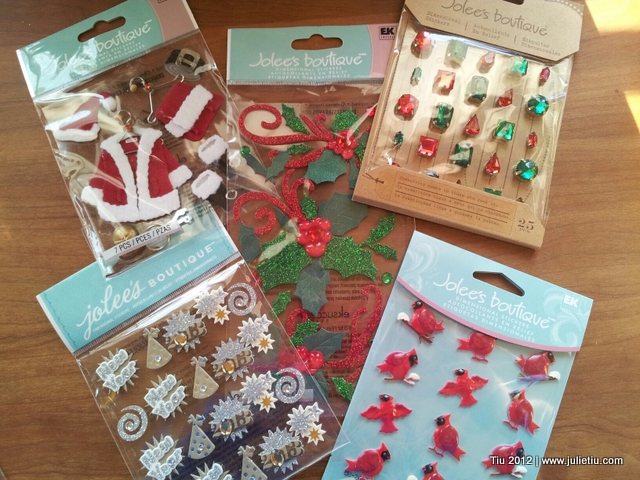
Here are the last of my giveaways… two pretty sets of K&Company specialty paper (double-sided!) and accessories, and then two sets of Jolee’s Stickers. All these products are available at art and craft supply stores like Michael’s. Follow the raffle instructions below… and if you would prefer NOT to enter through Rafflecopter, just e-mail me at jtiu(at)comcast(dot)net with “K&Company raffle” or “Jolee’s Christmas sticker raffle” in the subject line. Good luck!

K&Company Paper Tim Coffey Paper Set

a Rafflecopter giveaway

Jolee's Stickers

a Rafflecopter giveaway

Related Posts with Thumbnails