Easy DIY Photo Card Stationery

DIY Photo Card Stationery

How are we in February already? And, how am I so behind in sending out thank you notes from the holidays? Am I the only one who falls behind? (Probably, because I’m the nutty girl who wants to make everything herself.) But these… these are way cool. I’ve thought about doing this for a while now.

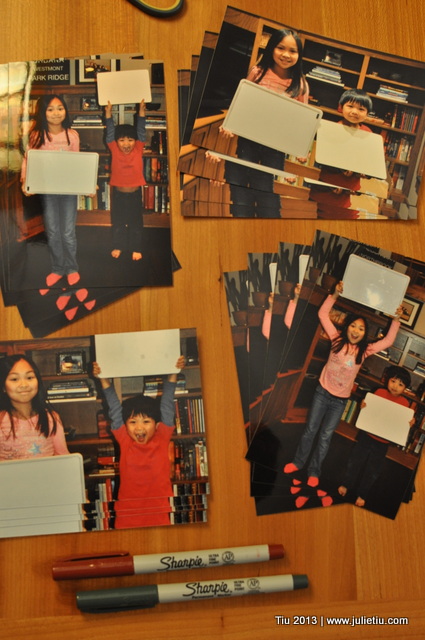
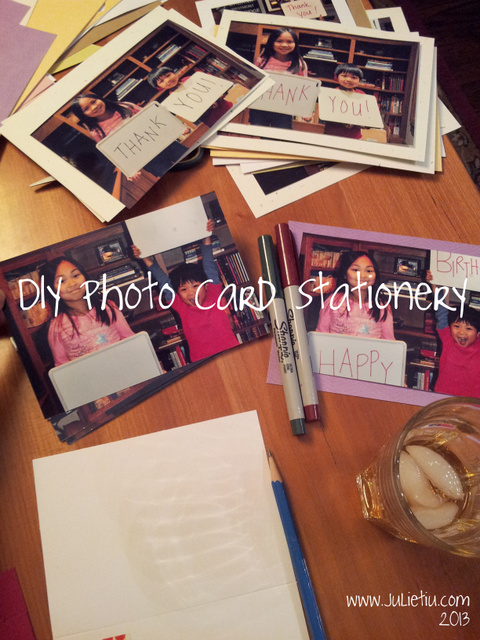
The possibilities are endless with your camera, willing family members (i.e. children), blank white boards or cardboard, Sharpies and blank cards. I took about 10-15 pictures of the kids and picked my favorites. Uploaded and printed them out at the photo center for very little cost. If you print them glossy, you get the coolest effect.

Use Sharpies on glossy photos

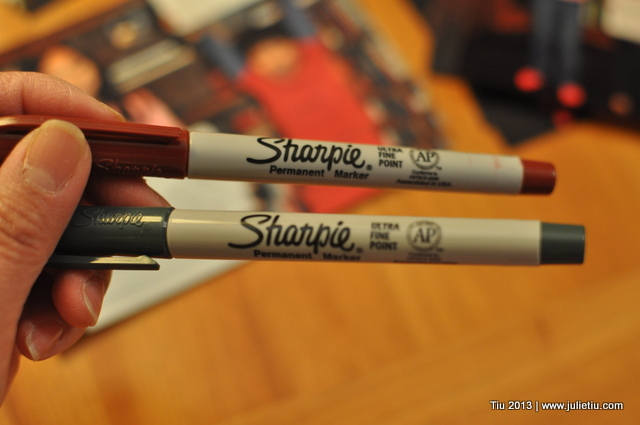
I love my Sharpies. Use them and turn these blanks…

Use blank white boards or cardboard in picture

… into any card you want! For 4″ x 6″ pictures, you could purchase empty photo card frames. I have extra cardstock laying around so I just cut it to size for my blank cards. (See first picture.)  They measure at 4-3/4″ x 6-3/4″.  I get weird when it comes to the borders… I don’t like them too wide.
And to stick them on the card, use double stick tape or glue dots. If you want to get fancy, use photo corners or with an X-acto knife, cut slits on a diagonal at each corner and feed the corners of the photo through.

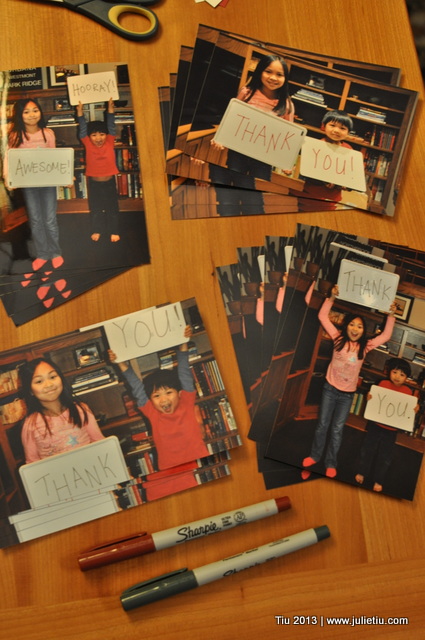
DIY Photo Card Stationery: Use permanent marker to customize picture

Don’t limit yourself to just saying “Thank you.” You can split it up like, “Cool! Thanks a bunch!” Or “Happy / Birthday”.

DIY Photo Card Stationery: Use permanent marker to customize picture

My daughter thought the pictures “freakishly” looked like the words were already printed on the boards.

DIY Photo Card Stationery: Use permanent marker to customize picture

Yes, I could’ve printed the cards out at the photo center as folded cards (for a whole lot more money), but what’s the fun in that? Enjoy… let me know if you’ve done this or if you might try it!
Making a Magnetic Pin Holder

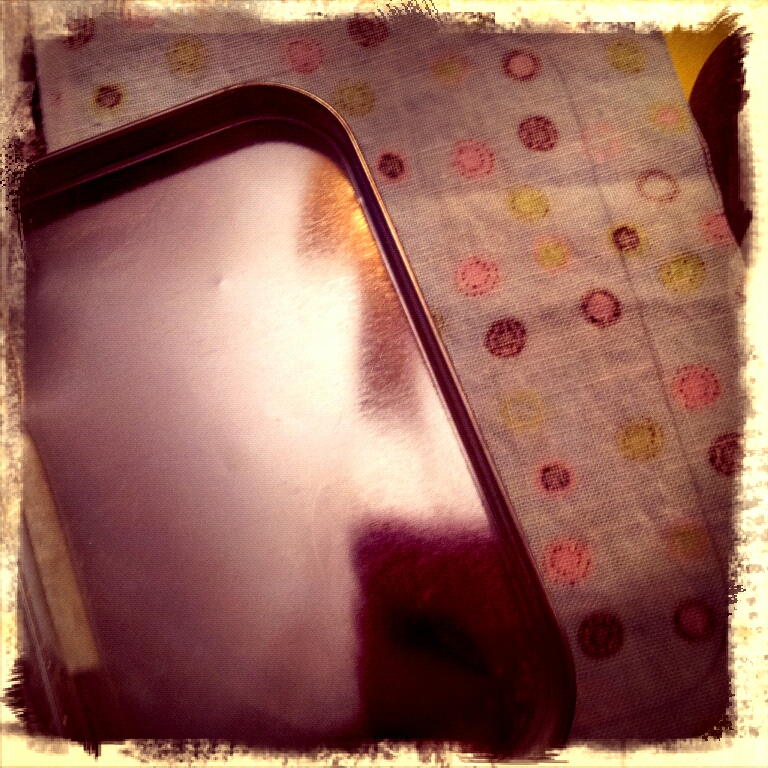
20130116_094954

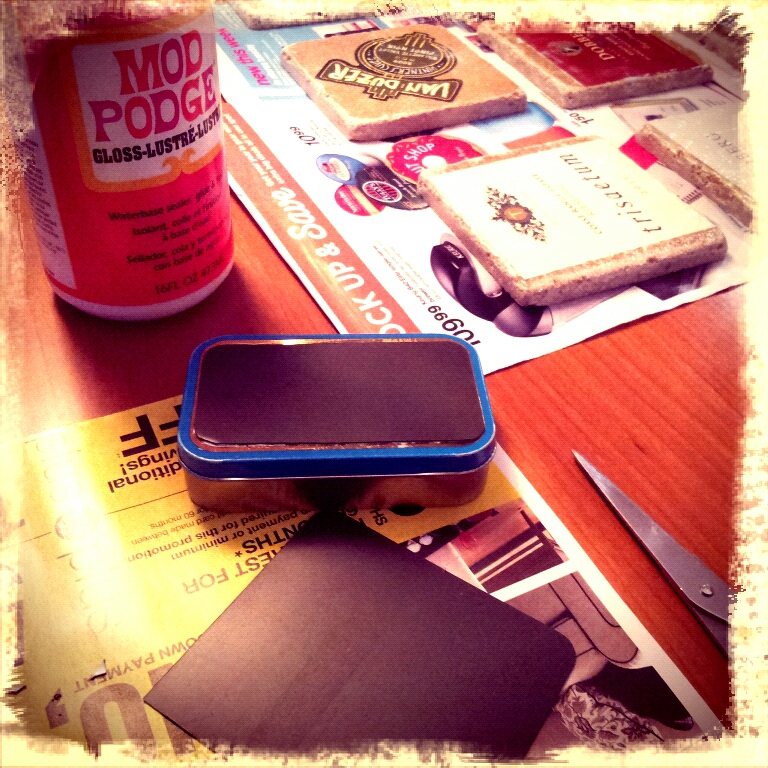
More decoupaging. This Altoids mint tin was stashed in a box waiting for its next life. Yeah, yeah, on the brink of hoarding here, but I LOVE recycling, or upcycling. Maybe this could hold some paper clips, safety pins, or thumbtacks if you’re not into sewing.

Here’s what I did to make this fun little box. I took an old refrigerator magnet (an out-of-date freebie sheet magnet), cut it to size and stuck it on the tin.

shot_1357944502777

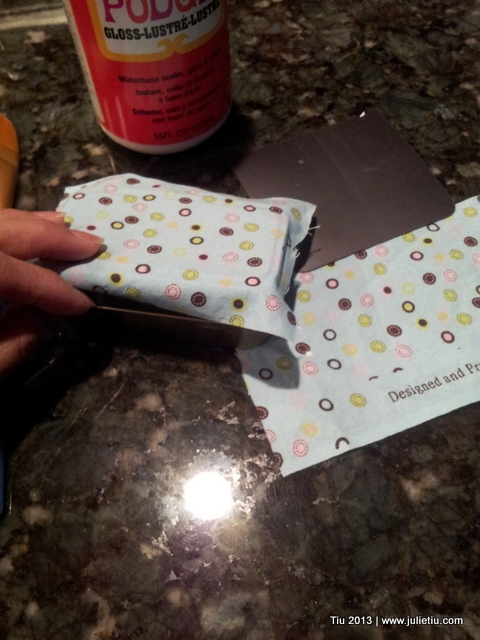
I dug up some scrap fabric and traced around the lid. Then I just cut around my traced line to make sure the fabric would completely cover the lid.

shot_1357945139881

I lightly brushed Mod Podge on the top of the lid and flattened out the fabric. When the lid was dry I decoupaged two opposite sides down to cover the entire lid… like pick the front and back, or the other two sides. It’s the corners that demand your attention. I treated the corners like I would wrapping a gift box lid – nice, neat hospital corners. Then I “Mod Podge-d” the heck out them so they’d stay down.

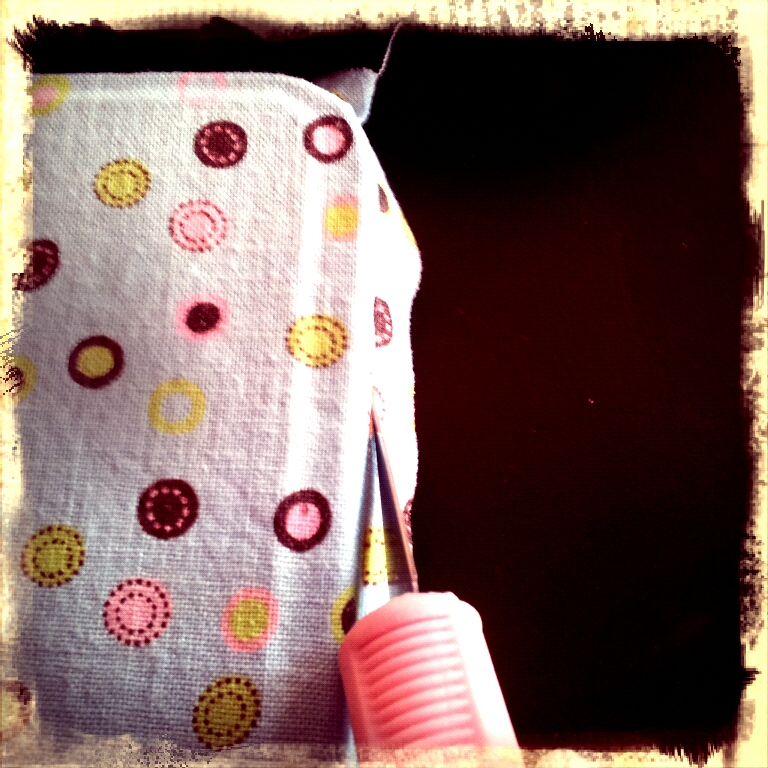
IMG_20130115_070412

Used my sharpest craft blade (X-Acto knife) and trimmed around the lid when everything was dry. I let it dry for 24 hours (Mod Podge paranoia). Tip: Take your time with the cutting and trimming part. Mod Podge gets all crispy and tough to cut through. PLEASE be careful.

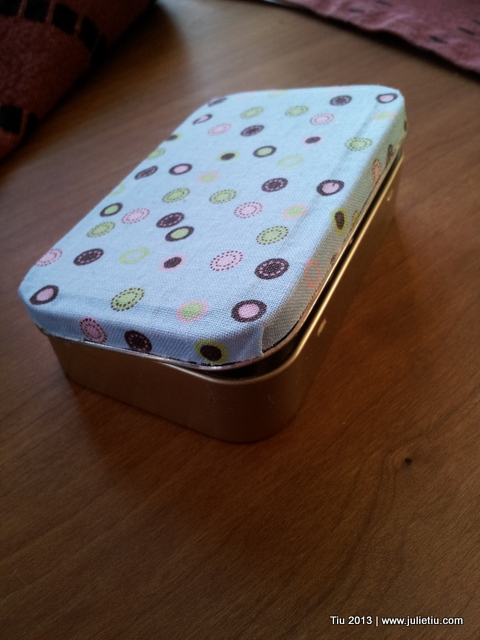
shot_1358348815034

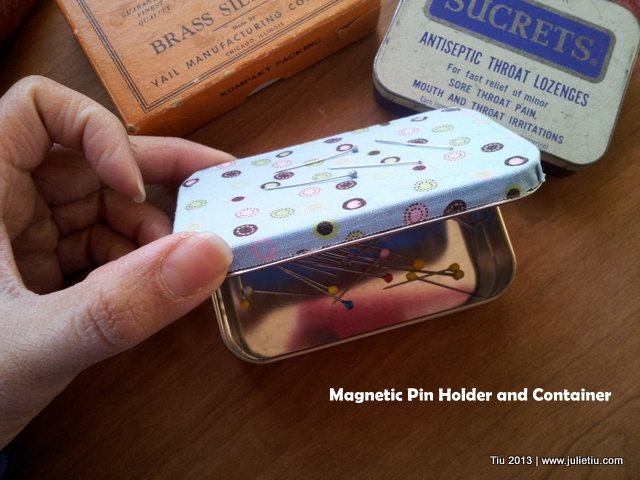
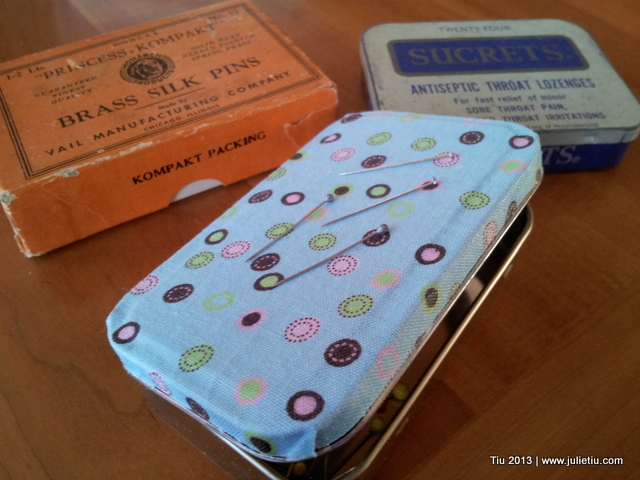
And here it is! My own little magnetic pin holder.

20130116_094255

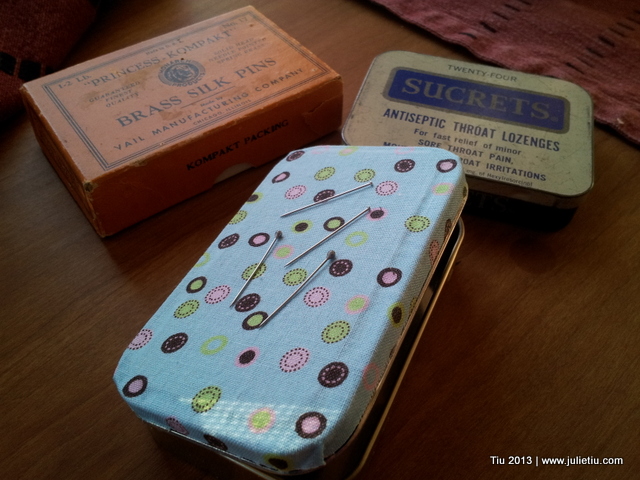
Look! The pins stick to the top!

20130116_094839

20130116_094922

Those are a couple of my other pin holders. Vintage, eh? I’m so looking forward to having the magnetic one next to my sewing machine… pins won’t get away from me so easily now. Maybe this means I have sewing projects coming up?? *grin*

Putting Away Christmas Lights

I usually wait until the feast of the Epiphany to take down Christmas decorations in our house. It all goes smoothly, especially the Christmas lights. I learned this trick from my sister-in-law, who probably learned it from her parents. Guessing my father-in-law.

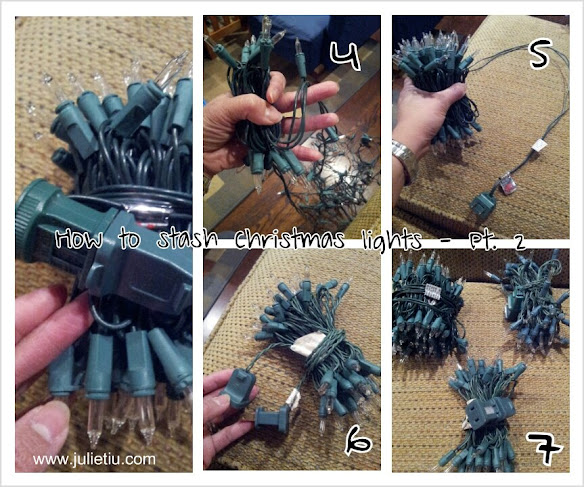
Stashing the Christmas lights doesn’t take fancy spools or contraptions. All you need to do is a little back-and-forth, alternating sides with the lights. This will create a nice bundle out of a jumbled strand of lights. The plug side of the strand will be long enough to wrap around your bundle… and then hook up with the other side of the strand. Voila!

How to Store Christmas Lights

How to Store Christmas Lights

Favorite Posts from 2012

Hi everyone. Hope you enjoy this look back at some of my tutorials and recipes from the year. (I hope the links all work back to the original post! ACK! Might need to work on this still. The pictures aren’t linked, but the posts are all listed underneath.)
This year did not fail to amaze me… the good and the bad. But sharing ideas and meeting many of you near and far has been such a highlight of my year. I’m thankful and humbled by your continuing readership and friendship. May 2013 bring all of us peace. Blessings to you, friends!

Favorite tutorials and recipes from 2012


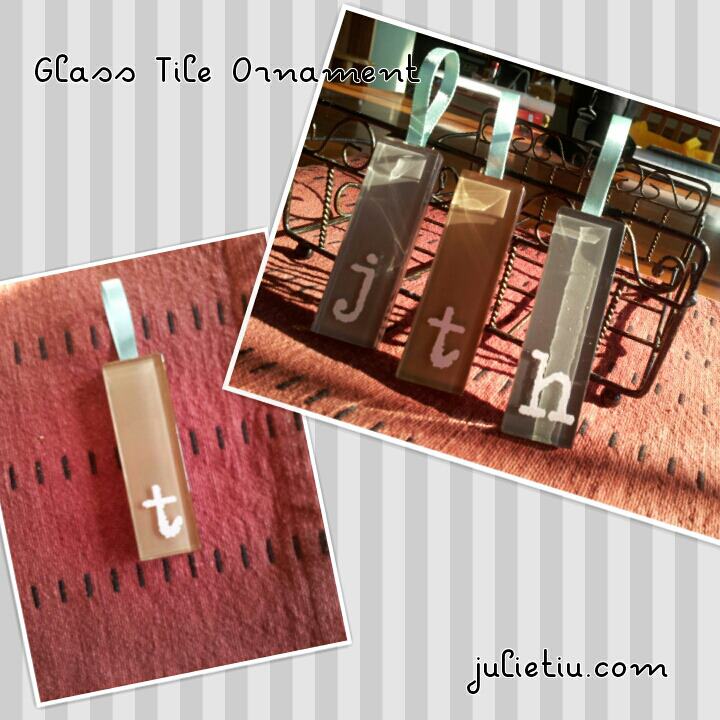
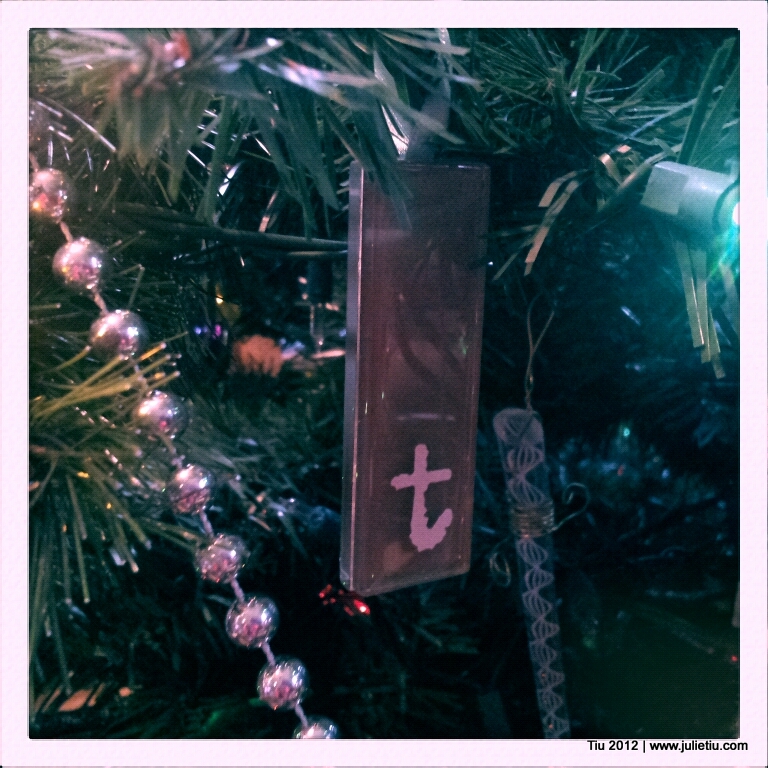
Monogrammed Glass Tile Ornament Tutorial

I love making handmade ornaments to hang on the tree, to use as gift decorations… but I never seem to make enough time to do many. A year ago, I came across an etched glass ornament and thought there could be a less messy option… rub-on letters makes this possible!

Glass tile comes in sheets, and if you’re lucky, you can find a bunch in the clearance section. One sheet can cost about $4 which is inexpensive considering you can make 16-18 ornaments. But I recently found some tile going for under $2! Now a few pieces were chipped, so you have to make sure you check the sheet before you purchase.

What you need
• Glass tile from the home improvement store
• Glass cleaner of choice
• Scissors
• Rub-on letters
• Burnishing tool (popsicle stick will do)
• Ribbon (I used 1/8” and cut into 4”-5” segments)
• Glue (appropriate for glass)
• Optional: decoupage glaze (like Mod Podge or clear acrylic medium), fine-tipped brush

Before you begin, dust off and clean your glass tile. (Materials from the store always come home with a nice layer of dust.)

The tiles are bound together by a mesh and it’s not difficult to cut with a regular pair of scissors. I wouldn’t necessarily use a fancy pair – any office pair will do. The cool part is you can just cut apart what you need and store the rest if you aren’t making a big batch of ornaments.

Cut a pair of matching tiles, or unmatching. I like a matching “sandwich”. After cutting, you’ll need to peel off the mesh. Thankfully, it comes off easily.

Prepare your rub-on letter. I centered the monogram on the very bottom of the tile then when I was happy with the placement, I rubbed (burnished) the letter onto the tile.

No need for drying time at all… you’re done. However, if you’d like, this is when you would use a fine-tipped brush to go over the rub-on letter with a little clear sealer to prevent scratches and “erasing” the letter.

For the hanger take your ribbon, and fold in half. Center it at the top of the tile, and stick in place with a dab of glue. Spread more glue, like you’re dressing a sandwich, then top with another glass tile. Gently press (so you don’t get glue smooshing out) together for a few seconds. Let the glue set at the manufacturers recommended time.

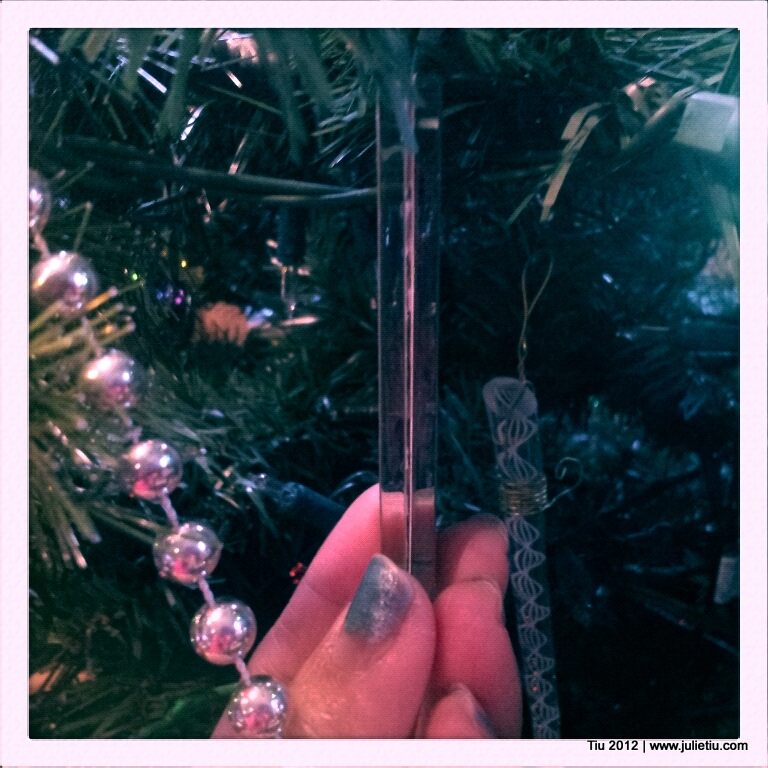
Hang on your tree! Or adorn someone’s gift!

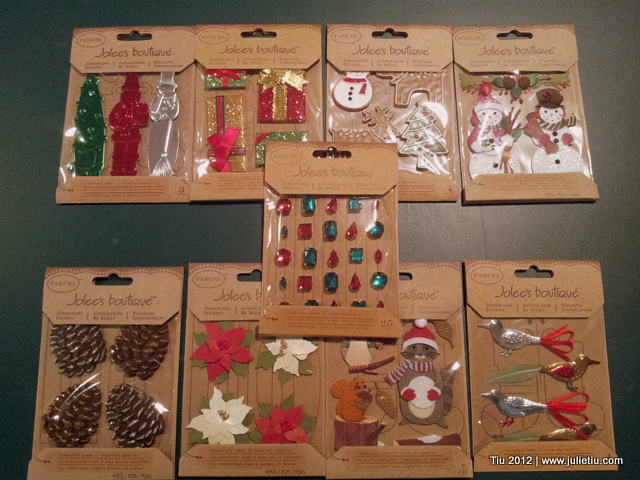
Would love to know about your favorite handmade ornaments… want to share? Two of you will be randomly chosen to receive some fun Jolee’s stickers (the top group and bottom group). Leave a story, a comment (and a link, if you have one) by Tuesday, Dec. 4, 10 PM (central time). Thanks!!!

Teacher Appreciation Gift Idea: Daily Dose of Kindness and Free Printable Template

Thoughtful teacher gift idea

Don’t know about you, but once Spring Break ends, school days go by like an out-of-control snowball on a sledding hill. And the parties, picnics and project lists grow and grow. So I like gift ideas that are pretty easy to put together, both in time and materials.

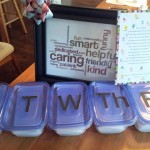
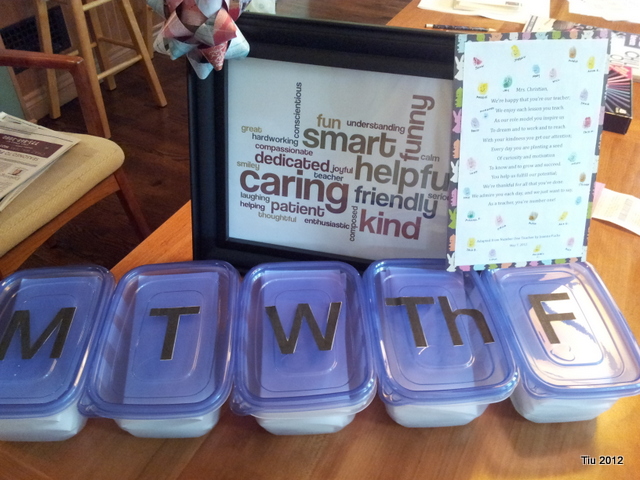
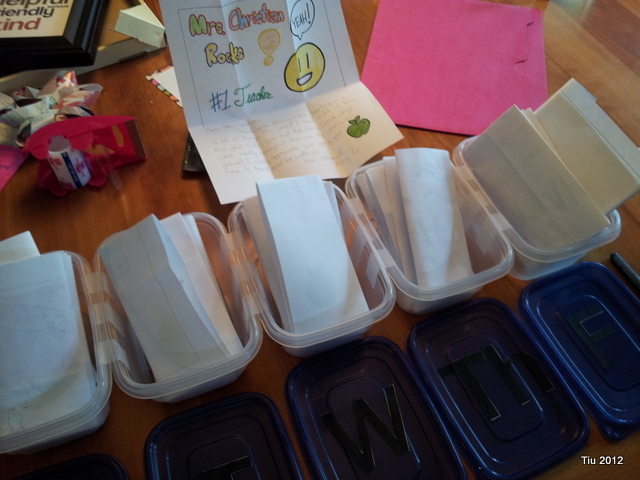
A few weeks ago we celebrated National Teachers Appreciation Week, and I had a nice time putting this together for my daughter’s homeroom teacher: a giant “pill box” with letters of appreciation from her students. It’s thoughtful and heartfelt; an option to candy, flowers or a gift card – which we all know we all do.

Along with the letters, I put together a “word cloud” using wordle.net, printed it out and framed it. All the students listed two or three words that they felt described their teacher.

Materials needed for a giant letter-pill box:

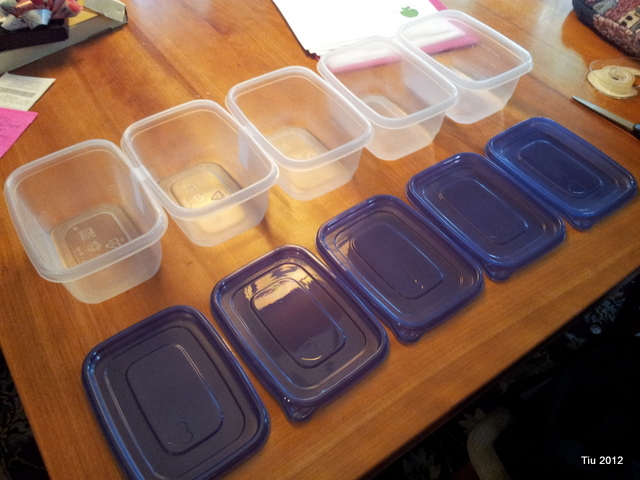
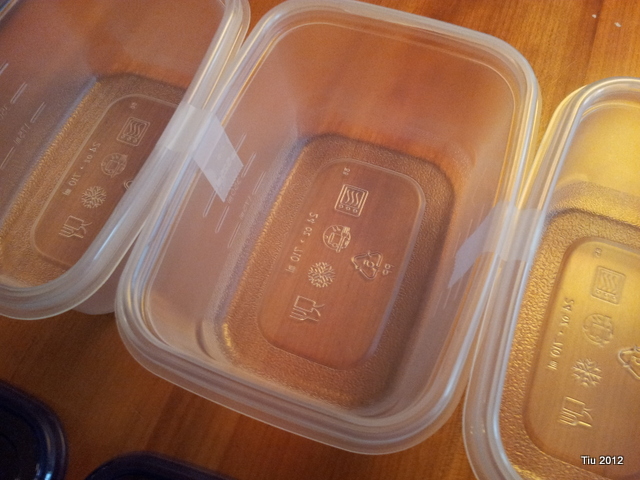
  • (5) plastic containers (2-3 cup capacity)
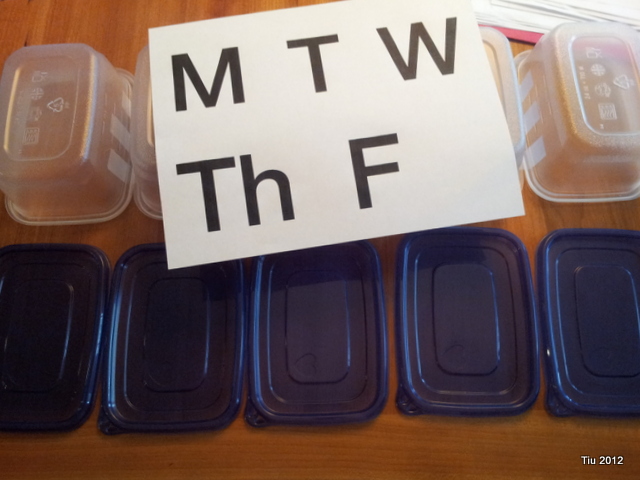
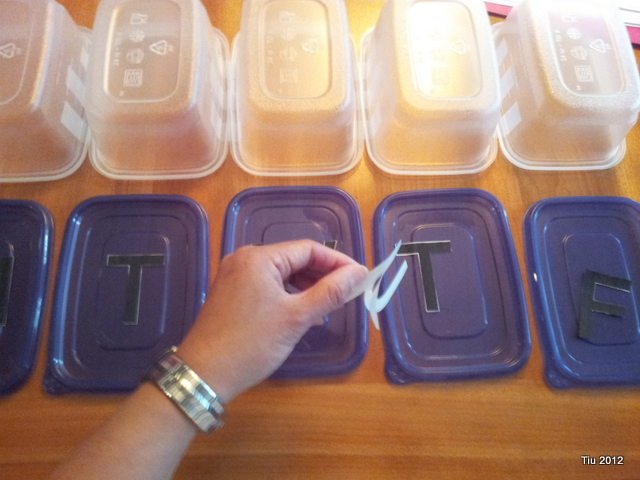
  • Stencils or vinyl stickers for the days of the week. I was able to print out letters and use my Xyron Creatopia machine to make stickers.
  • Scotch tape or clear packing tape

Giant "pill box" for teacher letters

Adhere days of the week stickers on teacher gift

teacher gift in progress - tape boxes together

Teacher gift in progress - days of the week stickers

Teacher gift: place letters in the boxes

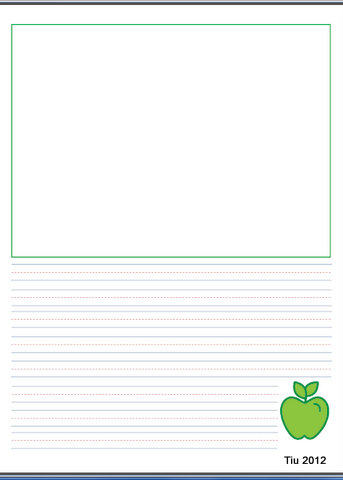
Here’s a Cute template for student letters that I made using Microsoft Publisher. Totally optional, but it’s something easy to print out and have all the students do. They can draw a picture and write their letter… so cute. (If you click on the picture below, you will also be redirected to the printable document.)

Teacher letter template - drawing and writing space

Hope this inspires you to shower your favorite teachers with a dose of kindness!

Related Posts with Thumbnails