Hi everyone. Hope you enjoy this look back at some of my tutorials and recipes from the year. (I hope the links all work back to the original post! ACK! Might need to work on this still. The pictures aren’t linked, but the posts are all listed underneath.)
This year did not fail to amaze me… the good and the bad. But sharing ideas and meeting many of you near and far has been such a highlight of my year. I’m thankful and humbled by your continuing readership and friendship. May 2013 bring all of us peace. Blessings to you, friends!
-
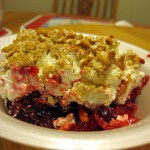
- Cranberry Raspberry Pretzel Jello dessert
-
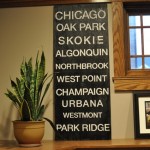
- DIY Subway Art Tutorial
-

- Upcycled Sweatshirt Pillow
-
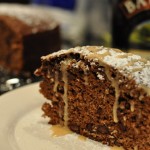
- Irish Stout Coffee Cake
-
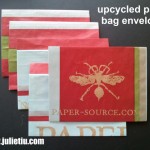
- Paper Bag Envelopes
-
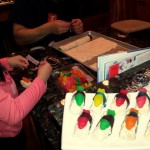
- Rice Krispie Sushi
-
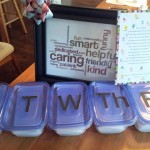
- Thoughtful teacher gift idea
-
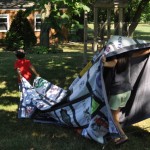
- T-Shirt Quilt Completed
-
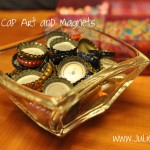
- Bottle Cap Art
-
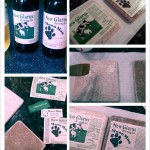
- Beer Label Coasters
-
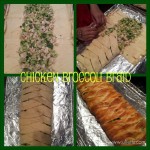
- Chicken Broccoli Braid
-
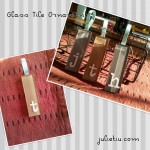
- Glass Tile Ornament
Favorite tutorials and recipes from 2012
- Cranberry Raspberry Jello Crunch Recipe
- DIY Subway Art Tutorial
- Upcycled Sweatshirt Pillow Tutorial
- Irish Stout Coffee Cake Recipe
- Upcycled Paper Bag Envelopes (Use those shopping bags!)
- Rice Krispie Sushi Treats
- Teacher Appreciation Notes and Gift Idea
- T-Shirt Quilt Completed (no tutorial or recipe – just a project update)
- Bottle Cap Art Magnets Mini-Tutorial
- DIY Beer Label Coasters made with stone tiles
- Chicken Broccoli Braid (Bake) Recipe
- Glass Tile Ornament Tutorial